In this blog post, I'm going to show you step by step how to create your own virtual windows active directory. By the end of this post you will have built a functioning active directory network, complete with a fully configured virtual windows Server, networked together with two virtual client machines! You will also generate one thousand fake users on this active directory, to simulate managing a large company
NOTE: This tutorial assumes you're doing this lab on on windows. If not, skip all of step 3. With that out of the way, lets get started!
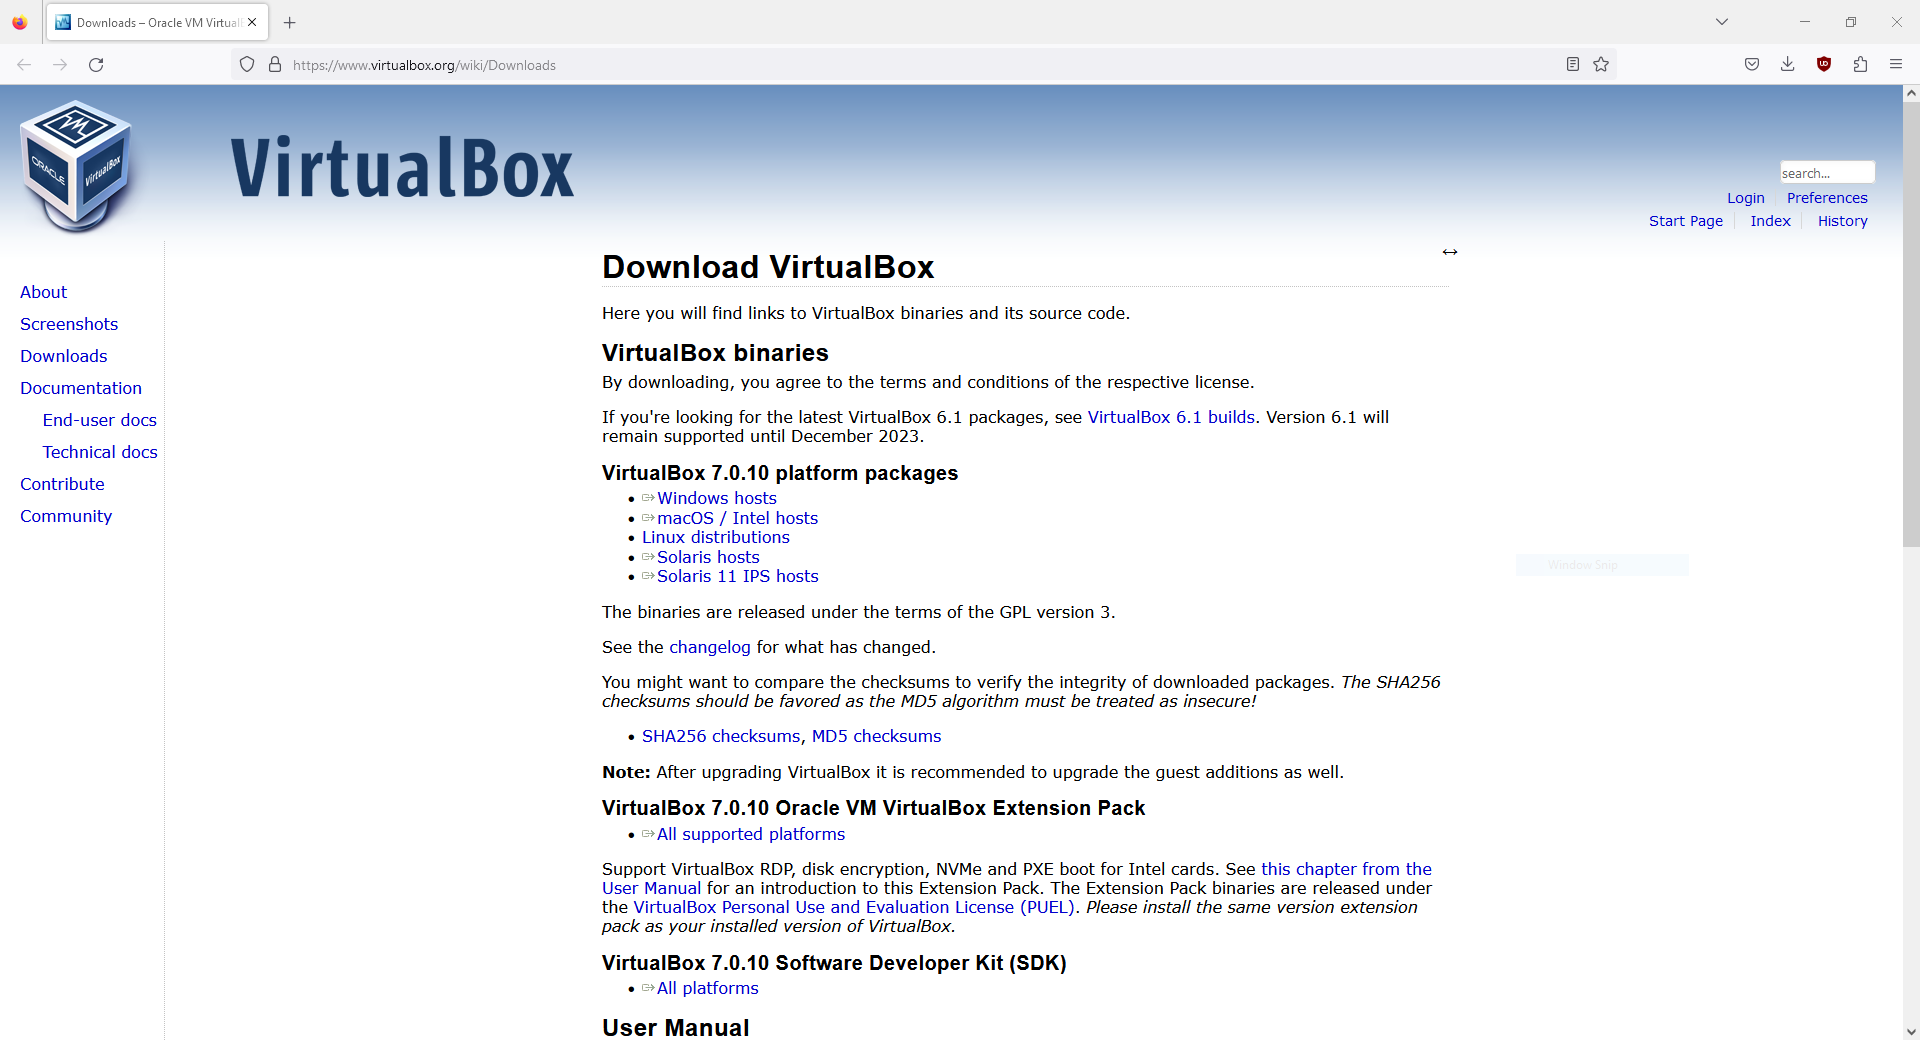
1.First we're going to download all of our tools, starting with our hypervisor. Download Virtual box by visiting https://www.virtualbox.org/wiki/Downloads, then click on the "Window hosts" version to start the download
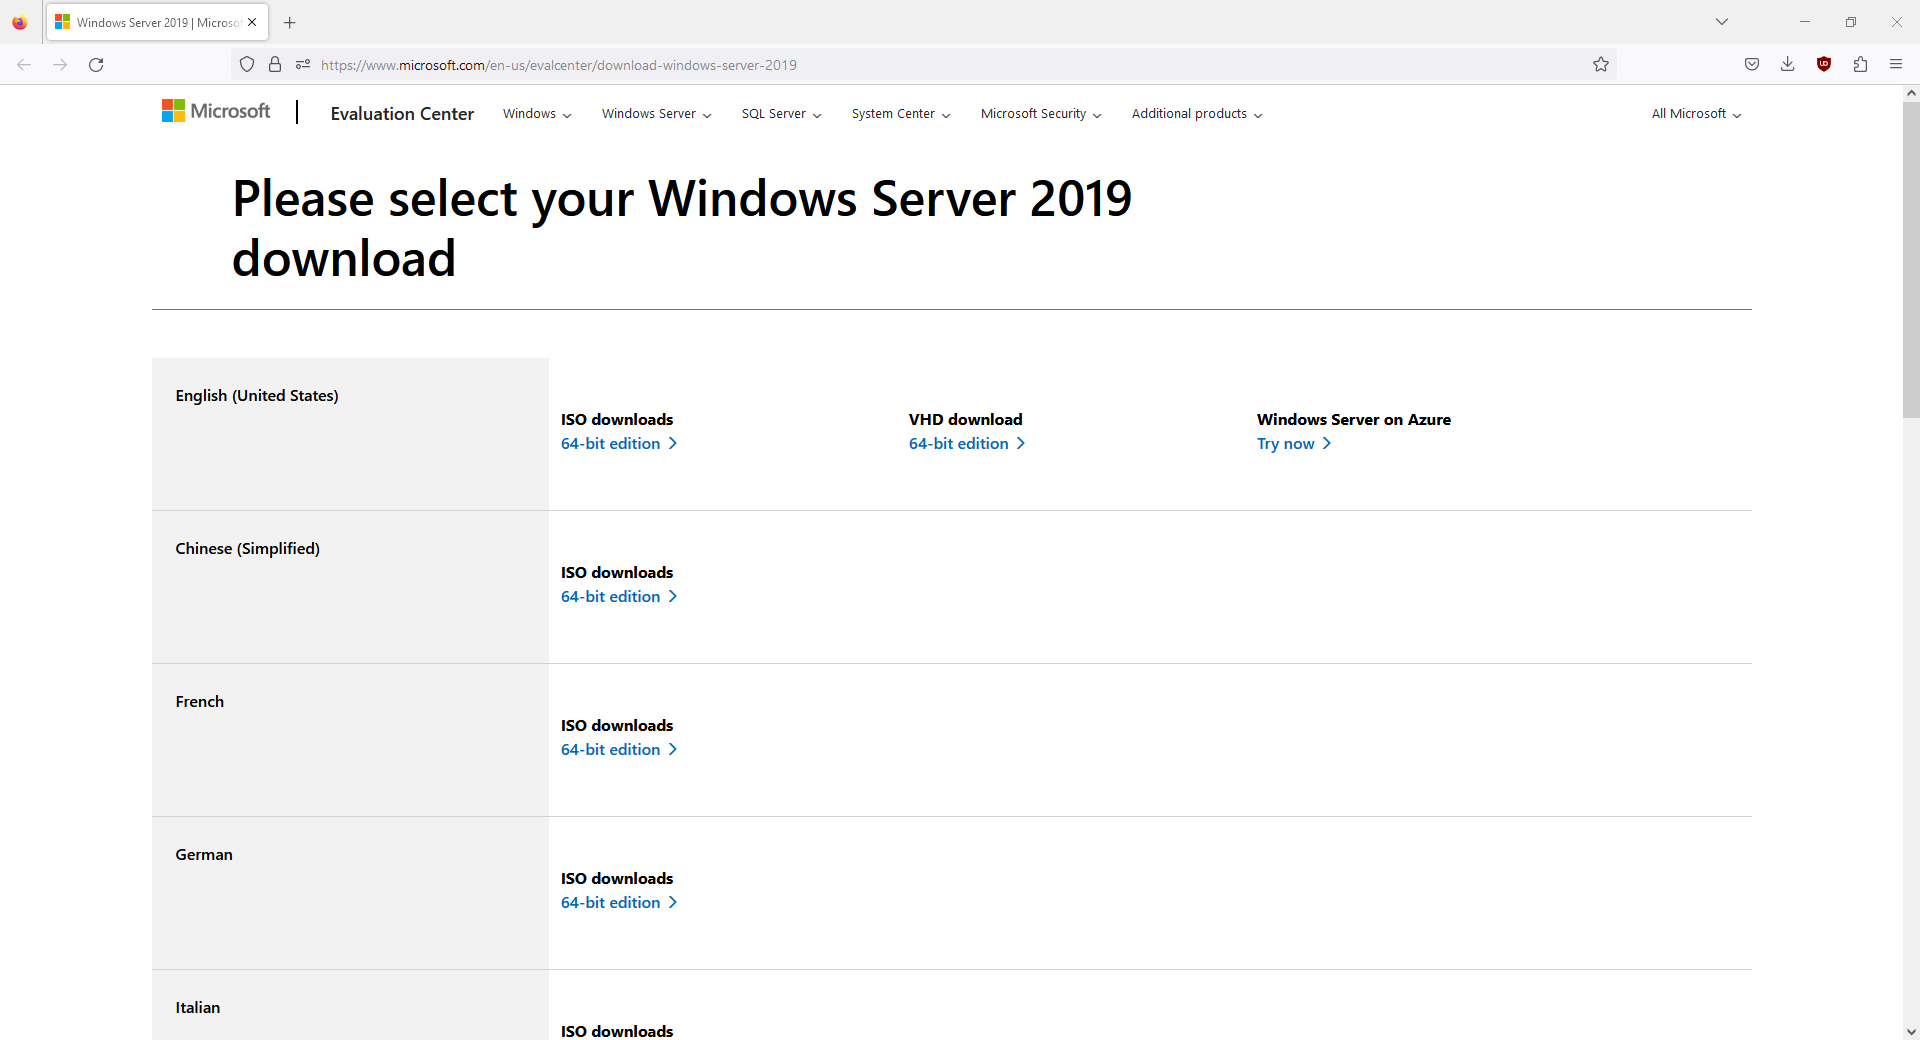
2. Next, we're going to grab our ISO file for our server. Download Windows Server 2019 by going here -> http://www.microsoft.com/en-us/evalcenter/download-windows-server-2019, and select the english 64-bit version
 ">
">
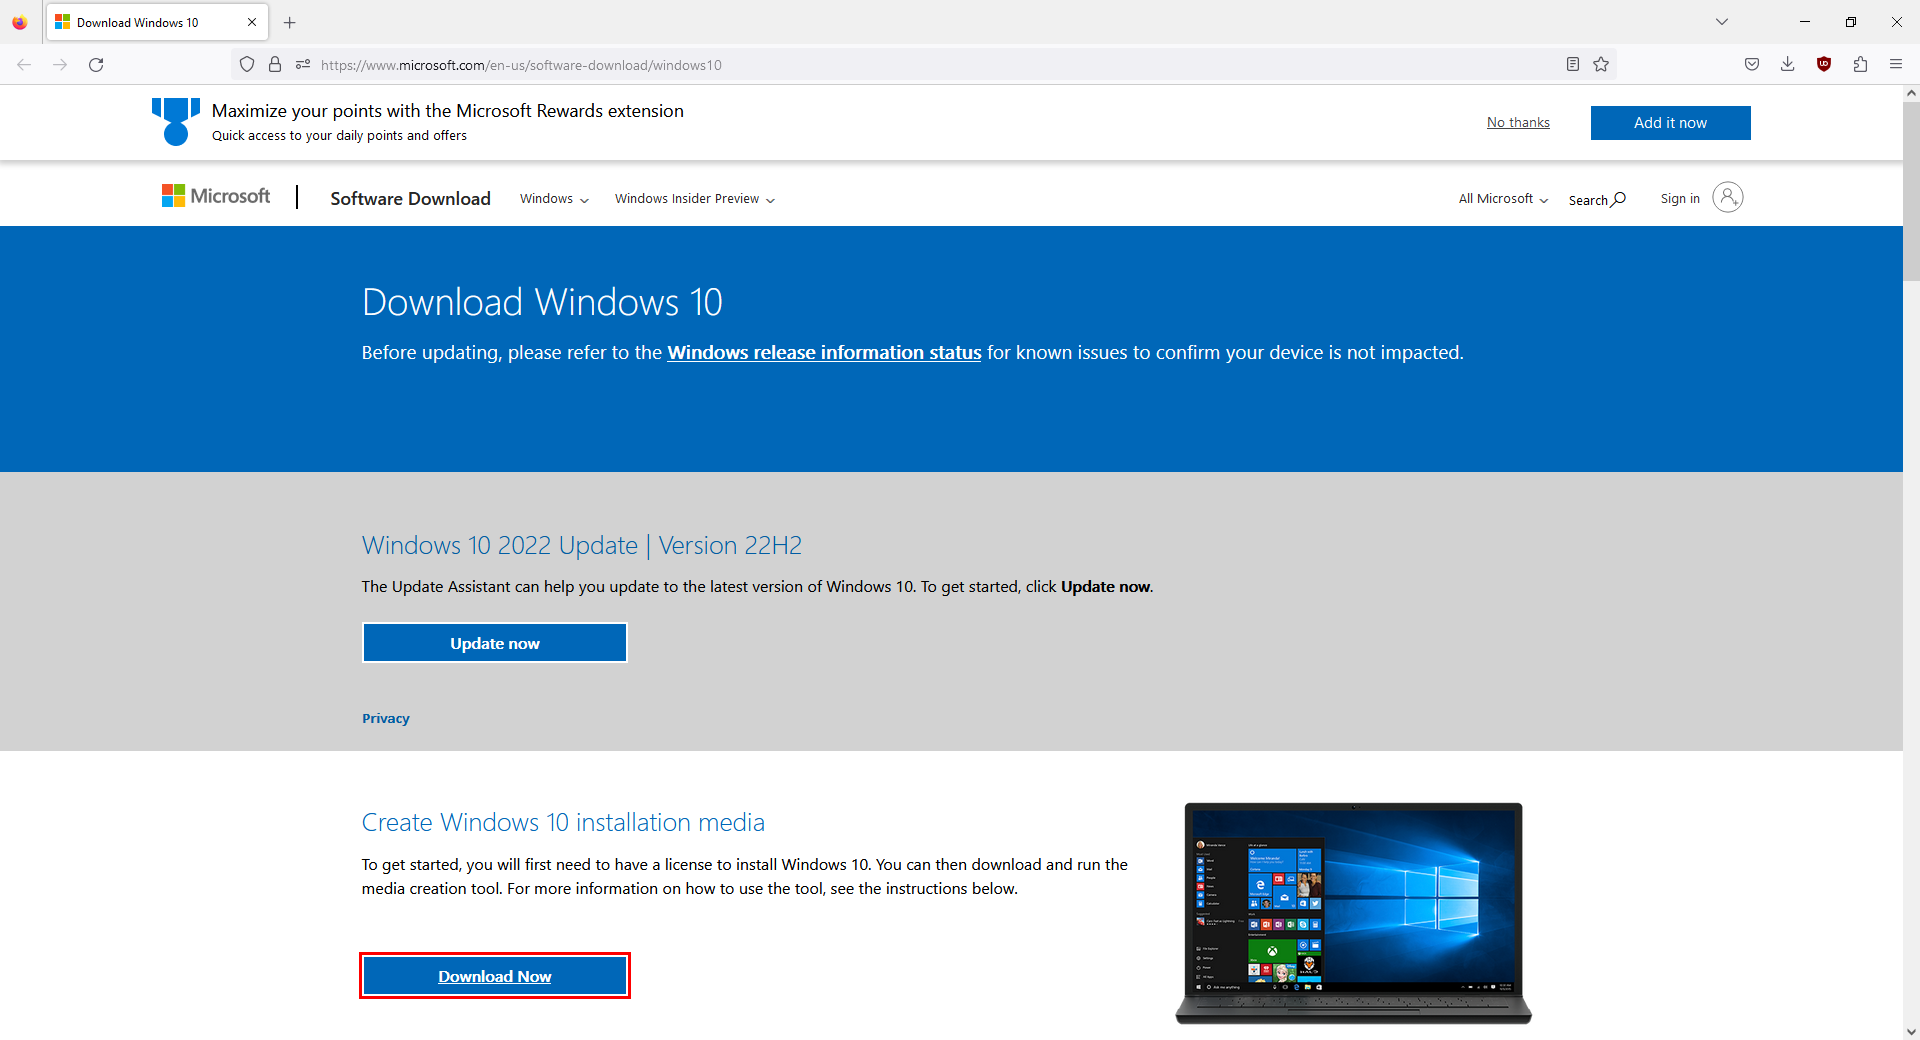
3. Now we're going to aquire our host image ISO. In order to do this, we first need to download the Windows Media Creation tool, which will create the ISO we need. Visit https://www.microsoft.com/en-ca/software-download/windows10, and click on 'download tool now'
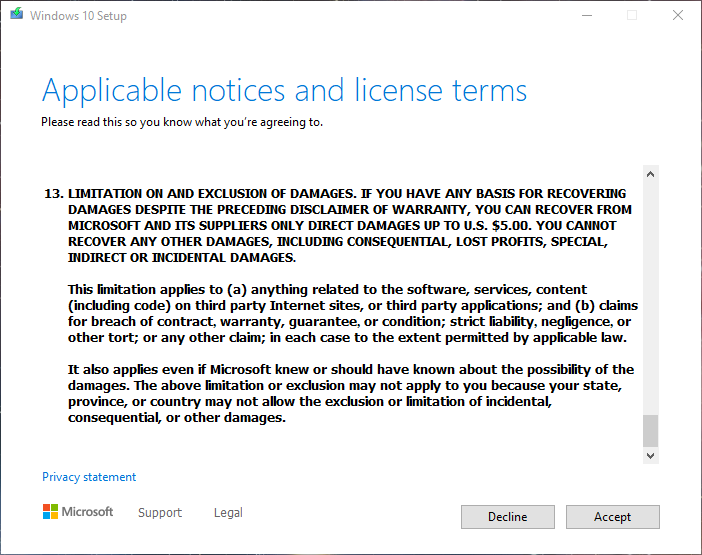
3a. Scroll to the bottom and click accept
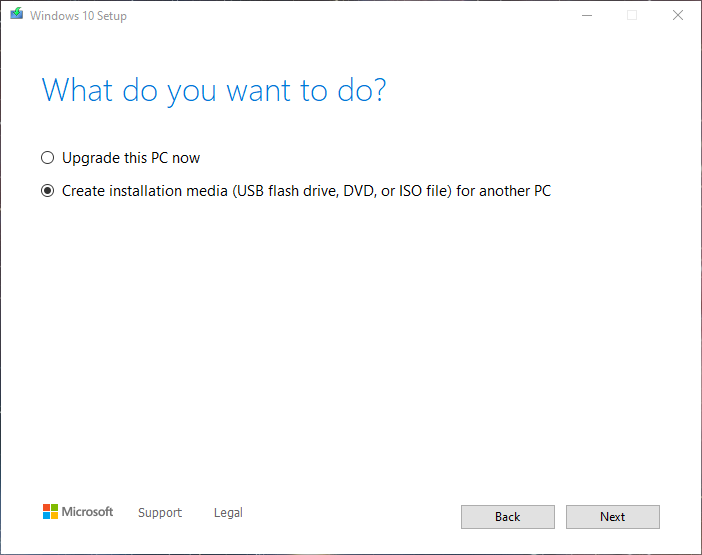
3b. Select "Create installation media" and click next
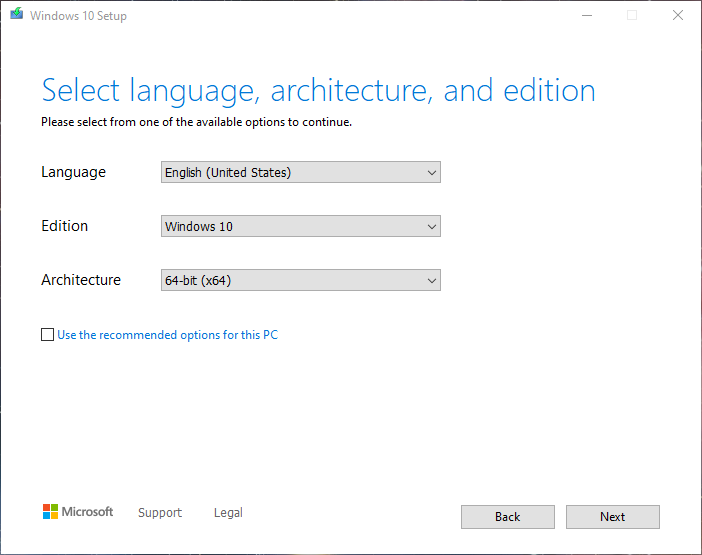
3c. Select your language > Windows 10 > 64 bit, then click next
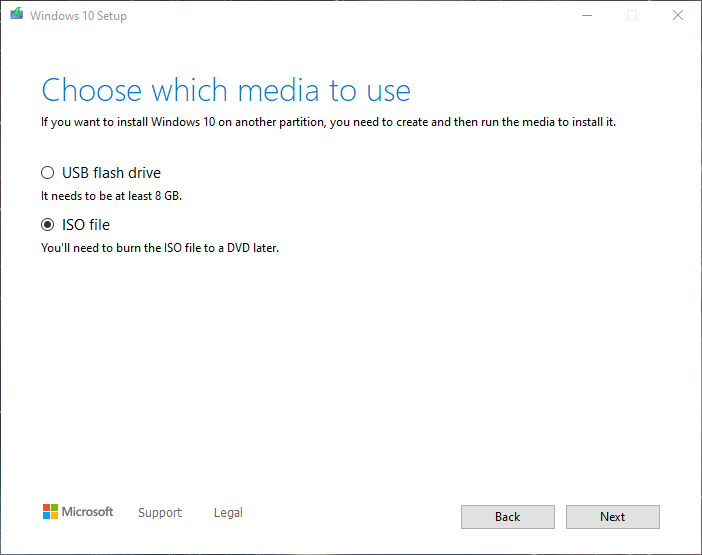
3d. Select ISO file and click next
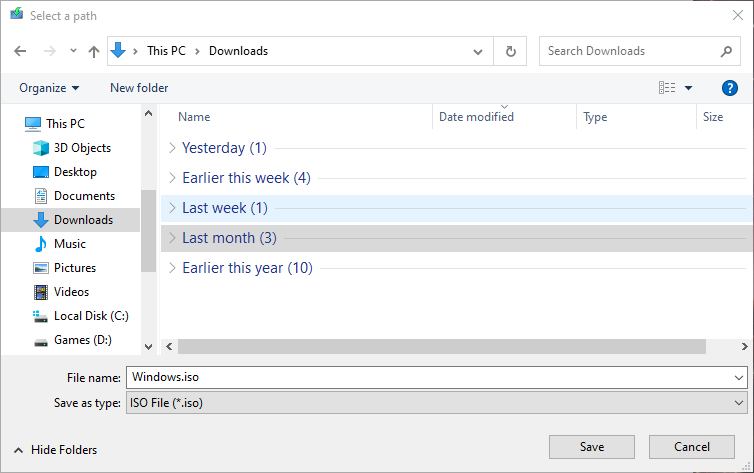
3e. Choose where you want to save your iso file on your computer, and click save
3f. Click finish when the tool completes the download and creation of the media
4. Install and Configure Virtualbox
Installation of virtual Box is pretty straight forward. Just double-click the executable and follow through the steps, default options are ok. If you want more direct instructions from the virtual box website, click here
****Configure new Windows Server VM****
5. Now we're going to create and configure our Windows server virtual machine. To begin, Go to the machine > create new

5a. For name and operating system, pick any name you want, select the windows server 2019 iso you downloaded earlier, and choose which folder you want your vm to be saved in. You can use the default folder if there is enough space
*special note* Sometimes if you do this, the machine error loops during the installation. If that happens, leave this field blank "

5b. Leave everything else as is. Don't worry about guest additions now, we will install those later as an optional but recommended installation step for ease of use

5c. Choose your ram and number of cpu cores. Use what you have and be aware of your available resources. 4gbs of ram + 2 to 4 cpus is good enough!!
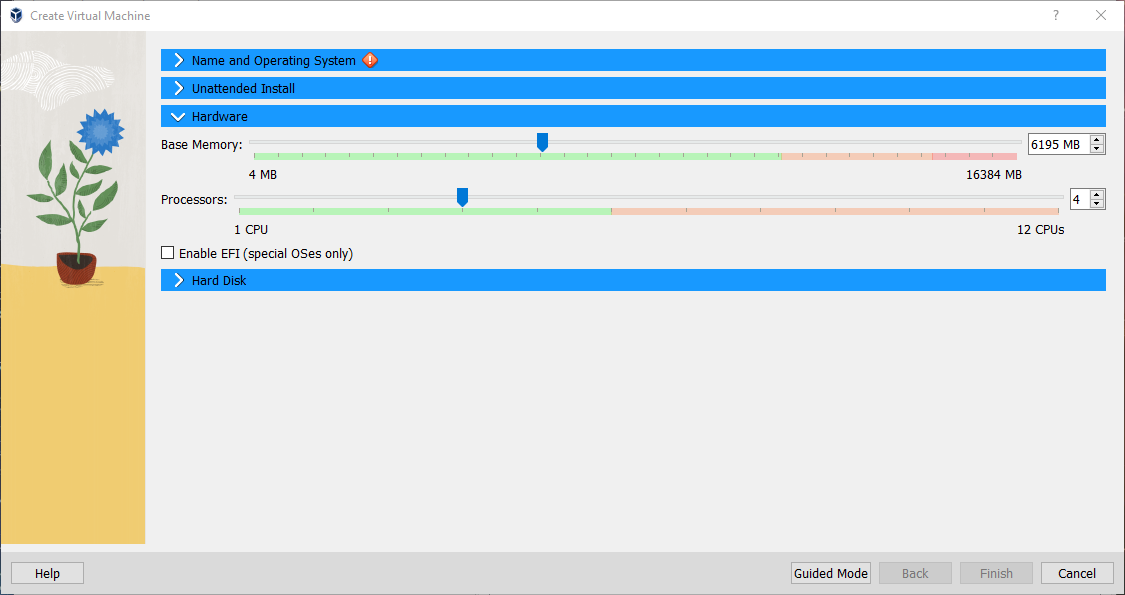
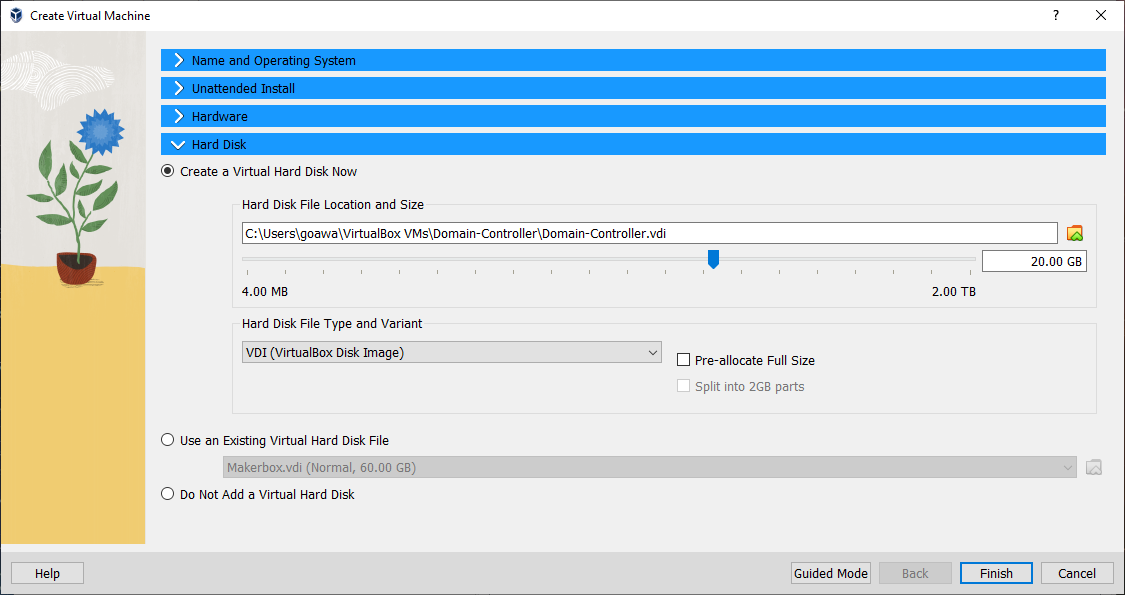
5d. Create a storage device, 20 gbs is more than enough for this machine
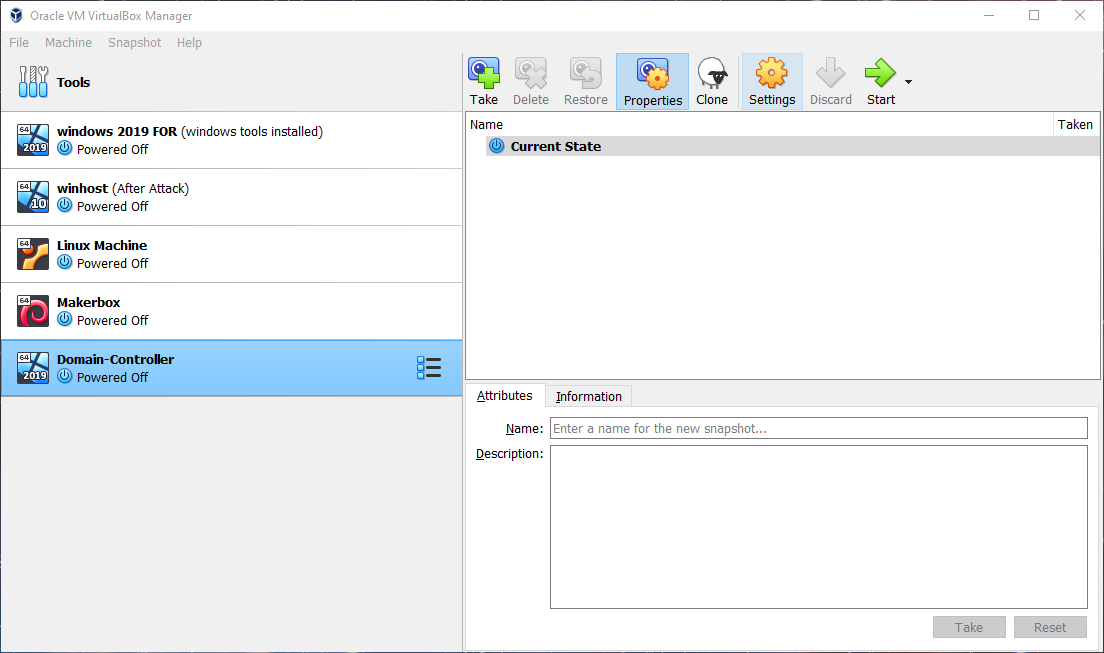
5e. Click ok, then go to the settings (yellow gear icon)
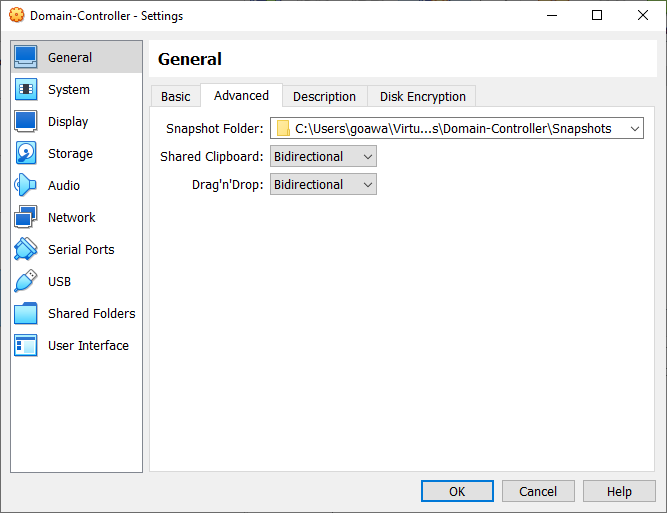
5f. Go to advanced, then change shared clipboard and Drag 'n' drop to 'bidirectional'
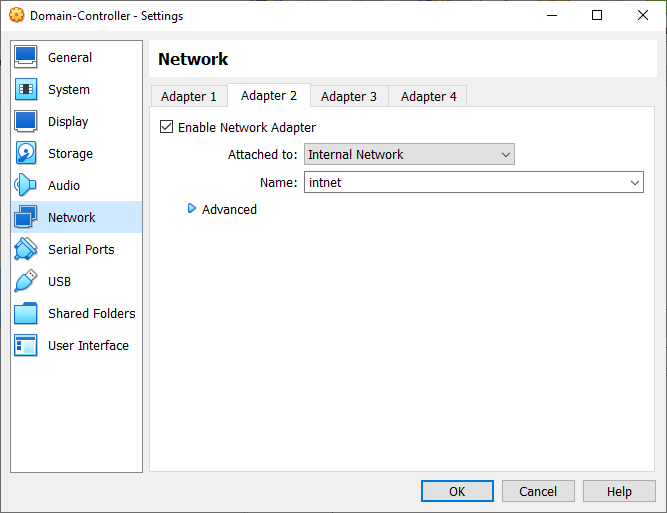
5g. Go to network, then adapter 2, and enable network adapter. make sure to choose attached to the internal network on the drop-down menu. then click ok
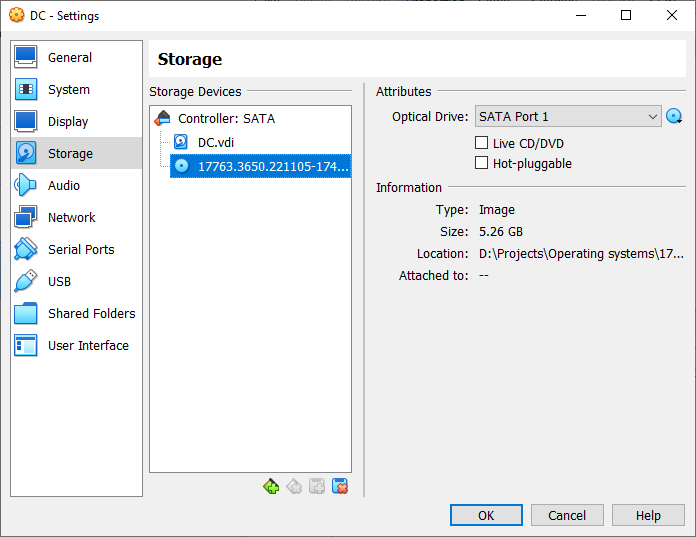
5h. Click on the Storage icon, then click the CD in the storage device.
5i. Click on the blue CD icon, then select the Image file you downloaded earlier, and click ok
6. Start the machine

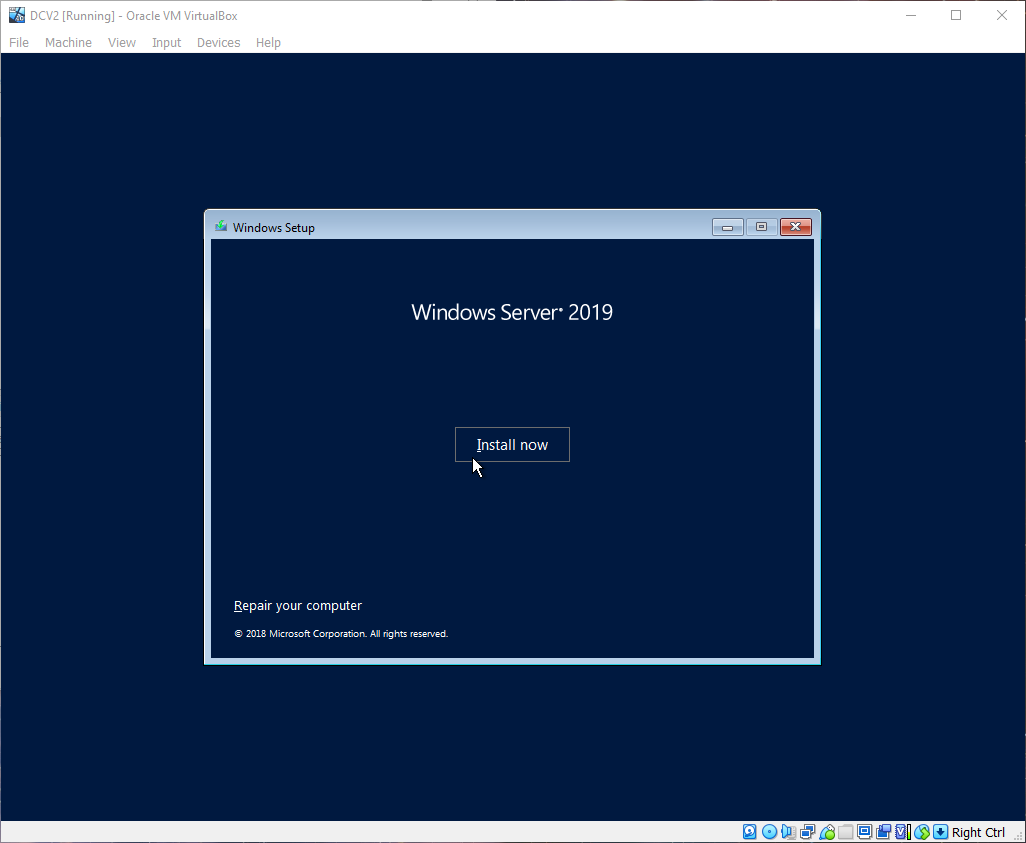
6.a Select your language and keyboard method and click next. in the next window, click "install now"

6b. Select the "standard evaluation with desktop mode" option and click next

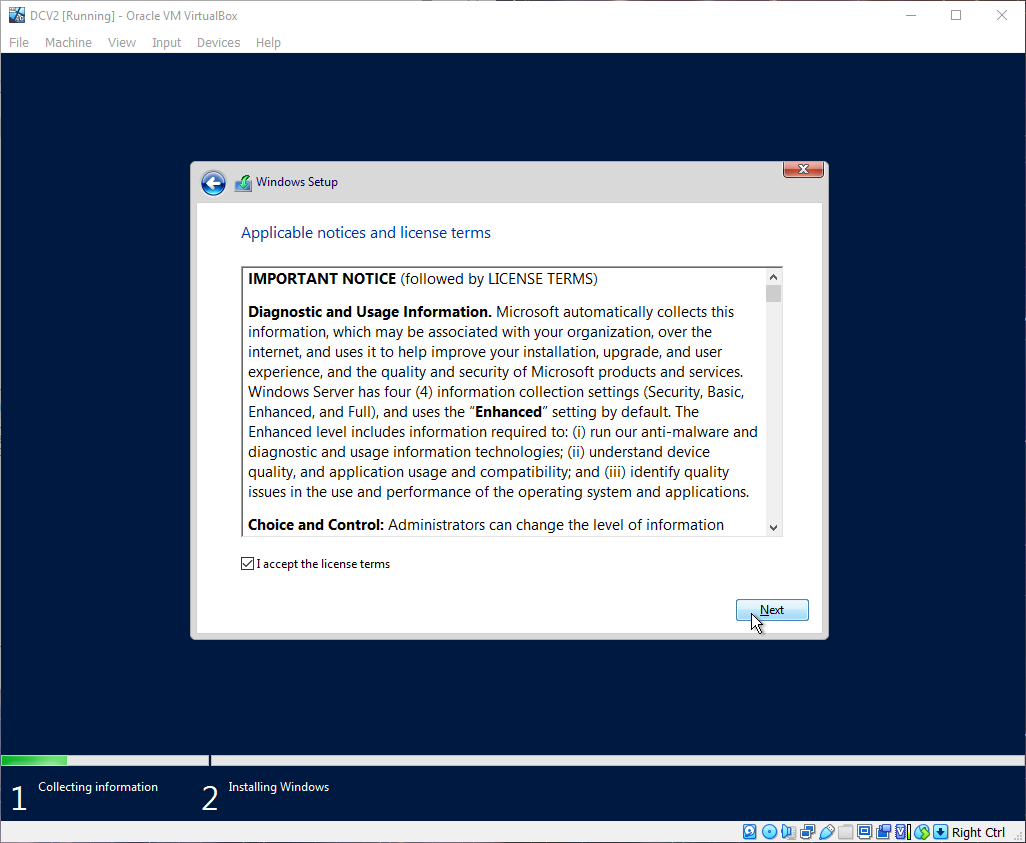
6c. Check the box beside "accept the license terms" , and then click next
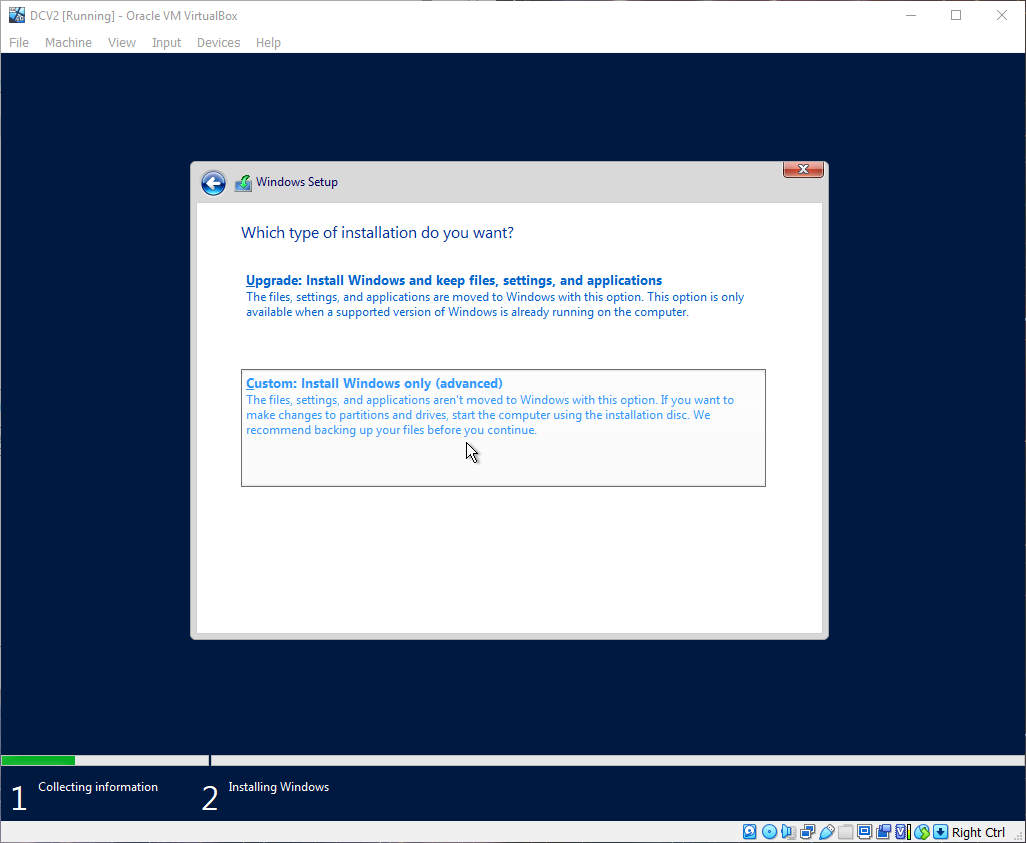
6d . Select "install windows only" option
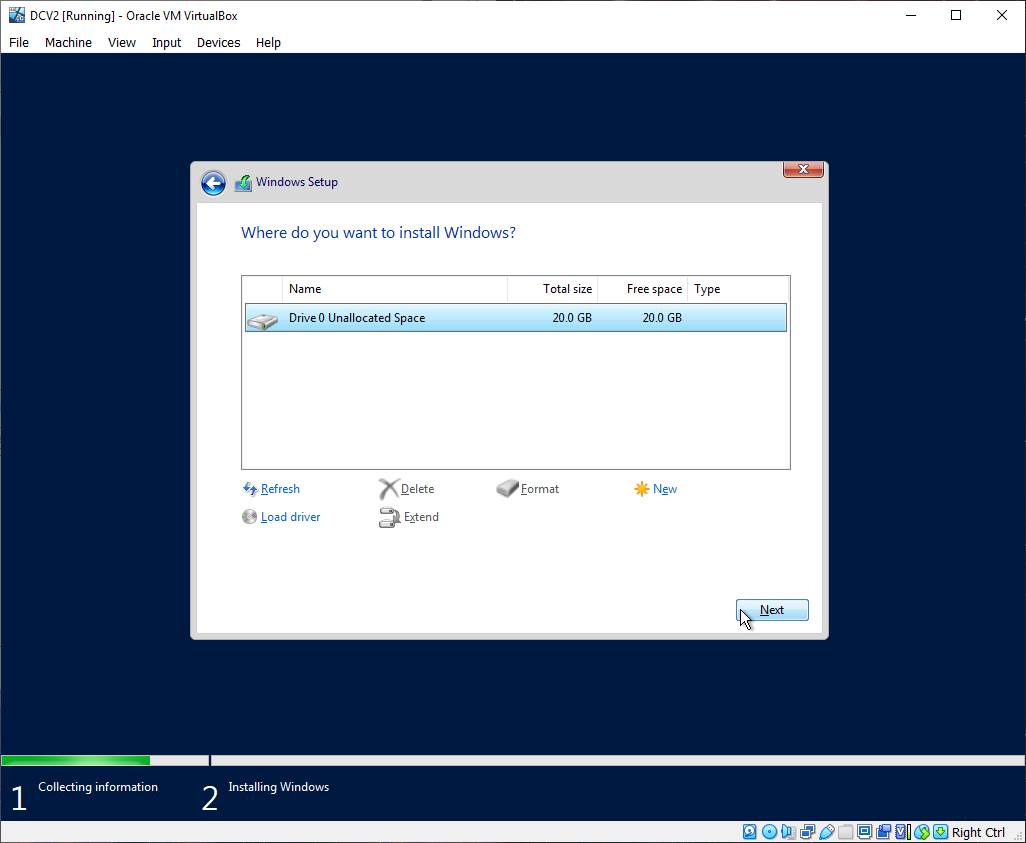
6e. Select the harddrive, then click next
**At this point, the installer will take awhile to install windows and will reboot the PC. DO NOT TOUCH ANYTHING until the computer fully reboots and automatically returns to the installation process.
7. Configure Windows - pick a password and click finish

7a. To click Ctrl+Alt+Del in the virtual machine, select it from the VM menu, then enter the password you picked earlier

7b. Click yes on allowing your PC to be discoverable
****Bonus*** Guest additions installation
8. In the VM menu, click devices, and then "insert Guest Additions CD image"

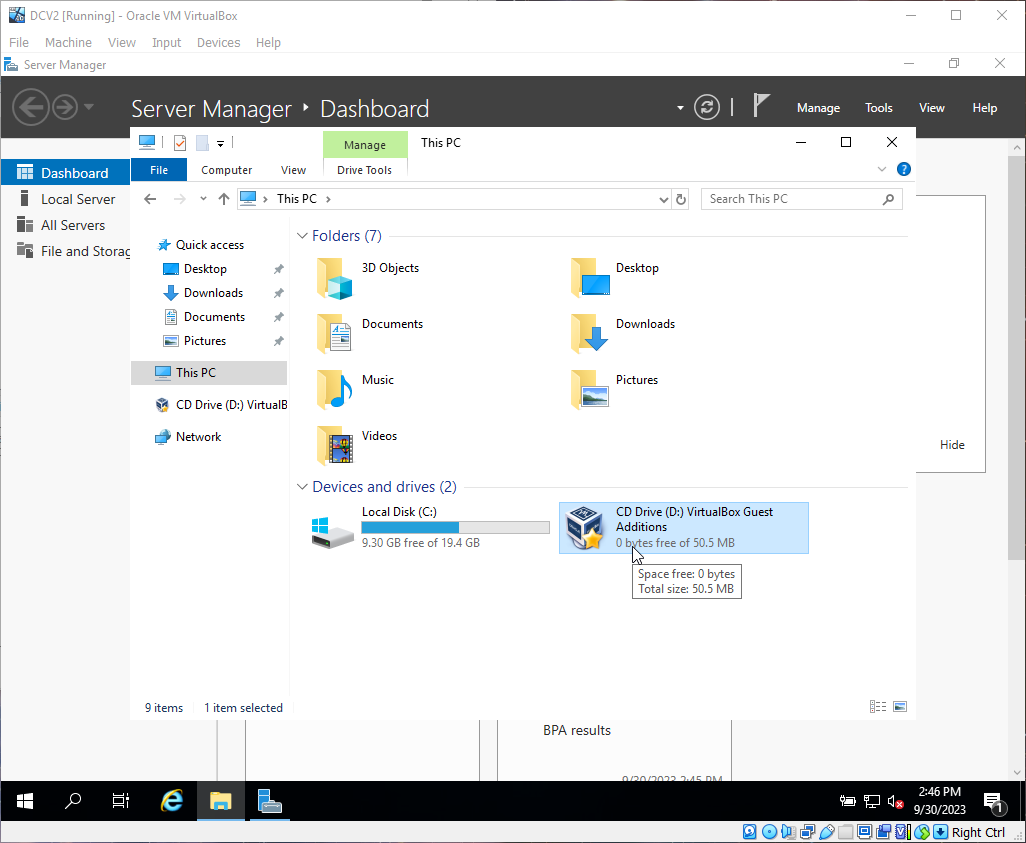
8a. Go to File explorer > This PC > then double click the CD drive with the virtual box guest additions mounted on it

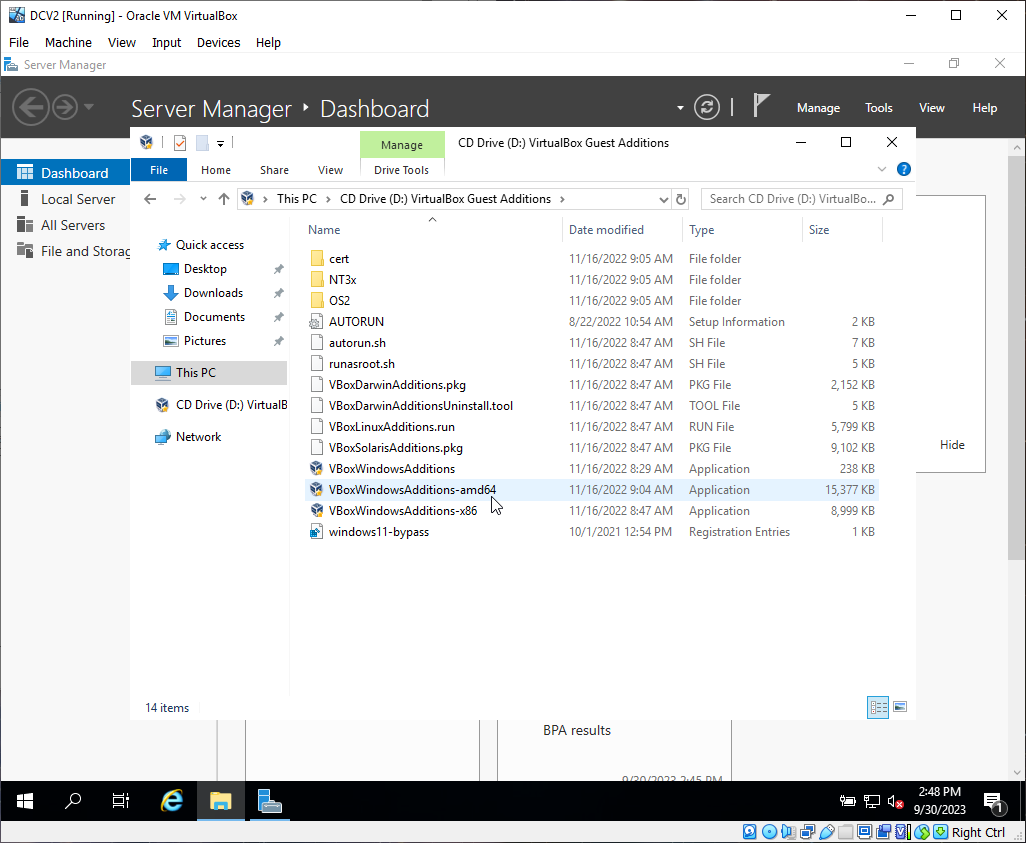
8b. Double click "VBWindowsAdditions-amd64"
8c. Click next, next again, and then install
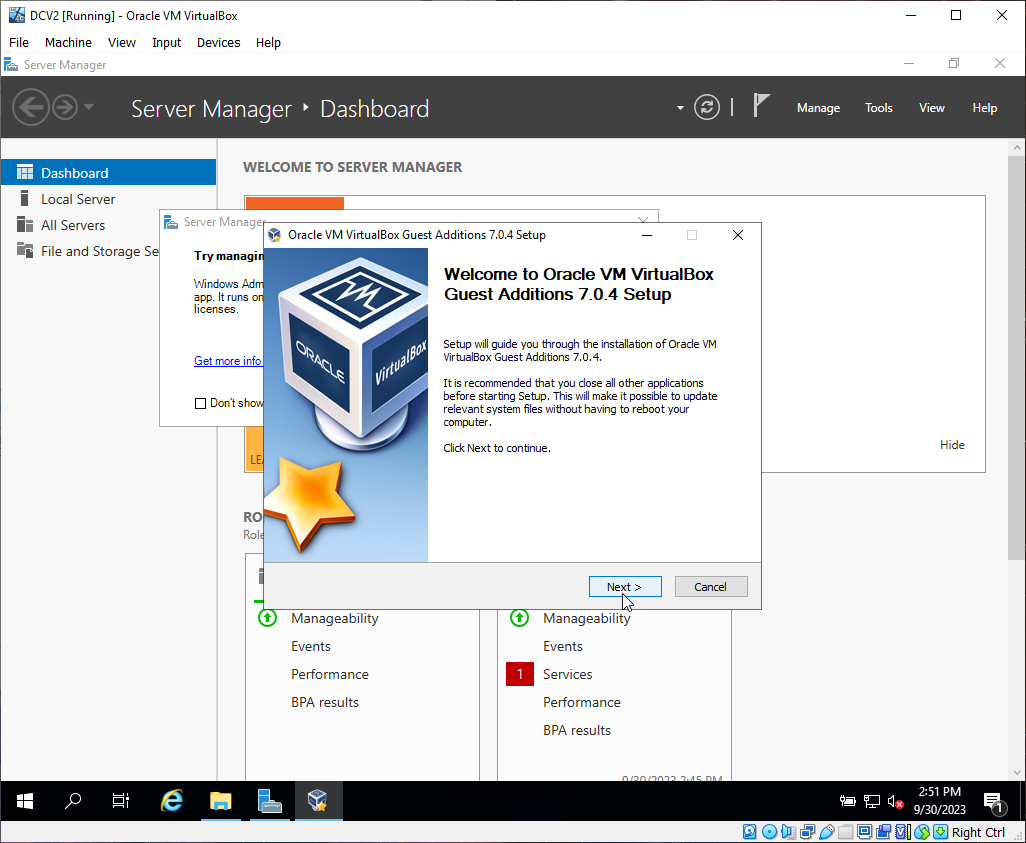
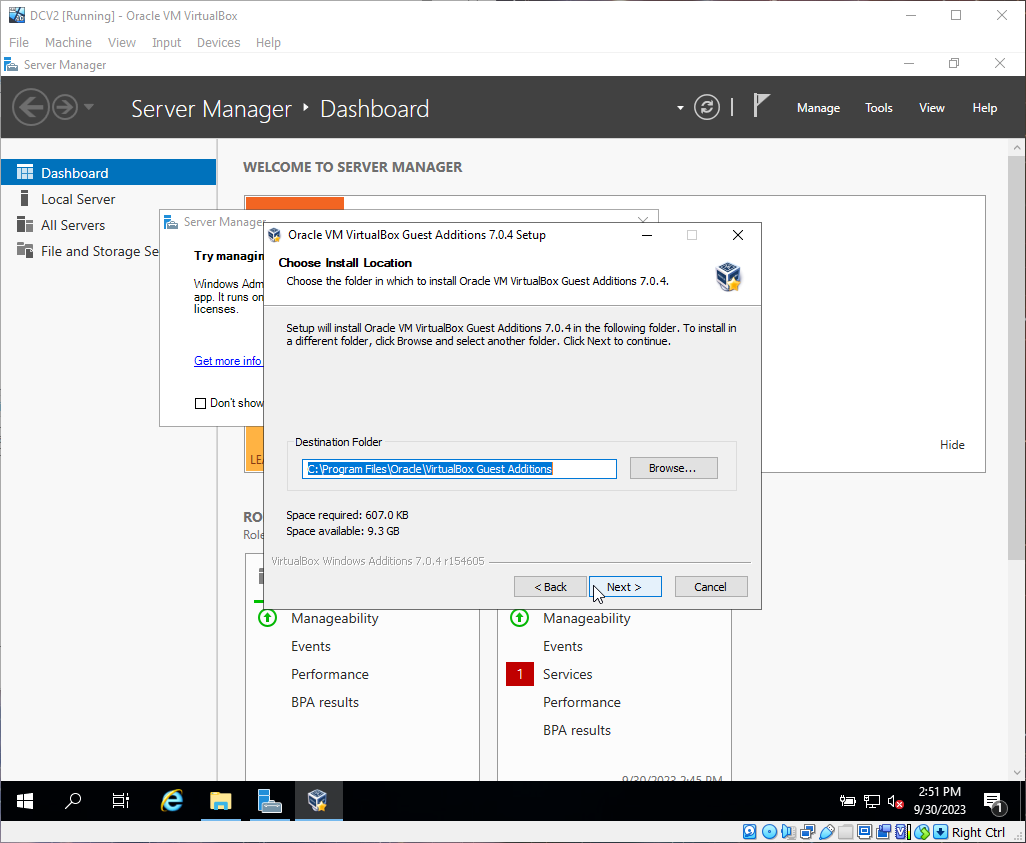
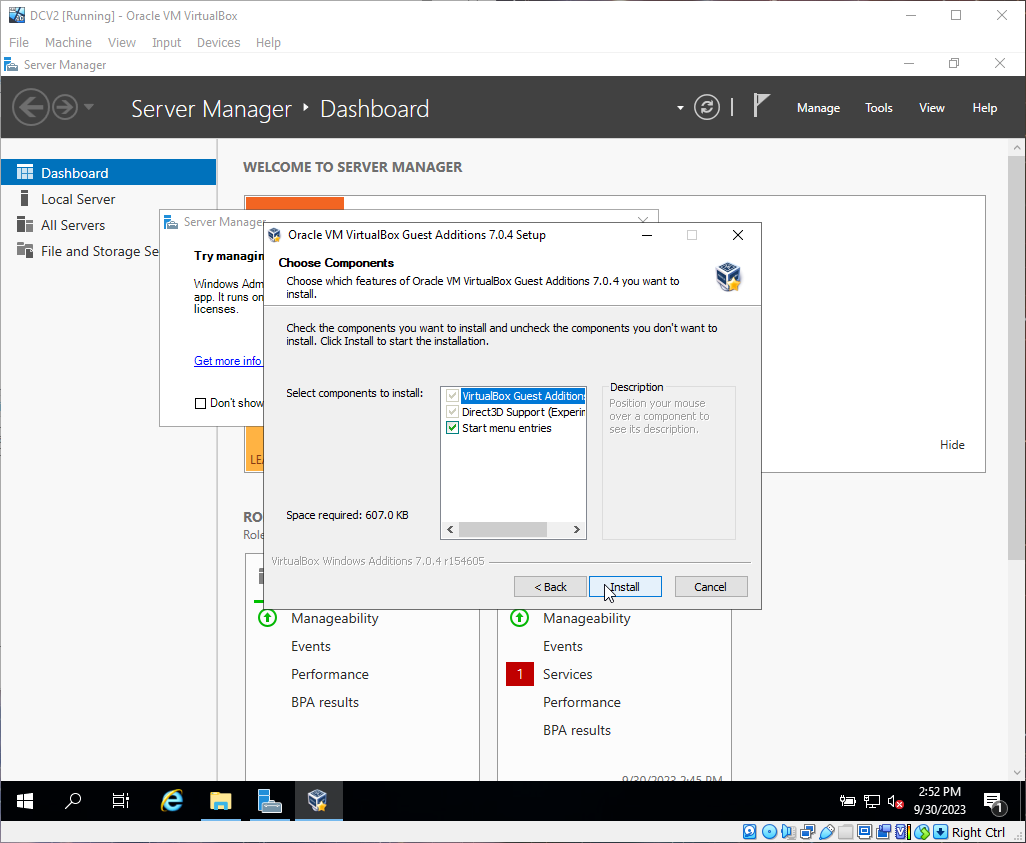
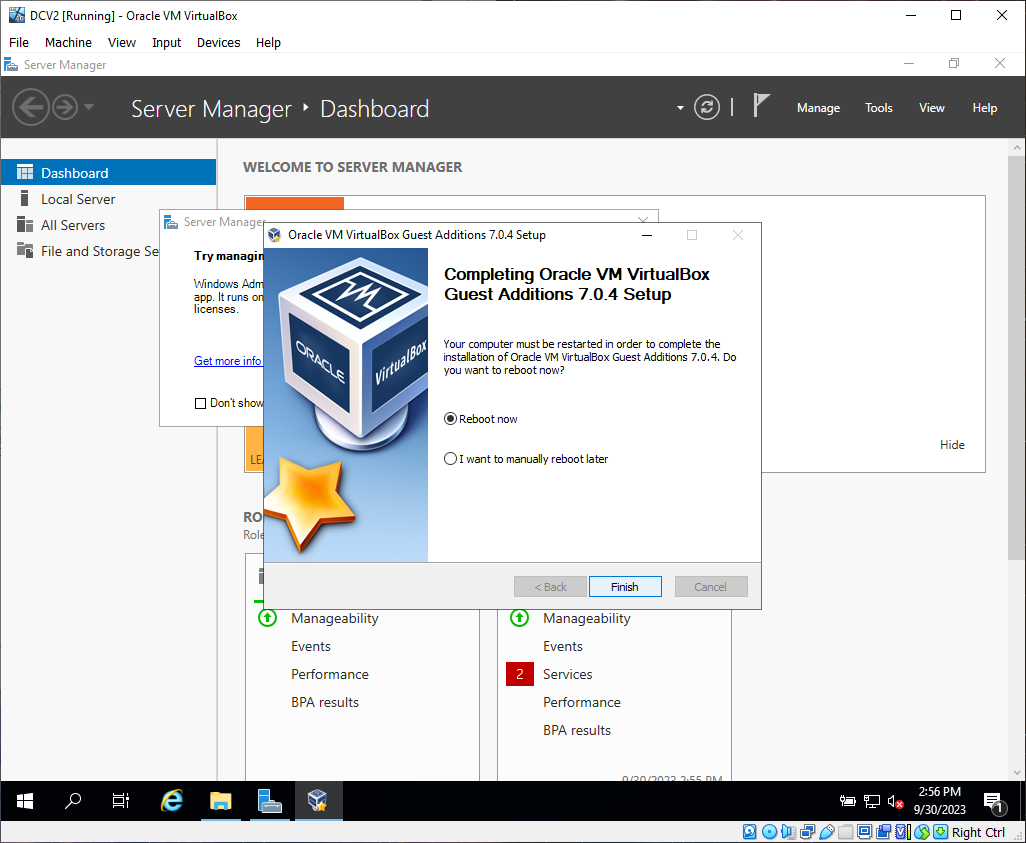
8d. Select Reboot now **if you get errors after rebooting, retry step 8 from the beginning, but this time choose reboot later instead of reboot now, then start the machine from the VM program.
**If everything is installed correctly, you should now be able to resize the window, and the UI of the VM will be responsive and fast, just like a normal PC.
****Configure networking****
This next step will help us determine which of the two network interfaces is the local one, and which is connected to the internet. the interface connected to the internet will have a normal IP address like 10.X.X.X. the other one will not. Once you determine which one is which by following the steps below, you can name them appropriately to make things easier for us later
9. Click on network icon in the tray, then the network

9a Click on " Change adapter settings"

9b. Right click the first adapter and select " status"

9c. Click "Details"
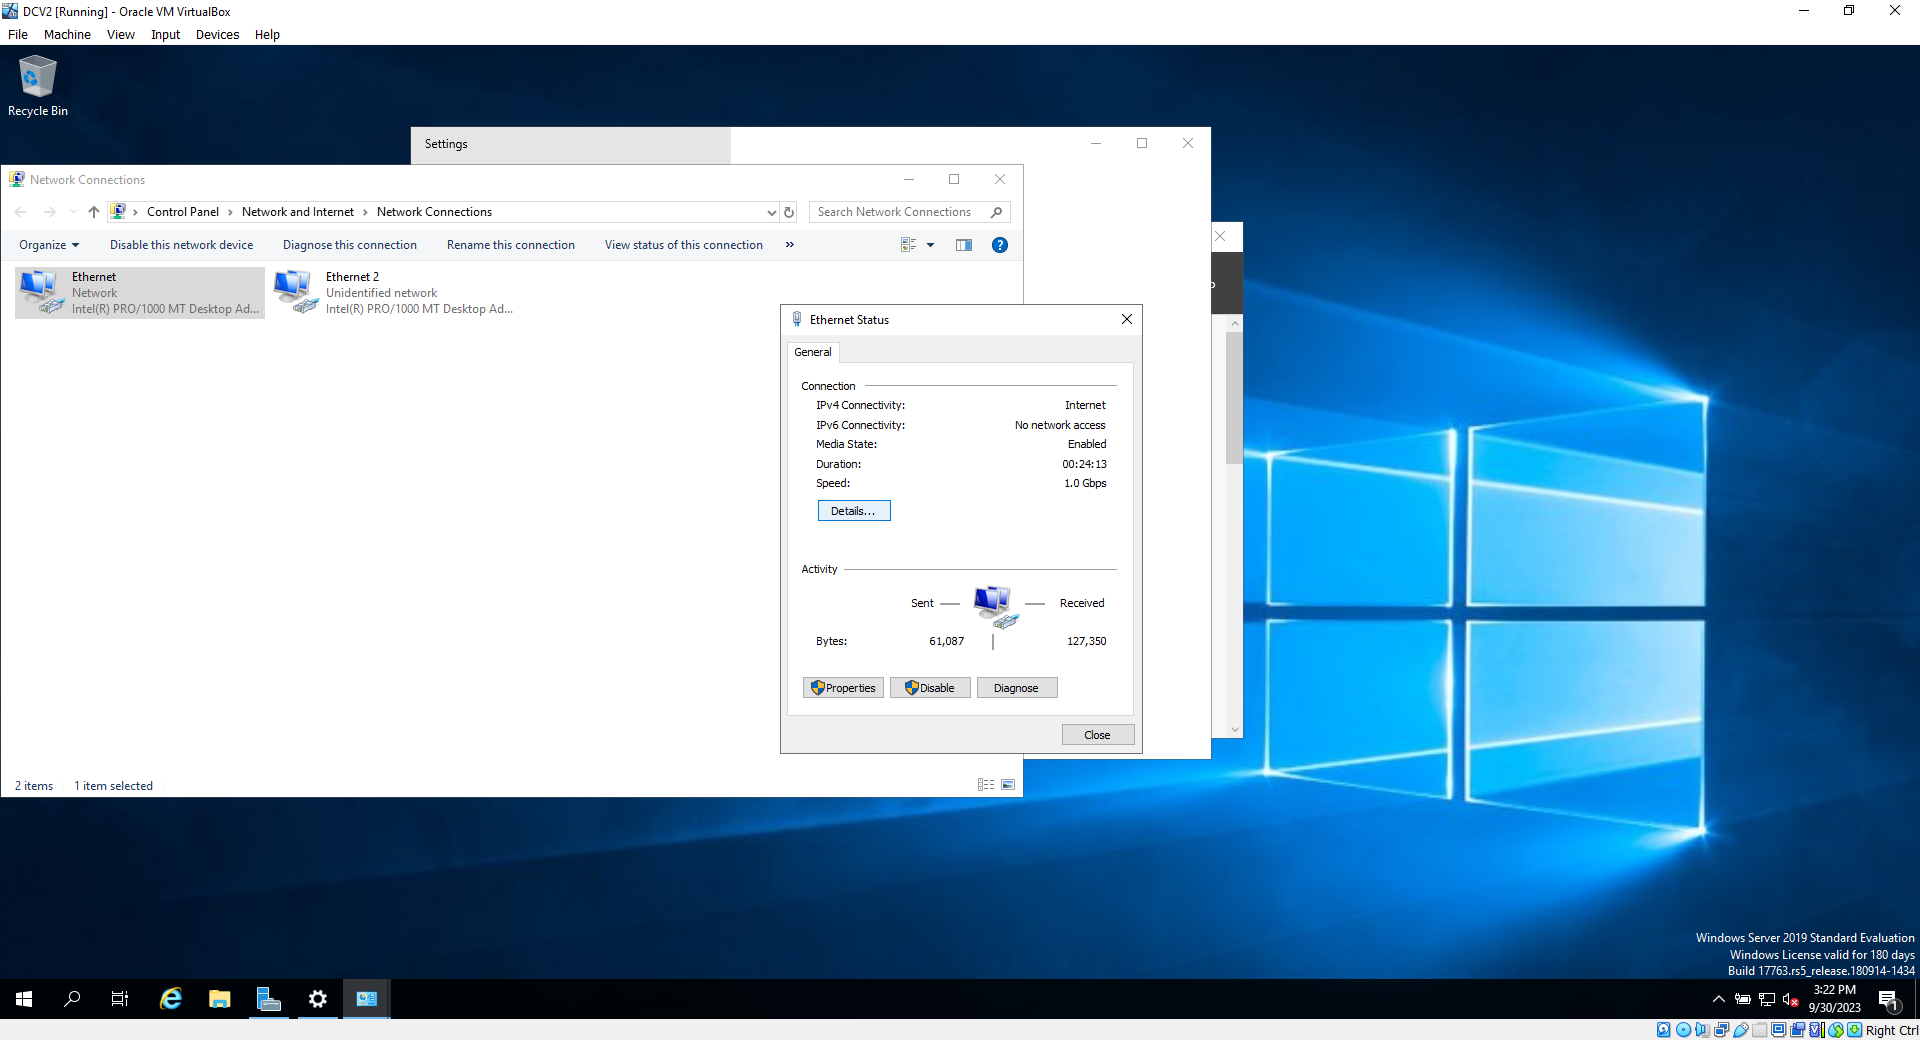
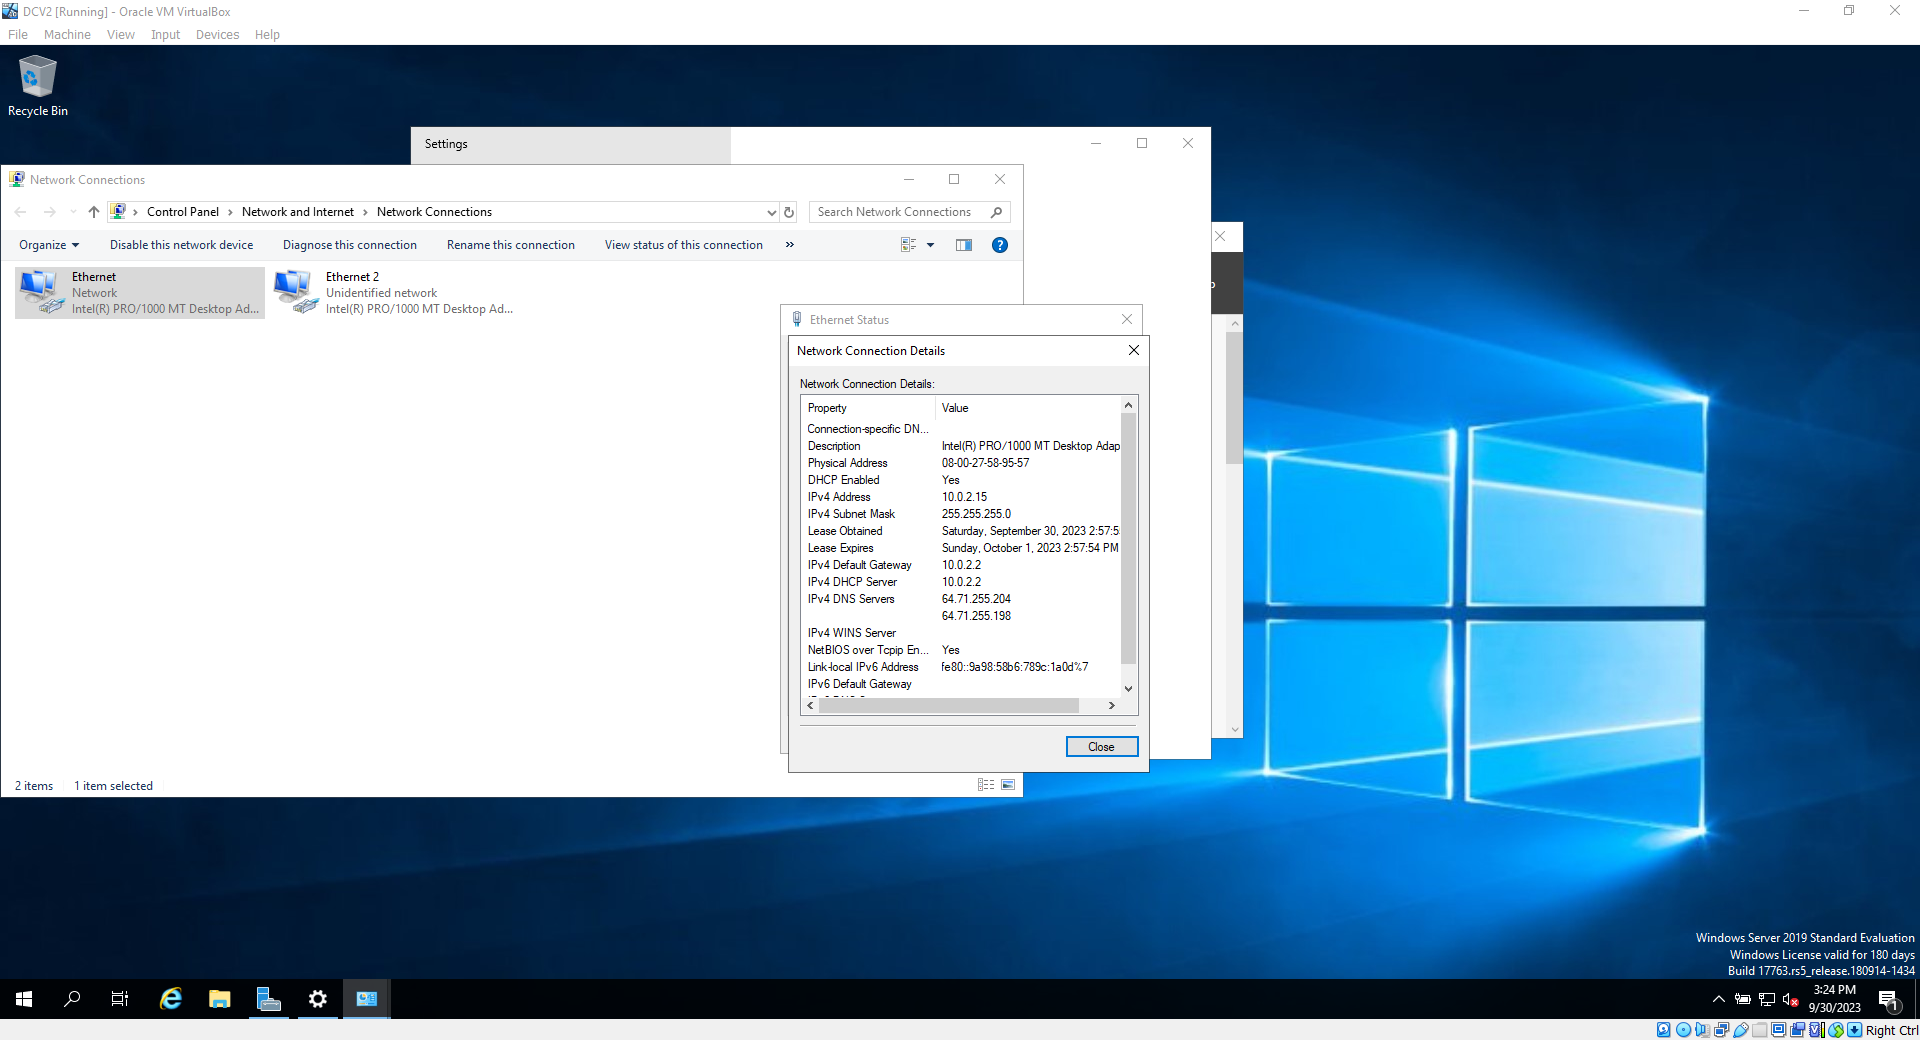
9d. Check the IP address, and determine if it's the internet interface or the network interface. Remember, the interface connected to the internet will likely have a normal ipv4 address like 10.X.X.X, the local interface will likely have an auto-assigned address like 169.X.X.X. In this case, this one is the interface connected to the internet. Another hint that can help you tell which interface is the local one, is the lack of packets being received, due to it being unconfigured
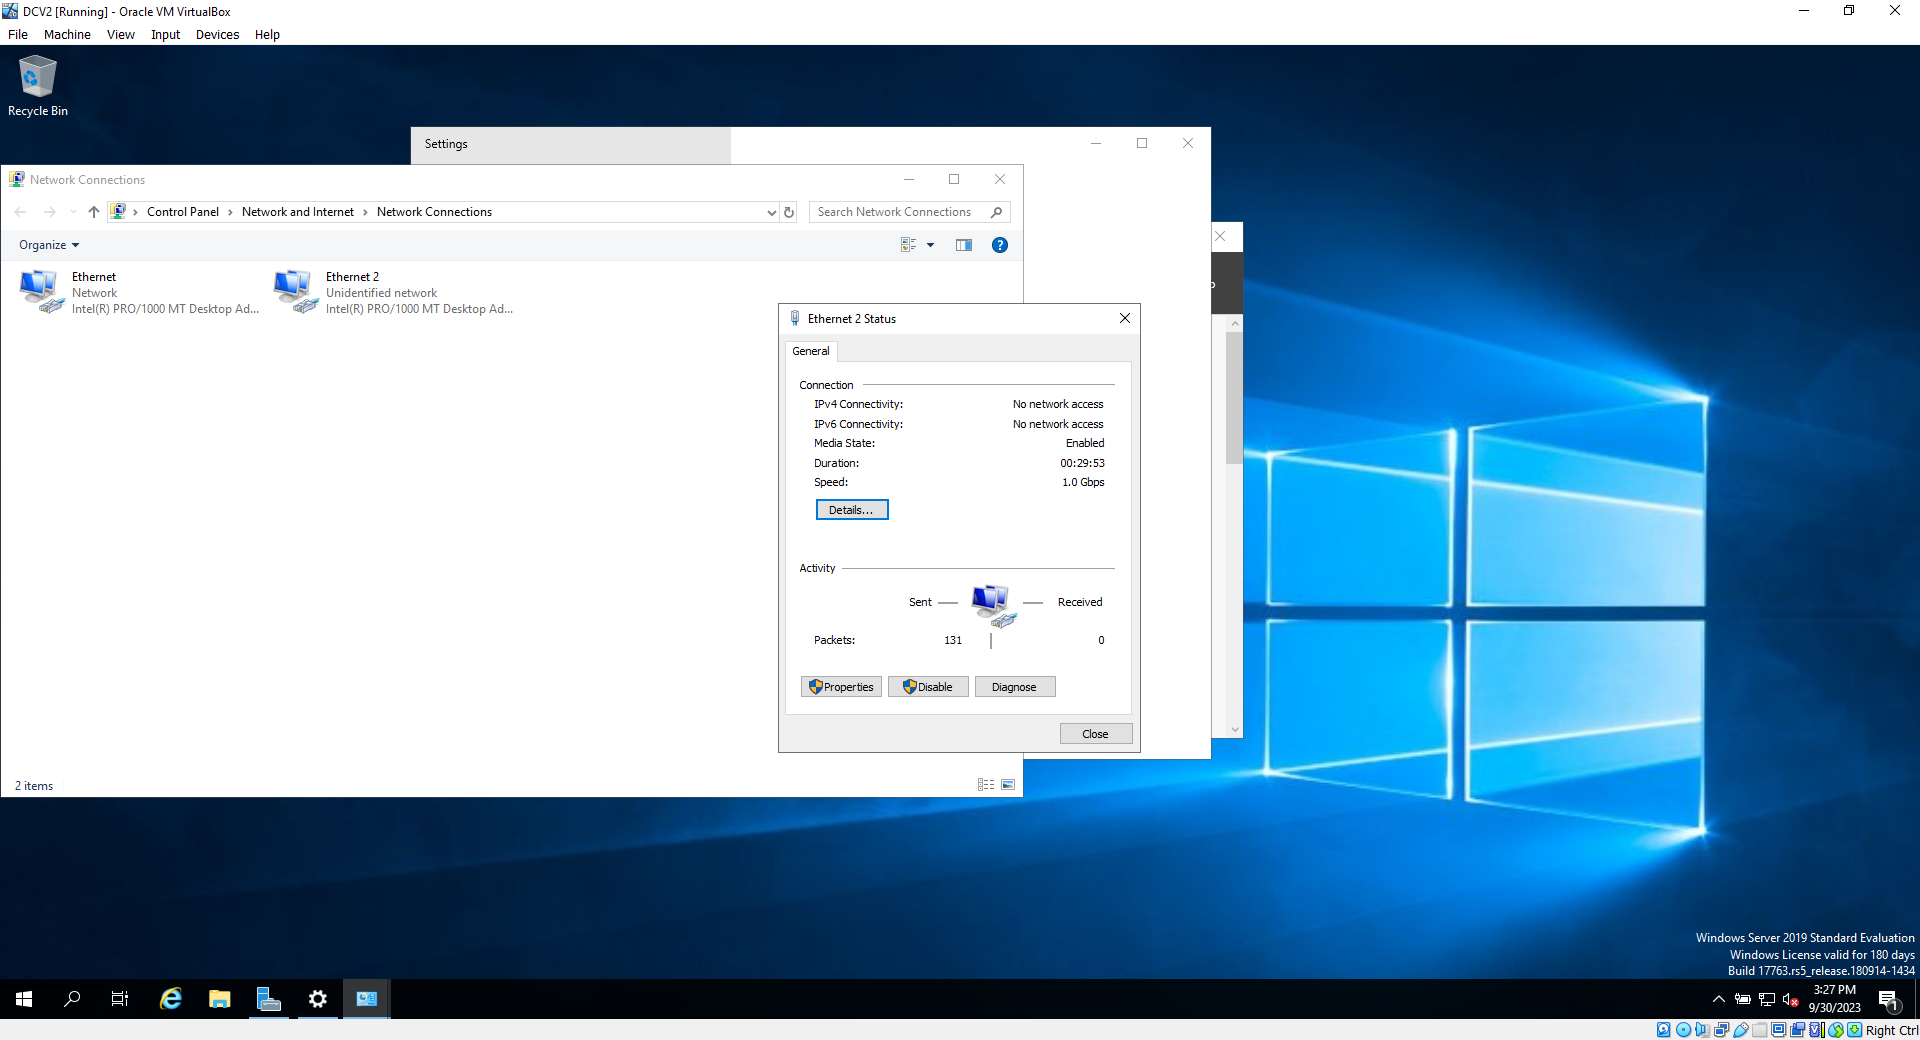
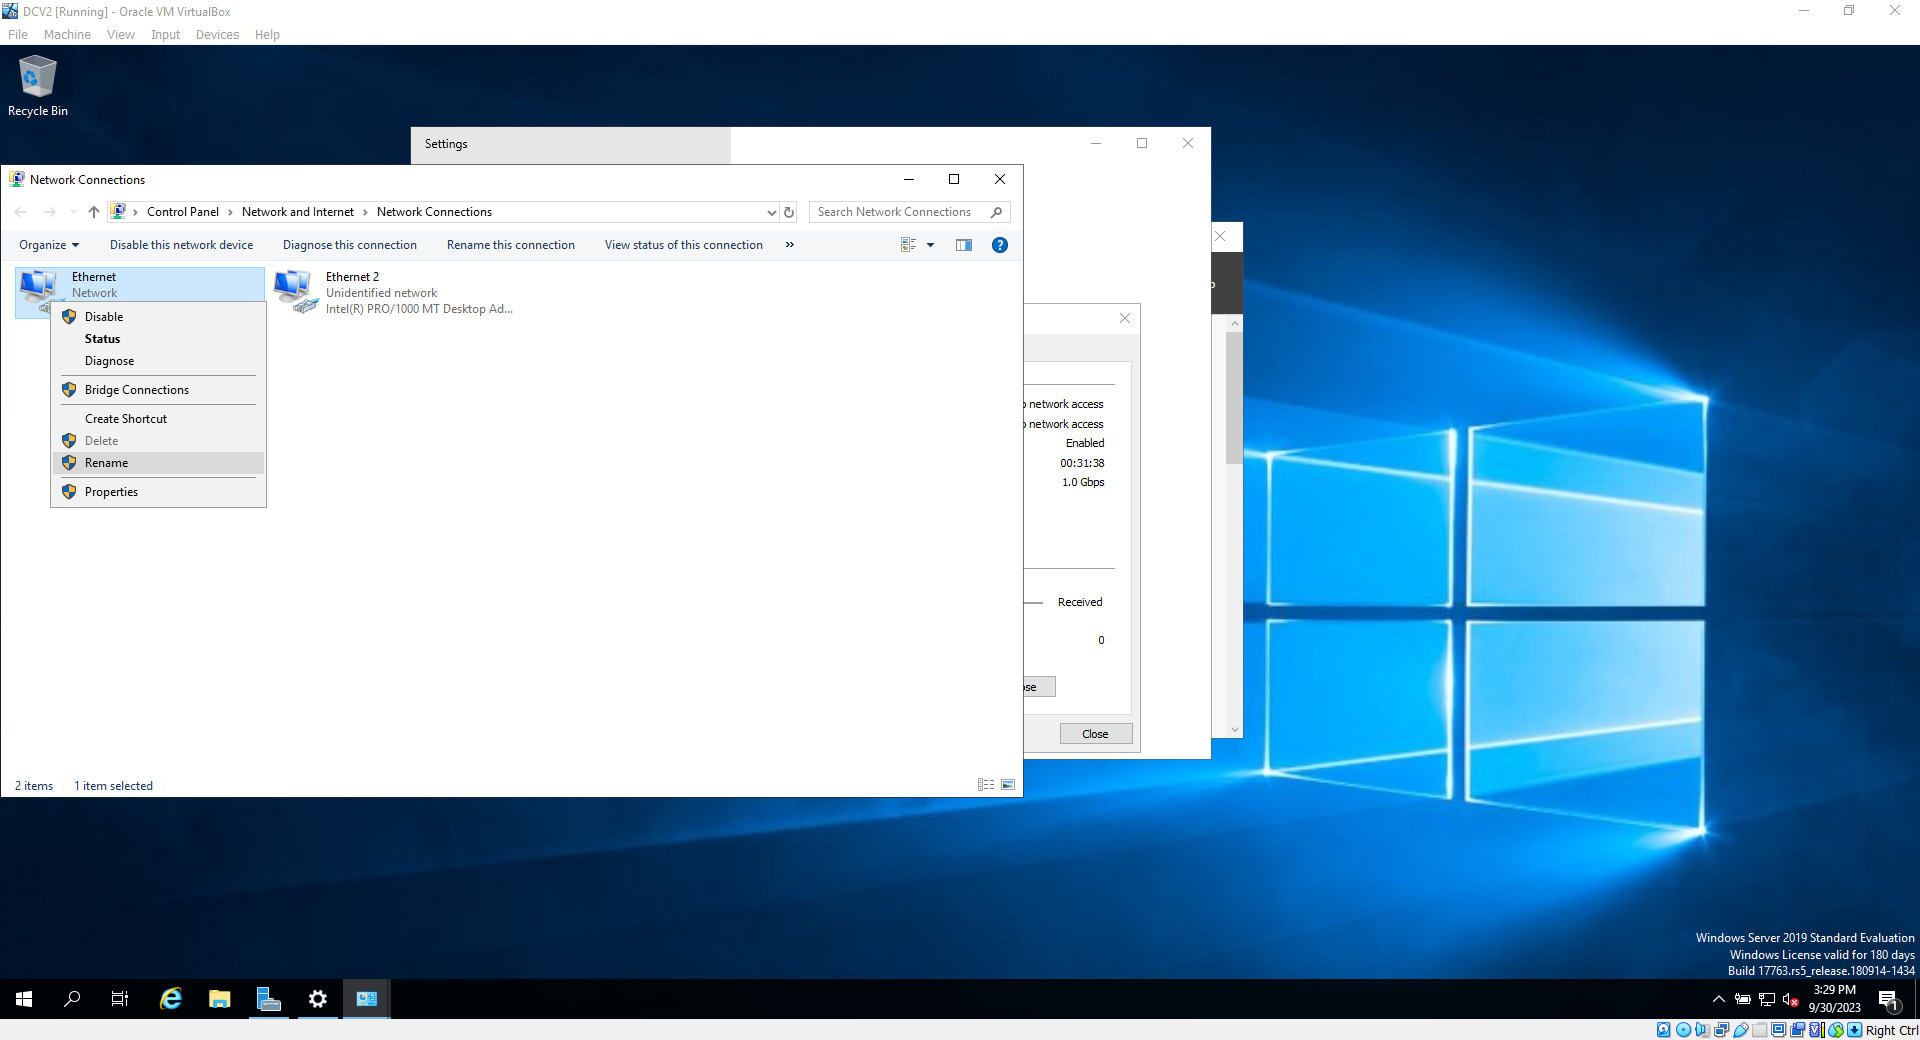
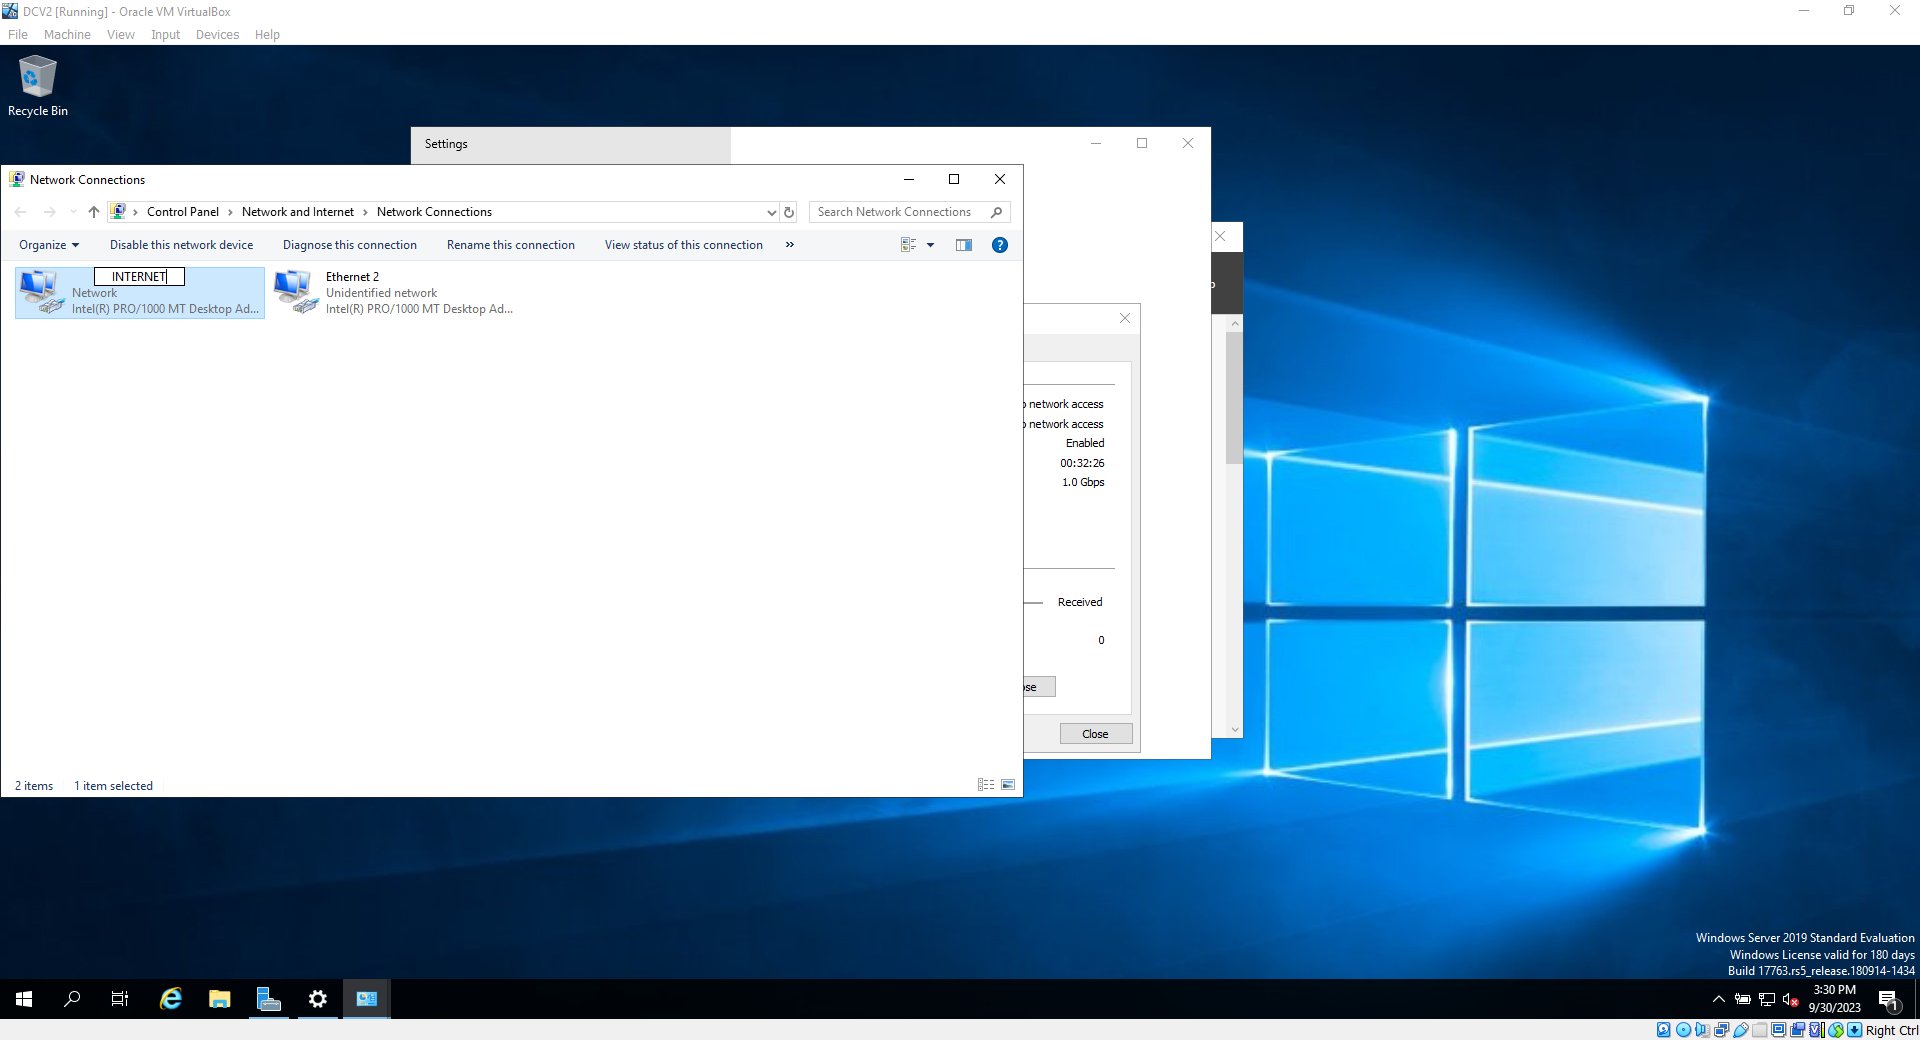
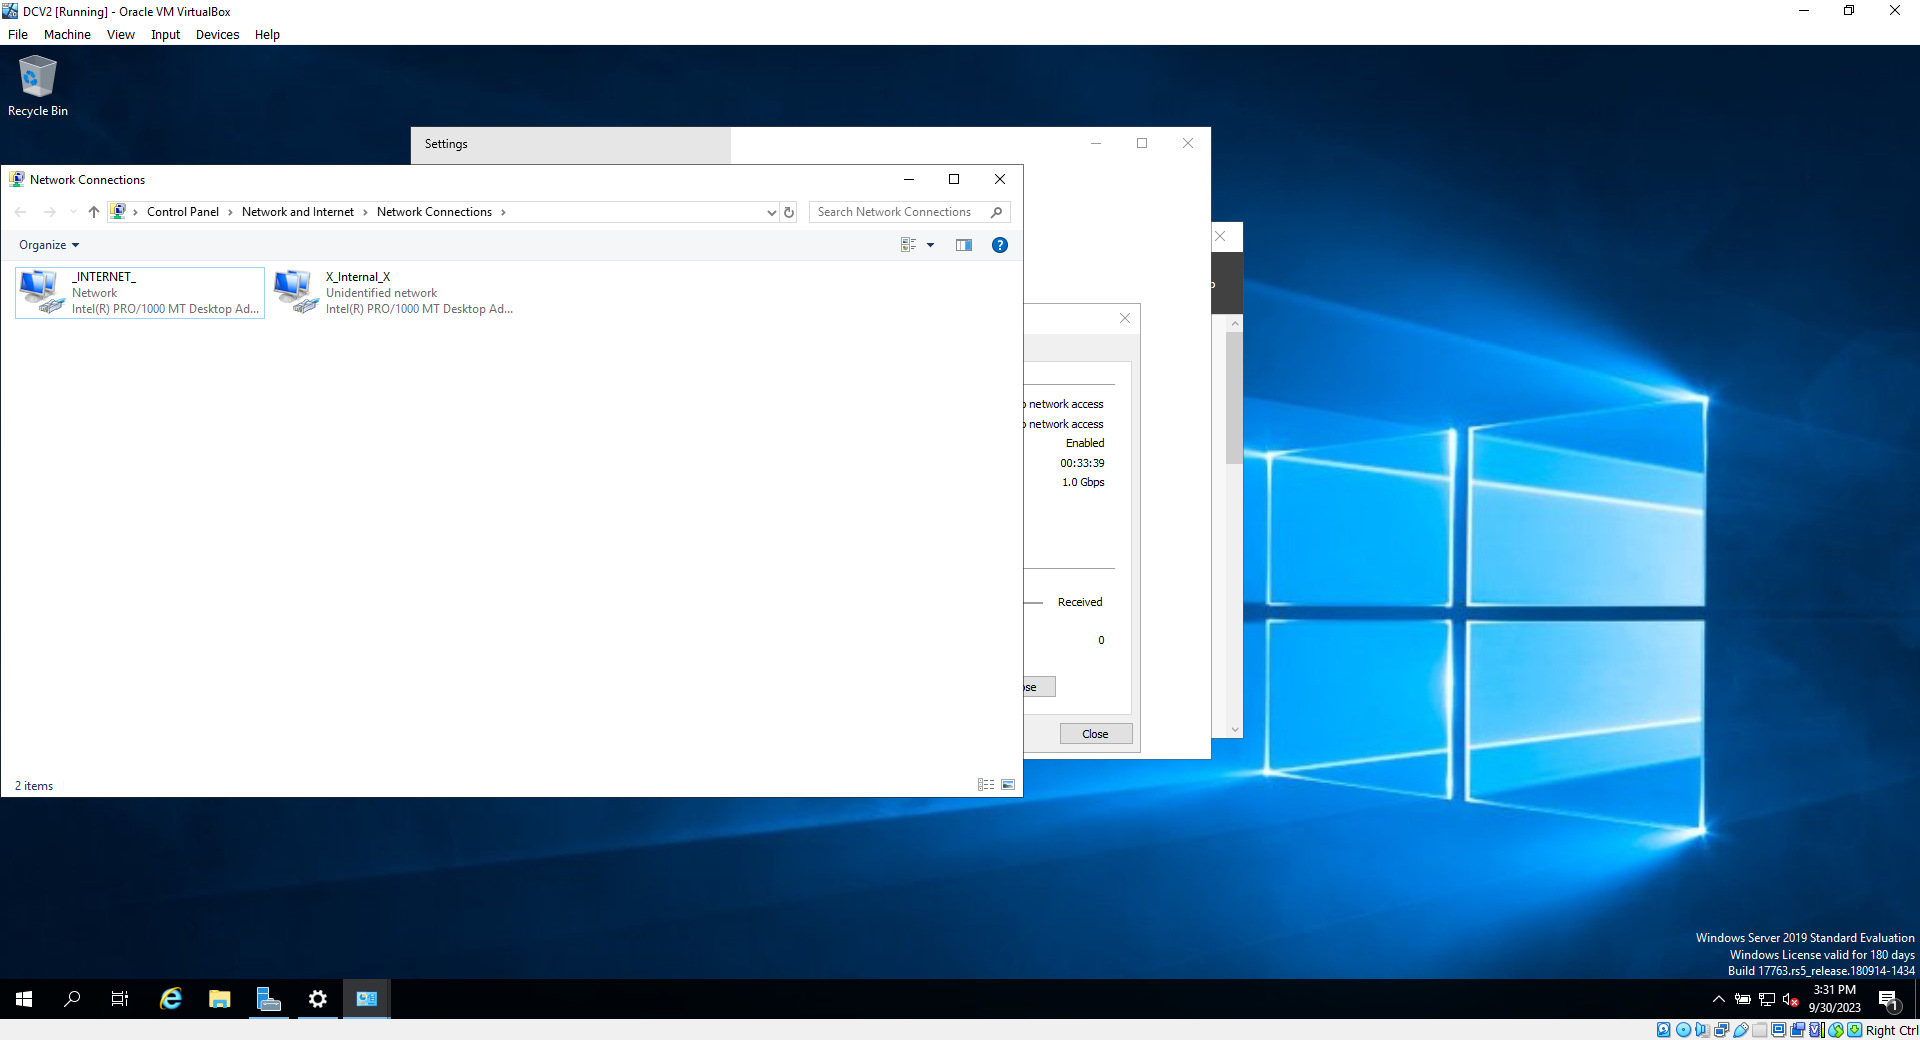
9e. Once you've determined which one is which, label them by right clicking each interface and selecting "Rename"
****assigning ip addressing to the internal network interface****
10. Next we're going to manually configure the internal network interface. right click on the internal interface, and select properties. Then click internet protocol version 4, and then properties

10a. Enter an appropriate ip address as seen in the screenshot, in this case ,we will use 172.16.0.1 with a 255.255.255.0 subnet address. The DNS will be 127.0.0.1, since it will be the host device that will resolve addresses for us. Click ok when everything is entered in

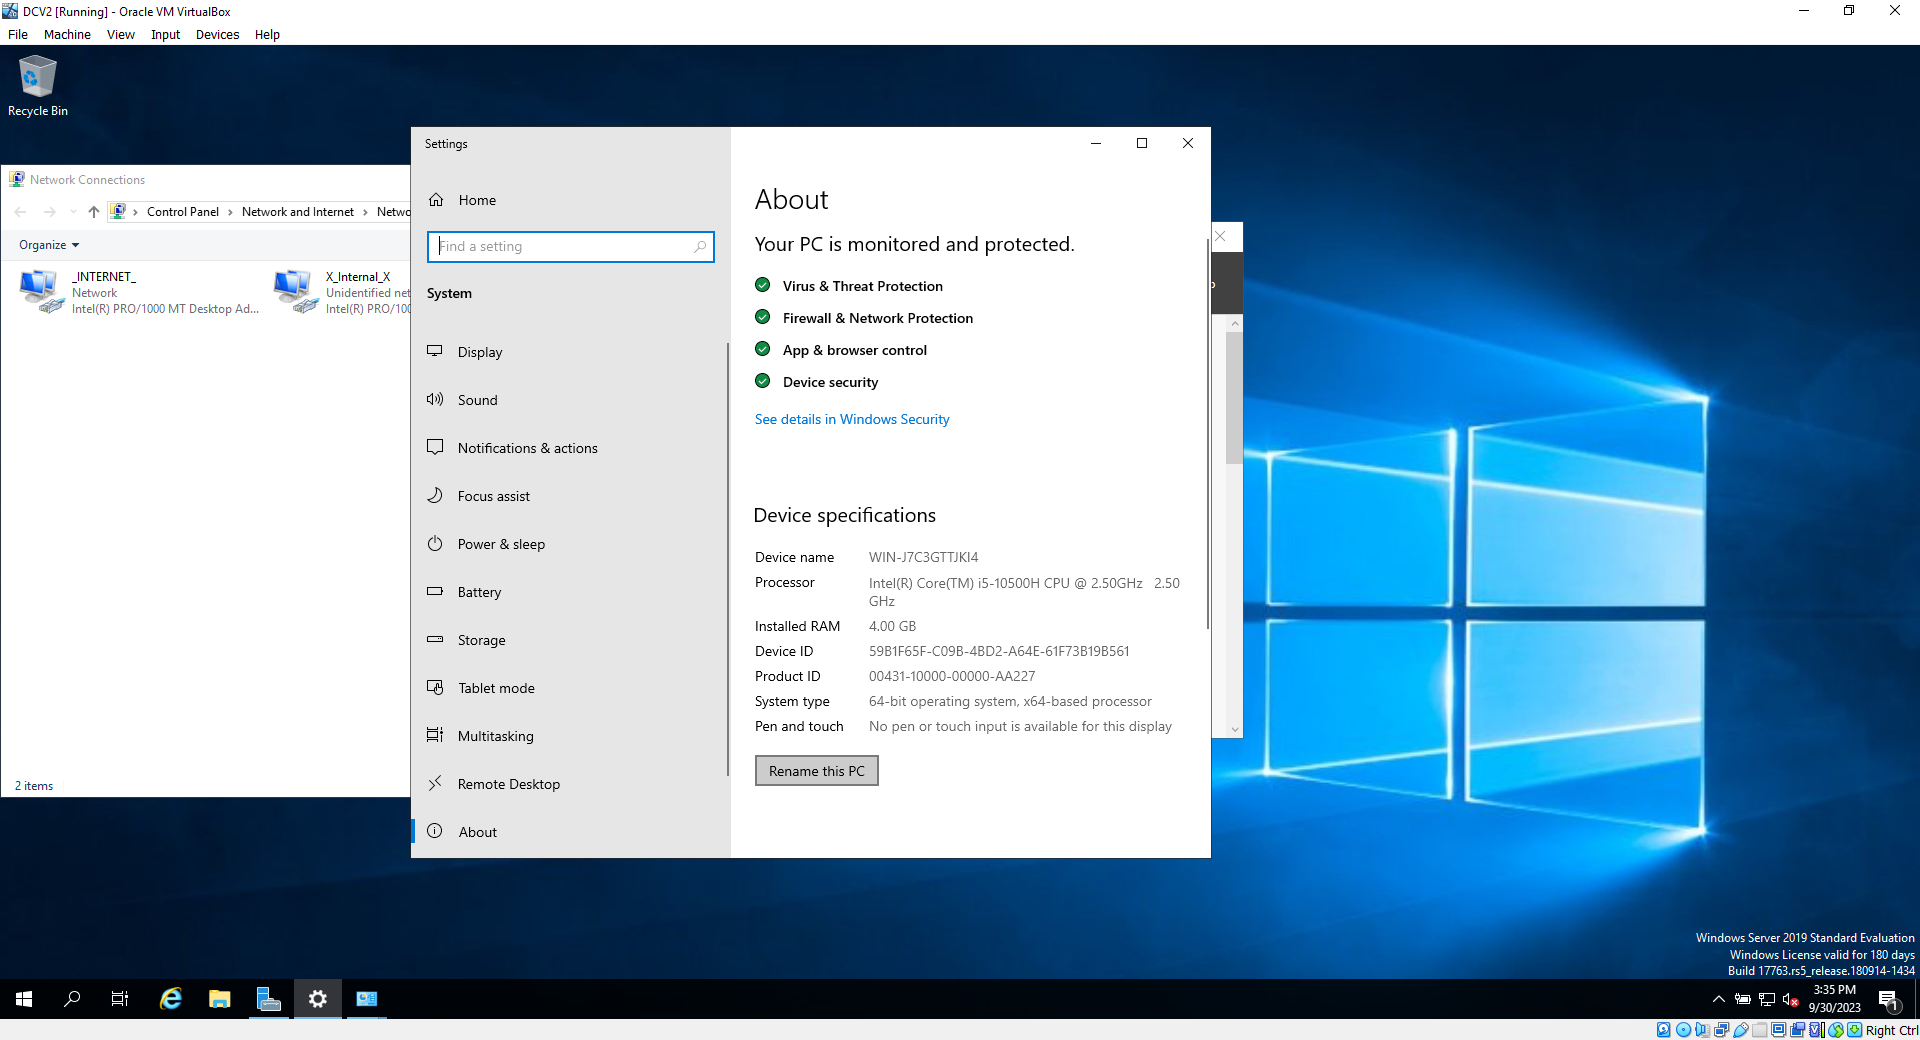
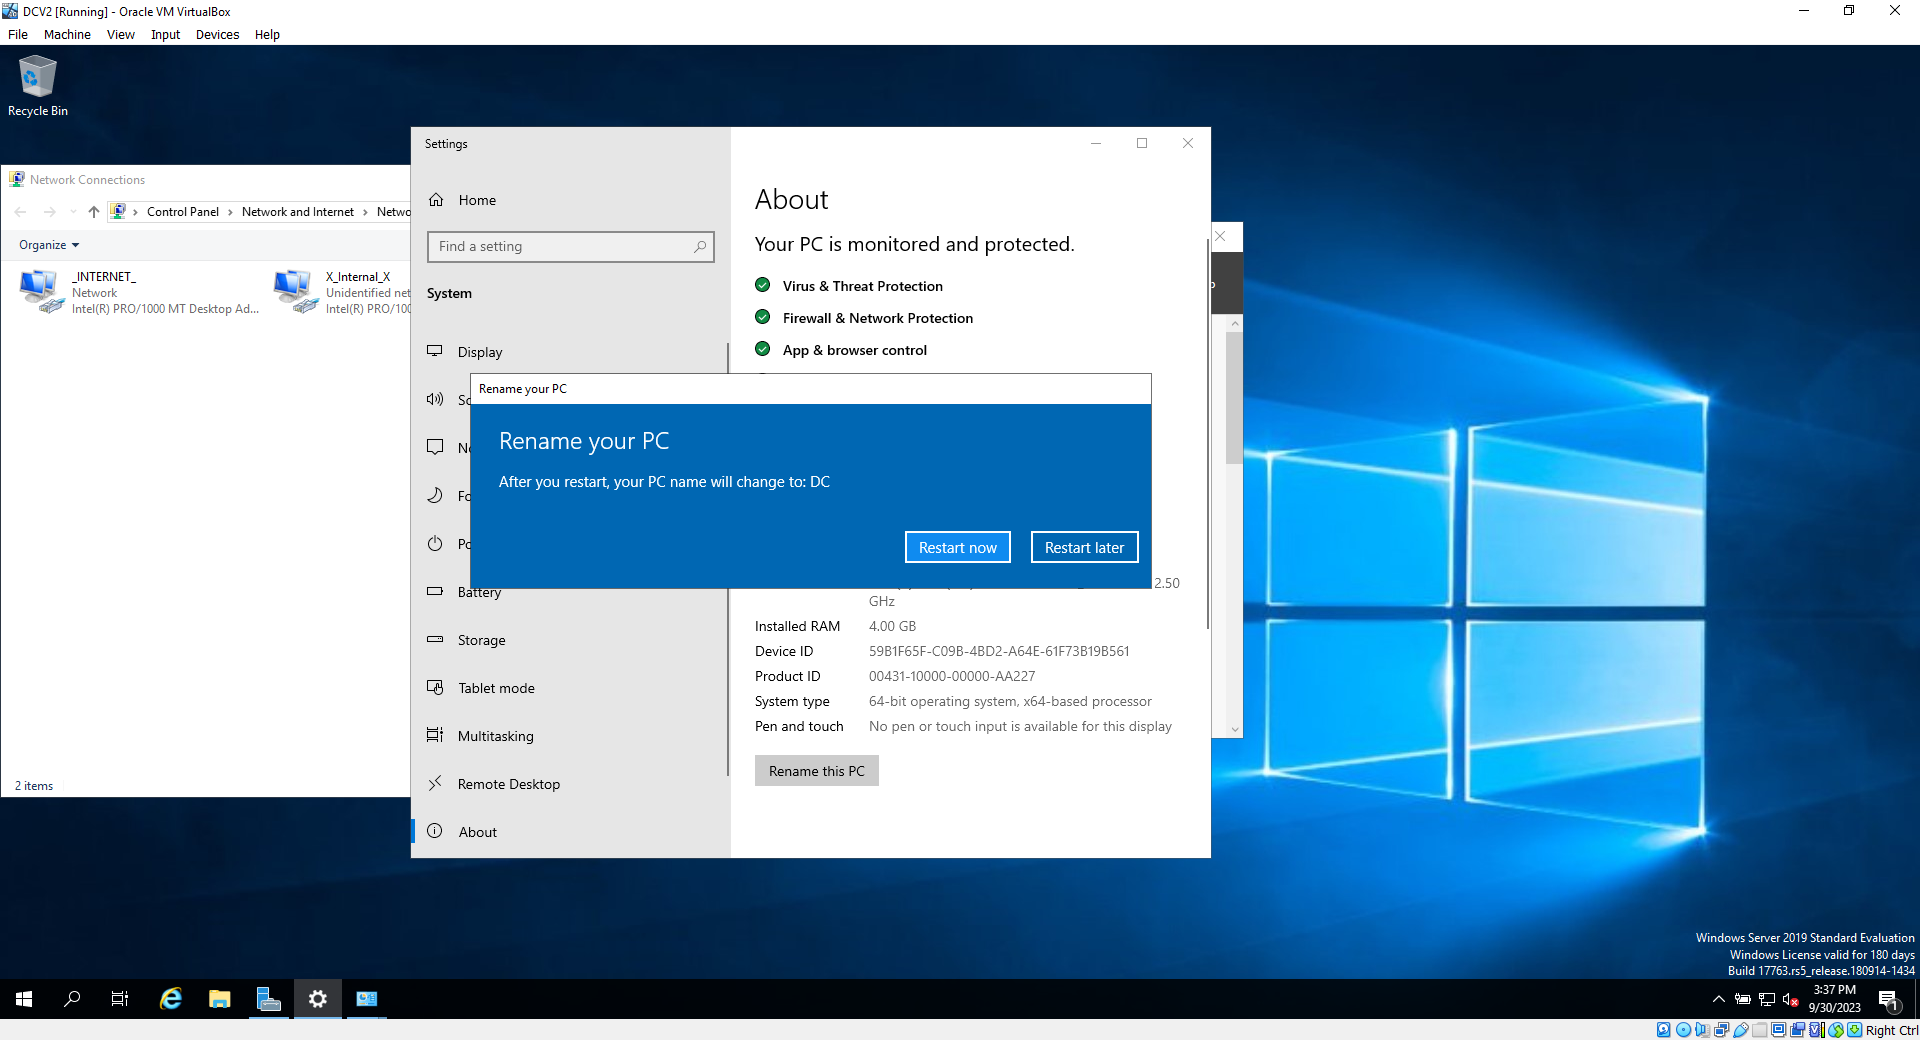
10b. To rename computer, right-click the windows icon, click system, scroll down and then click "rename PC"

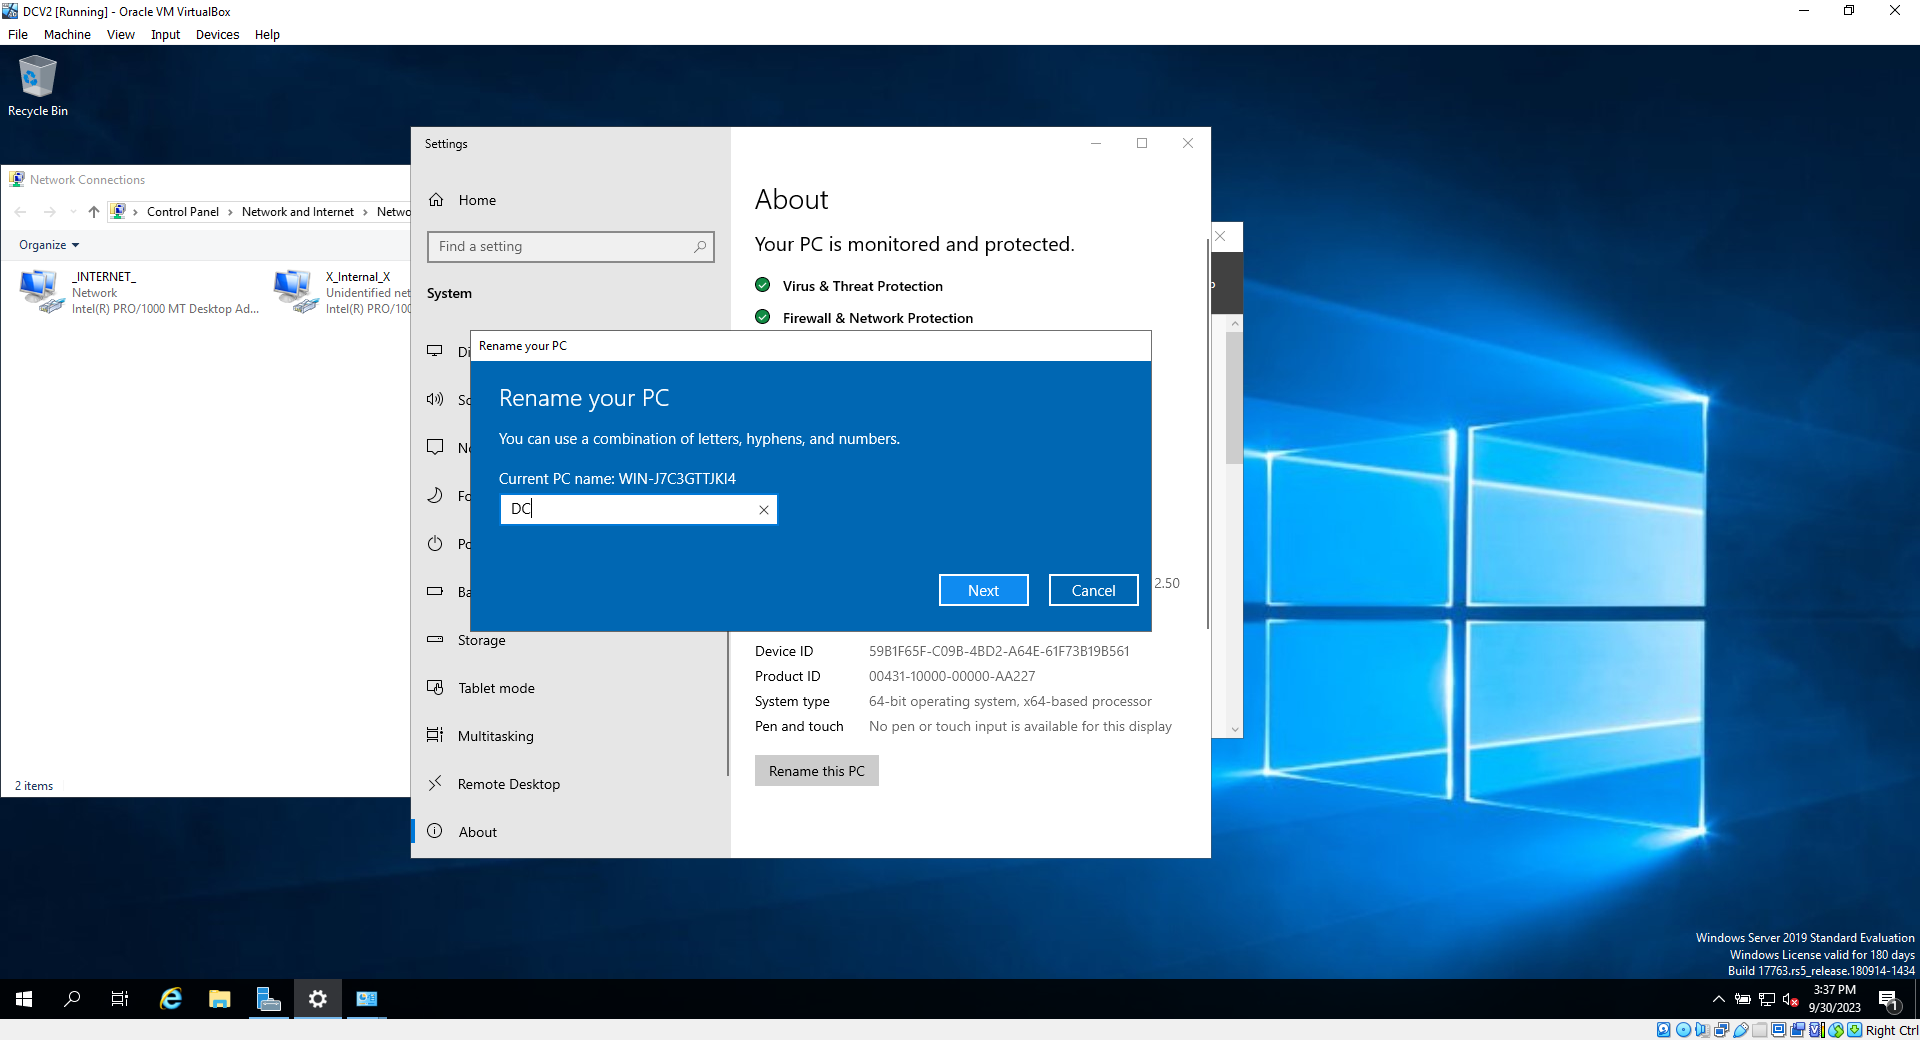
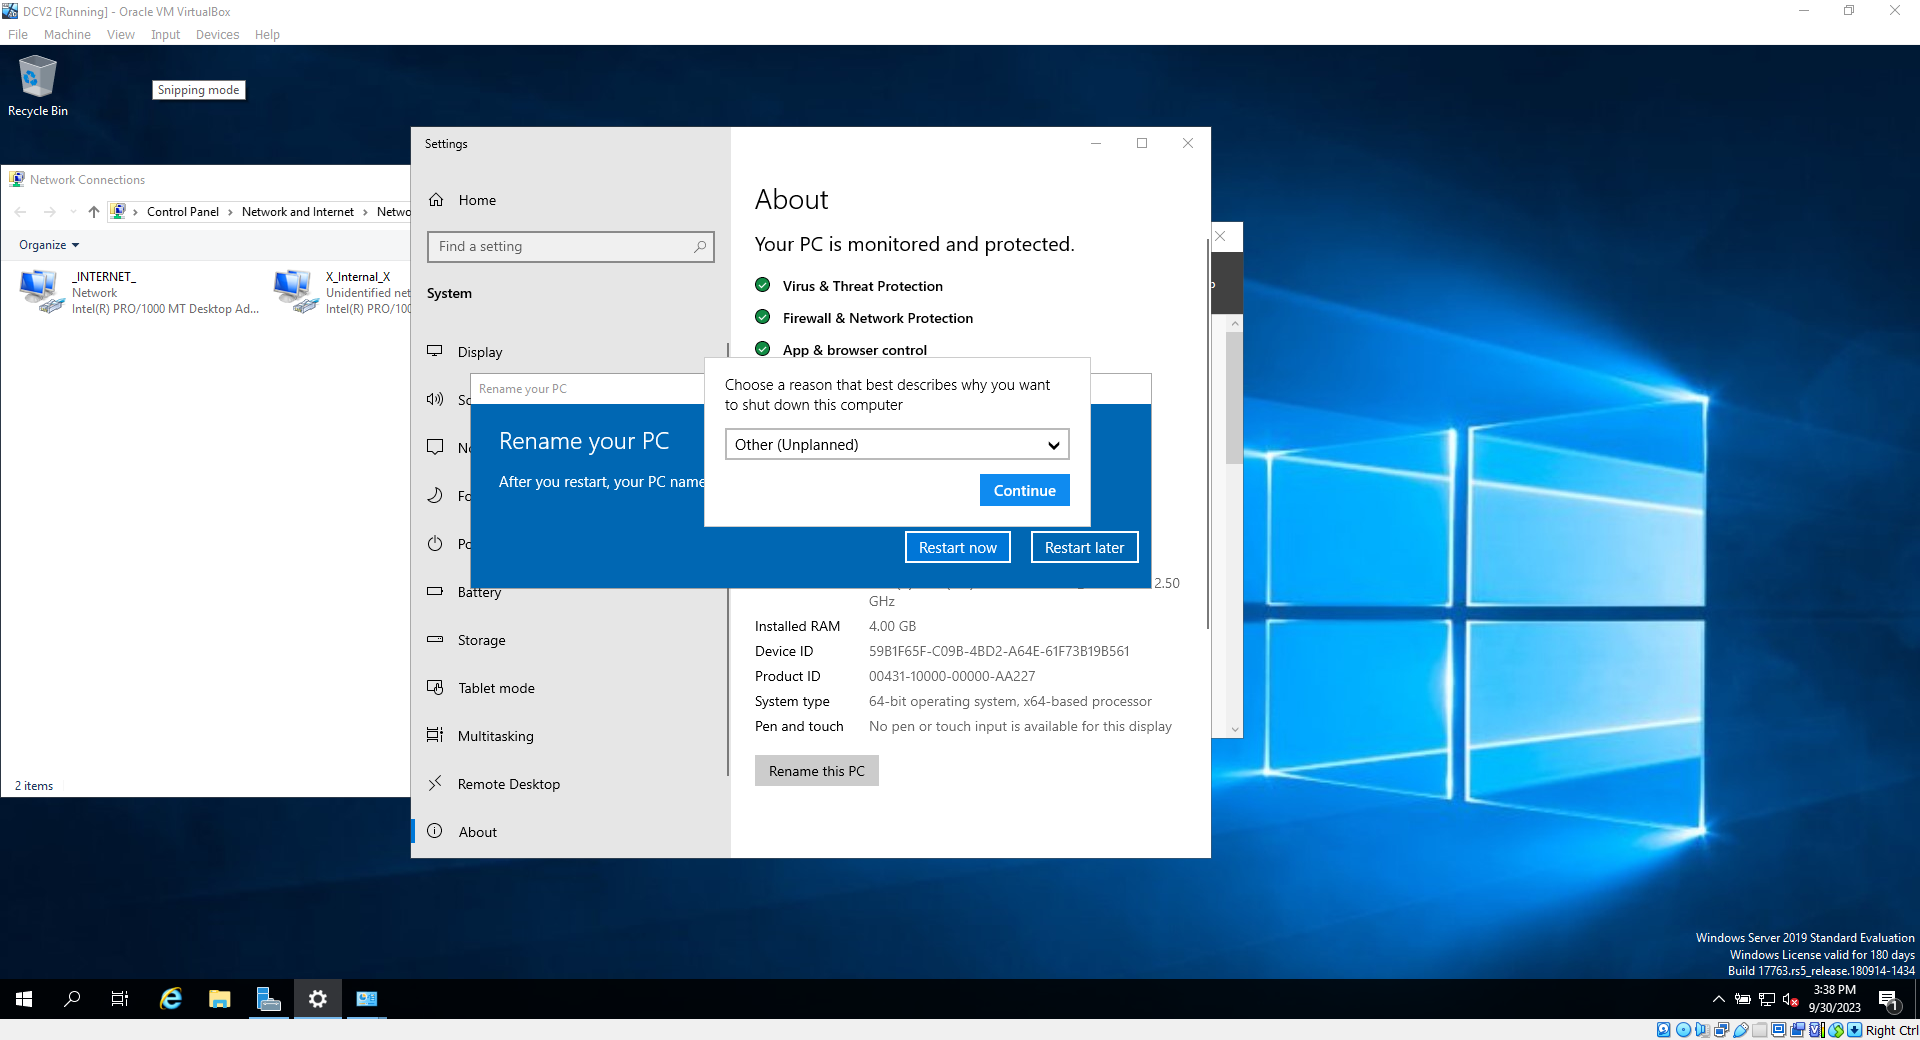
10c. Choose your name, click next, then restart now (just hit continue when/if asked for shutdown reason)
****Install windows server and configure components
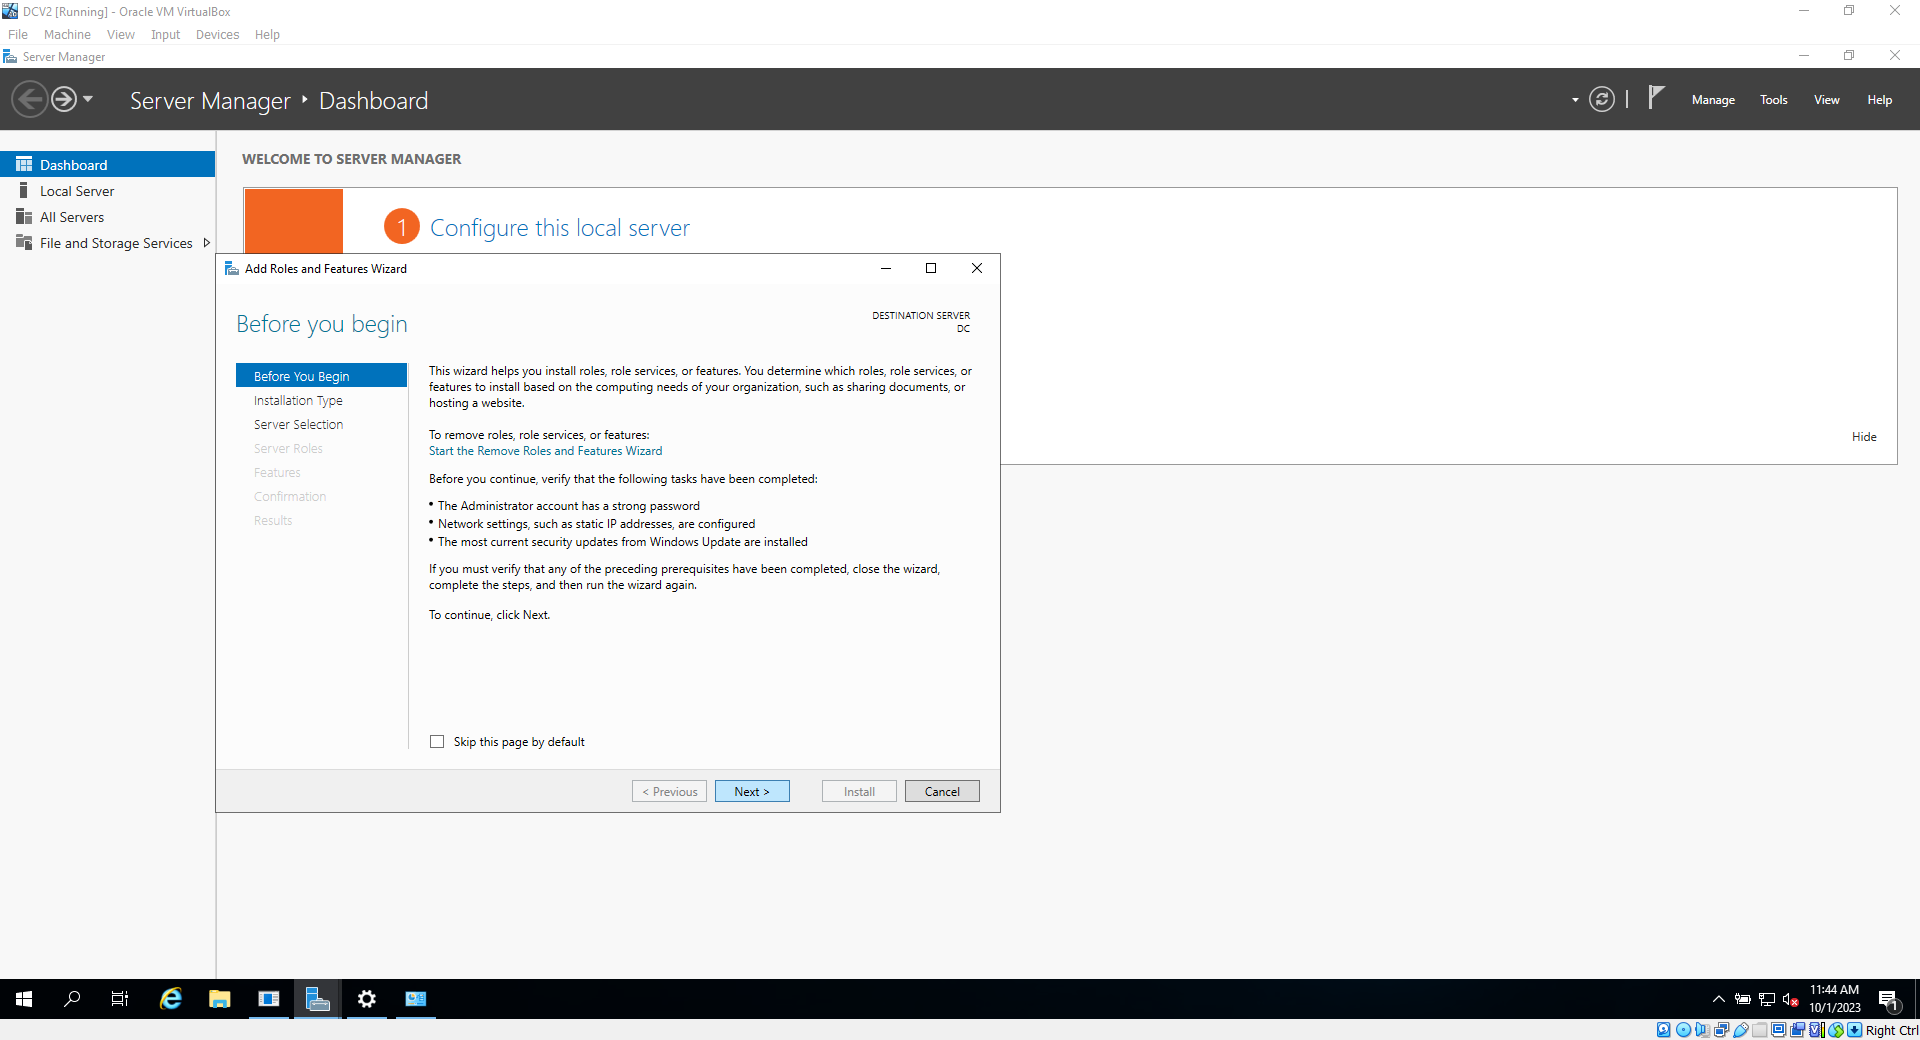
11. Go to the Server Manager program on your PC, and on the main page, click on "Add Roles and Features"

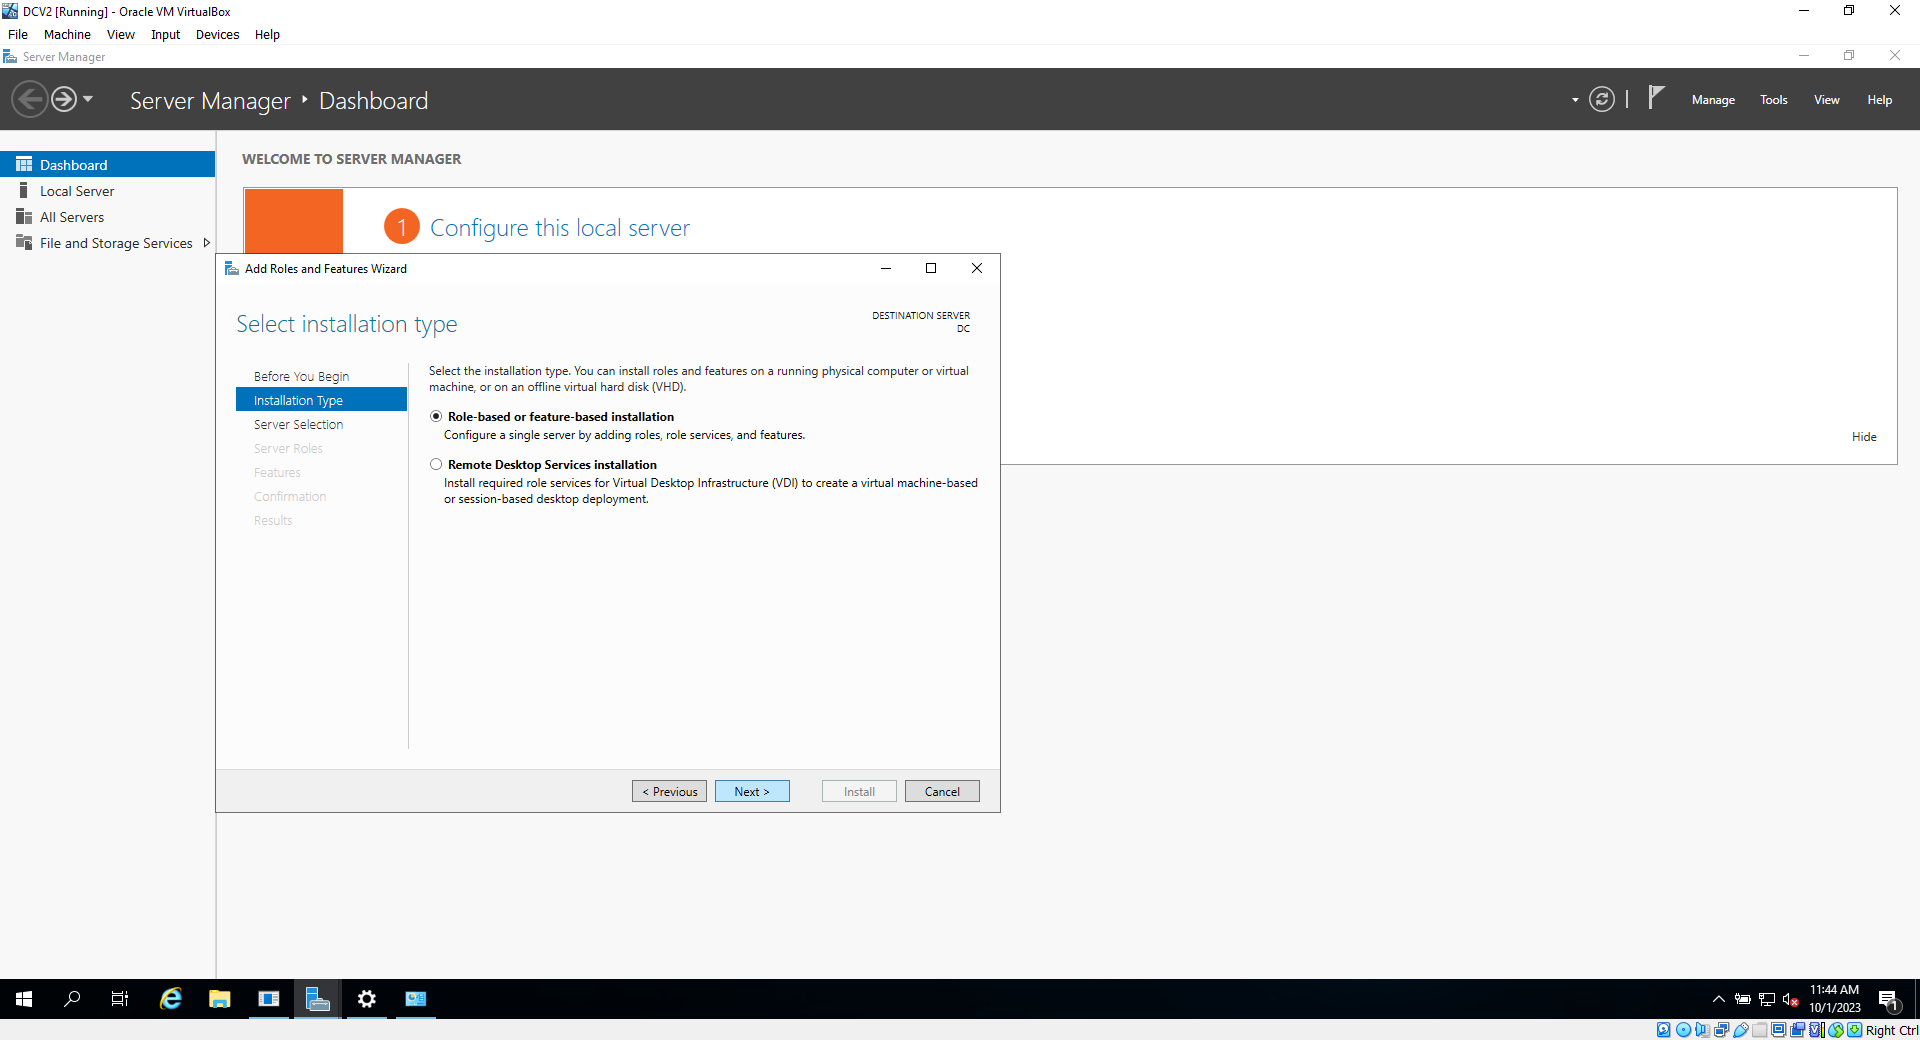
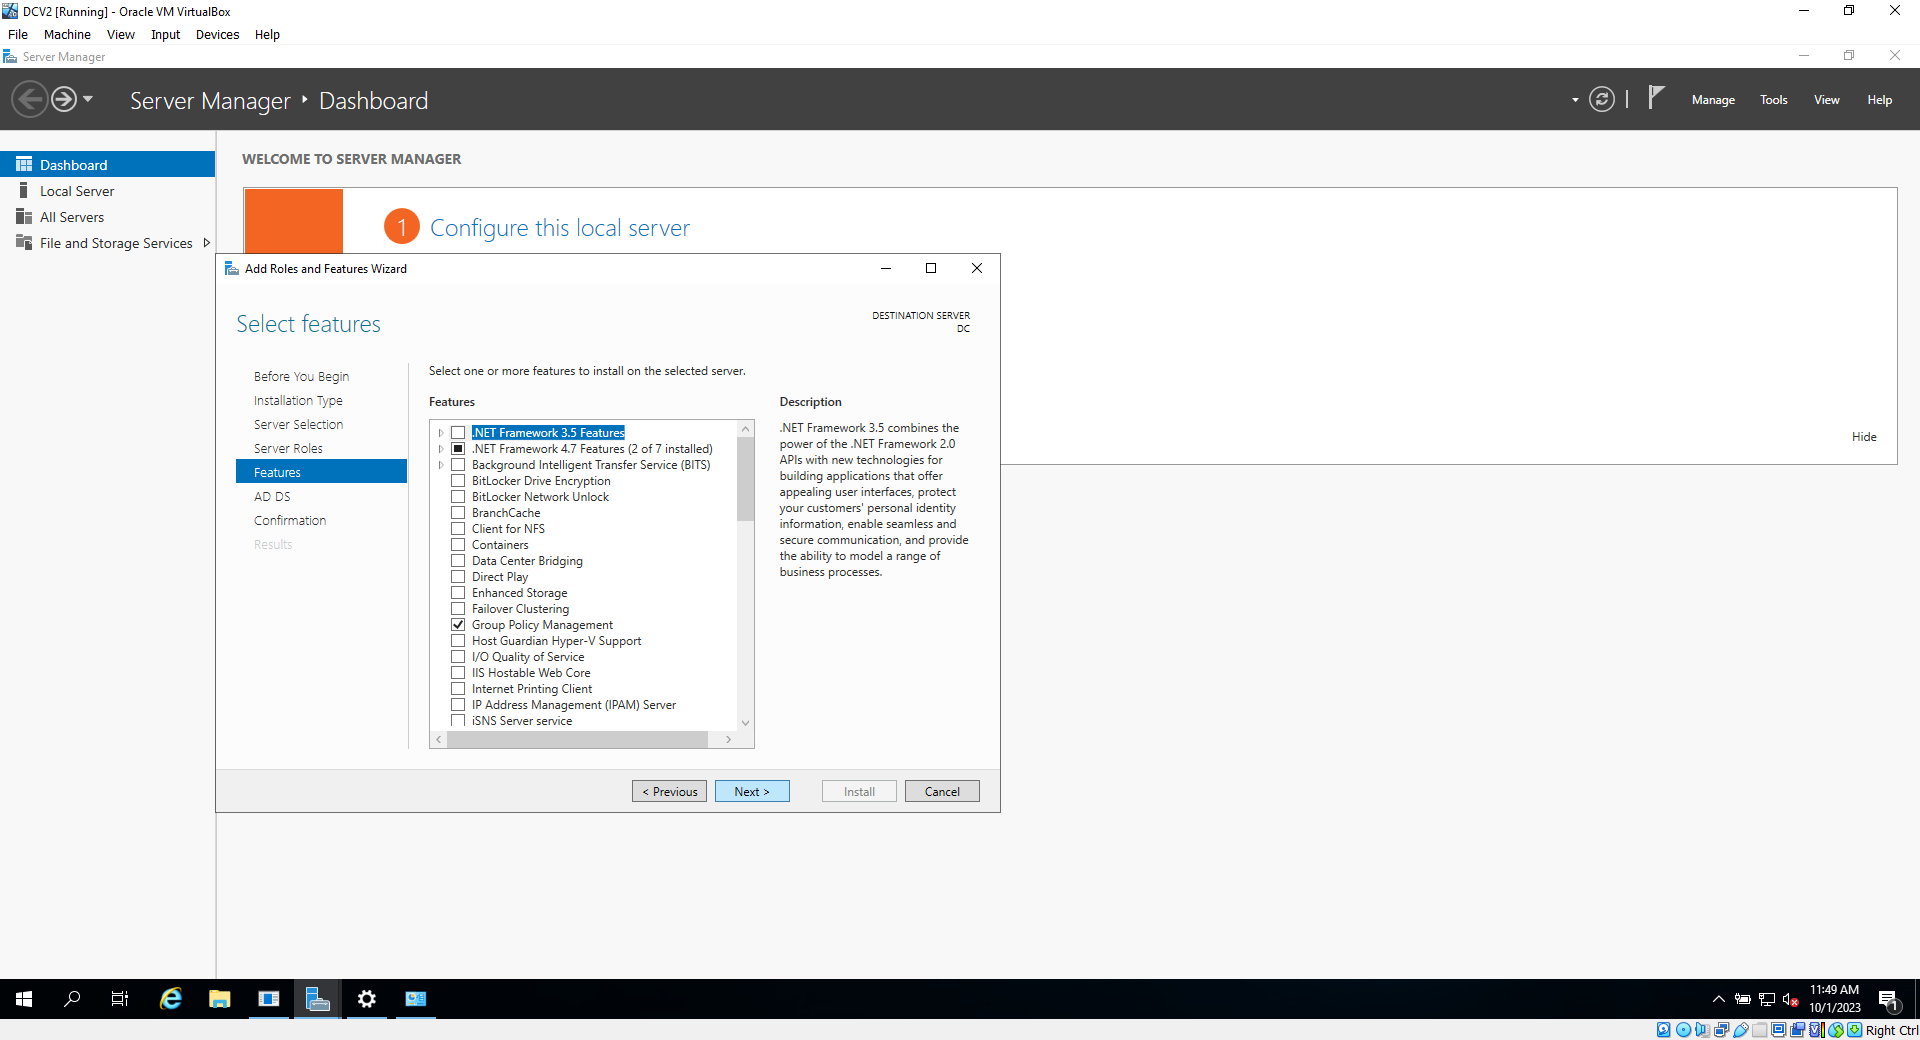
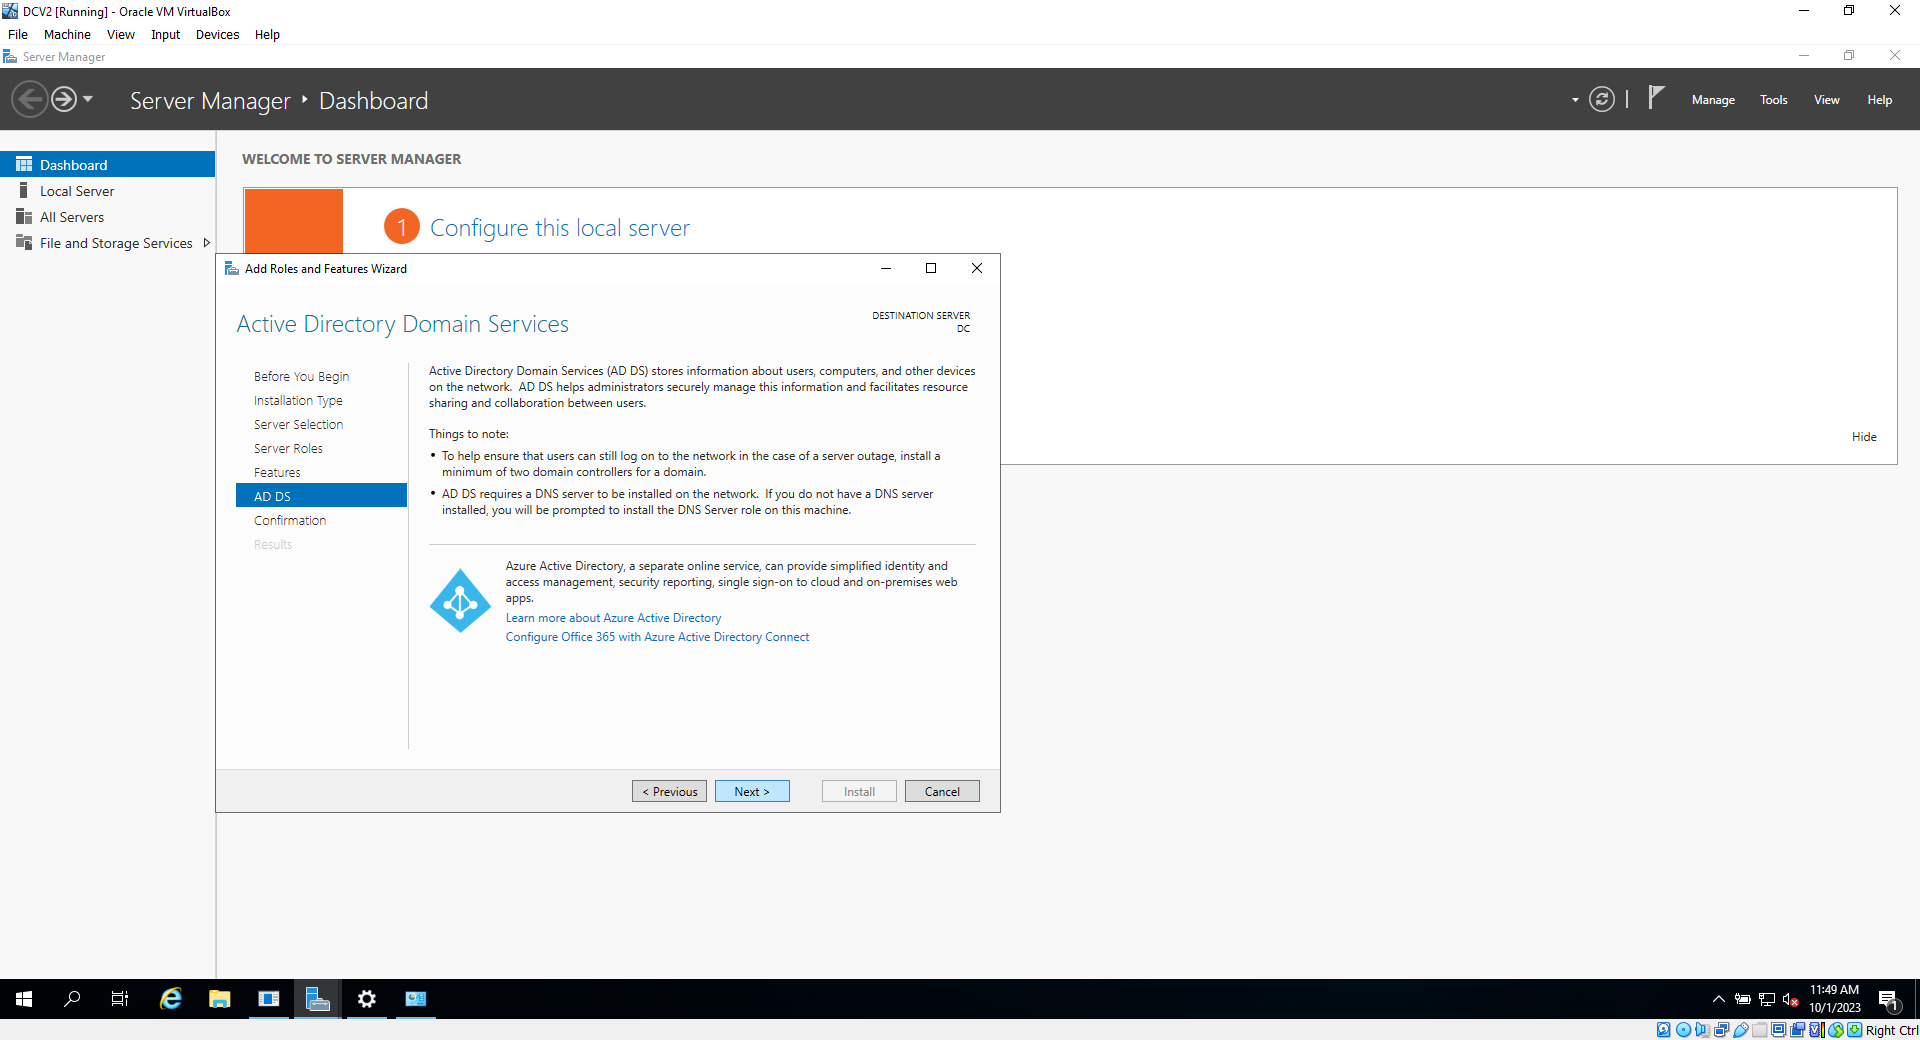
11b. Click next three times, and at the server roles section, select "Active Directory Domain Services". Click "add features" in the next window, then click next.
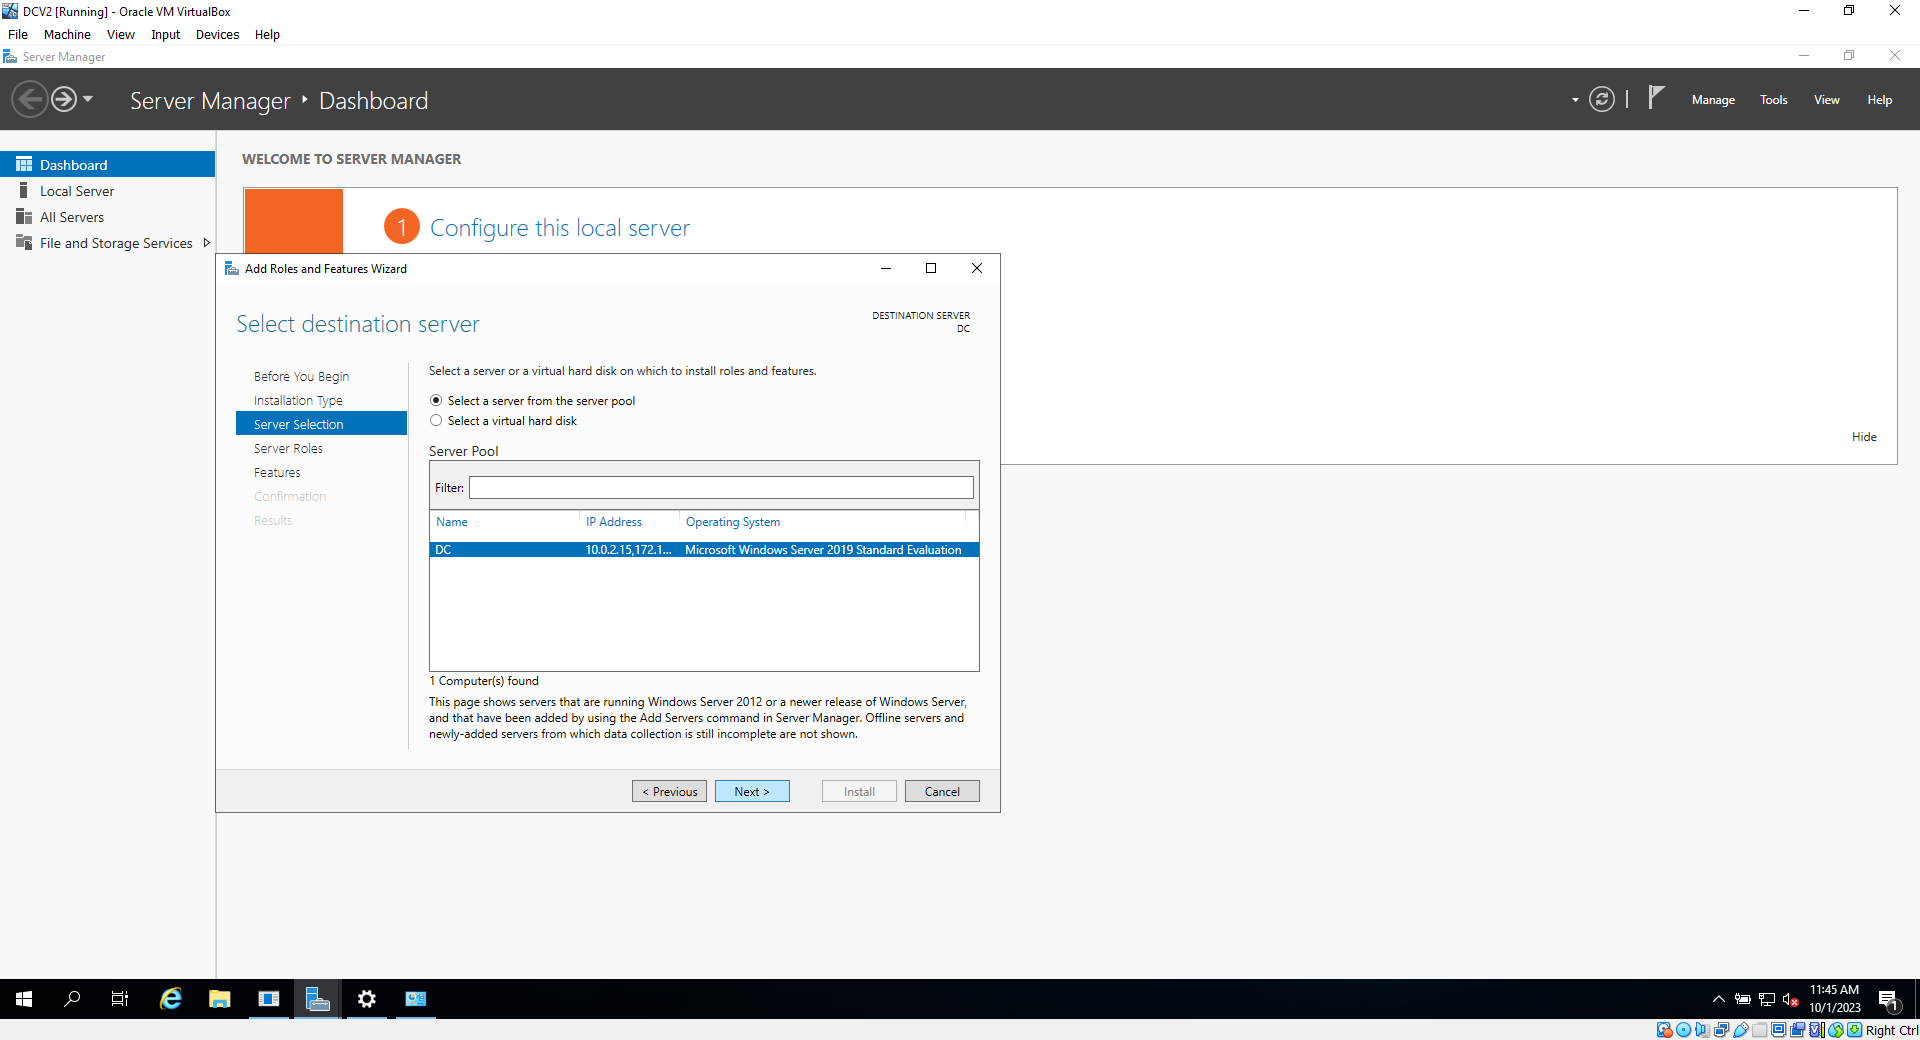
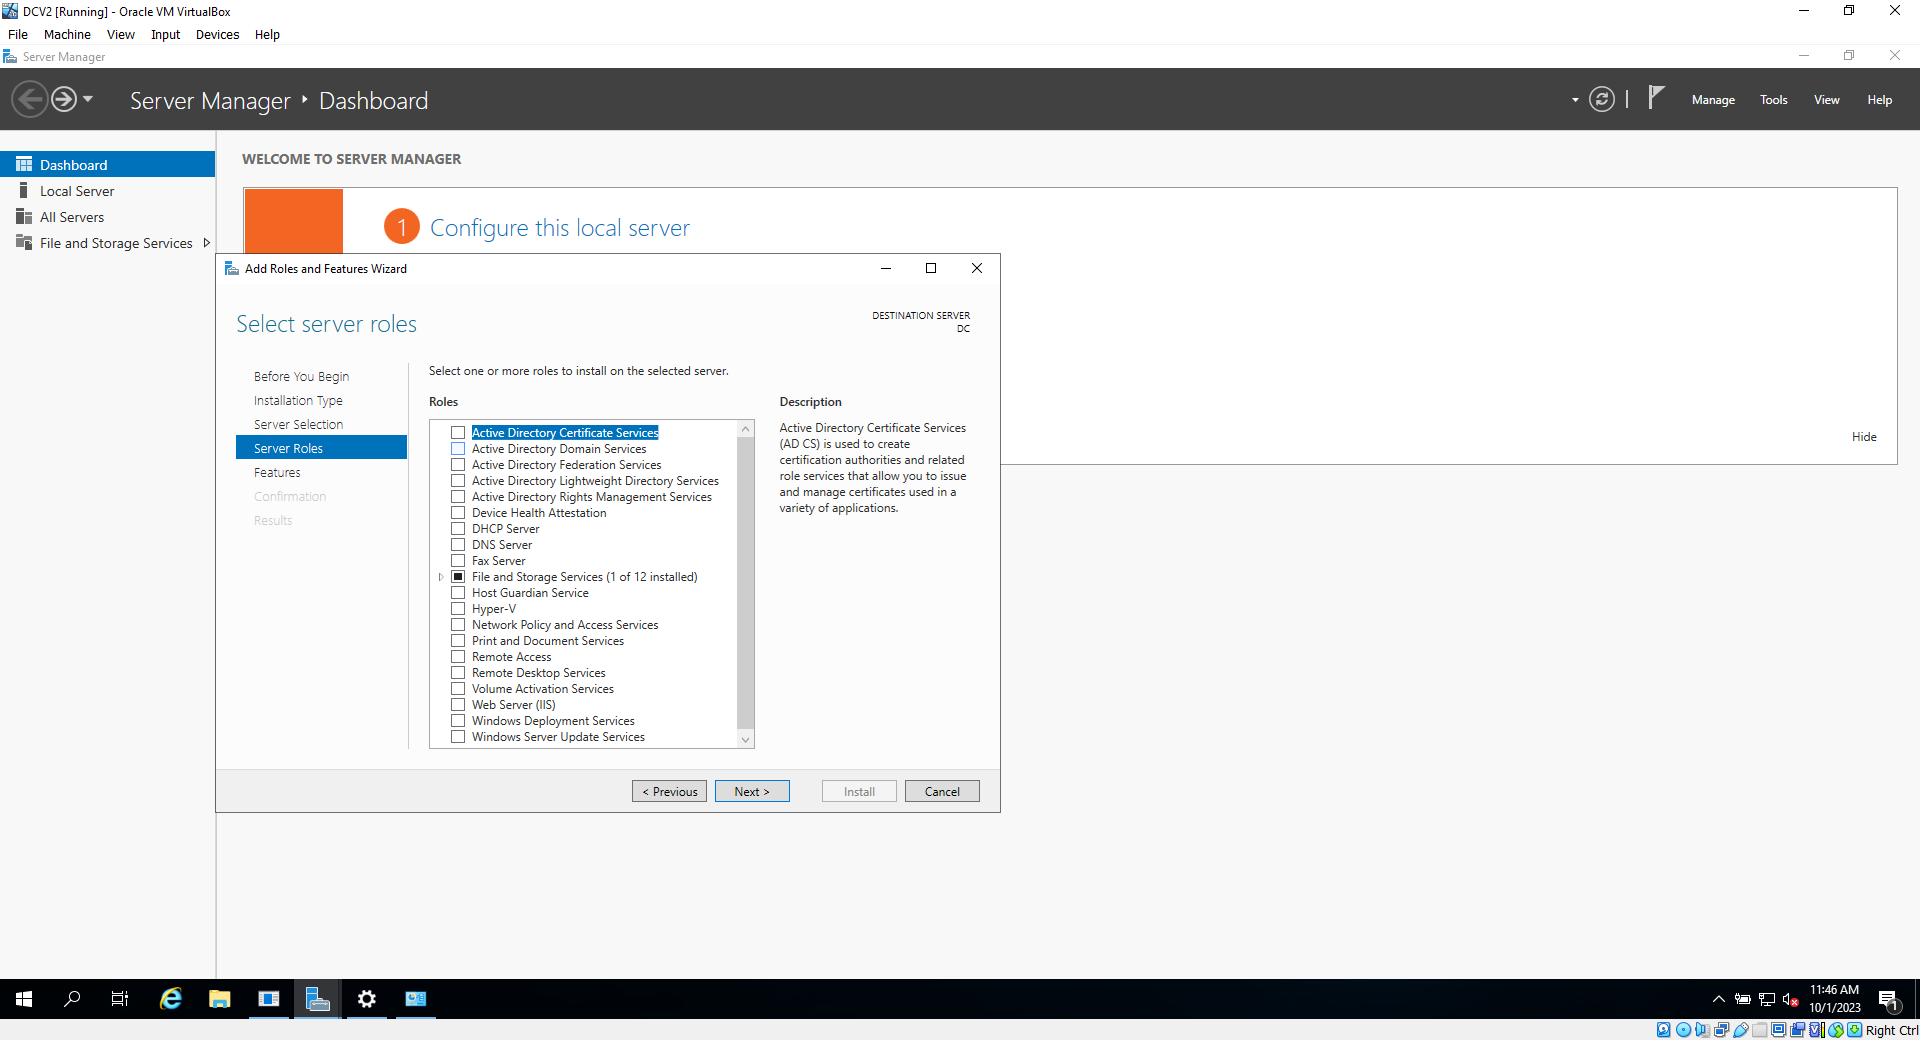
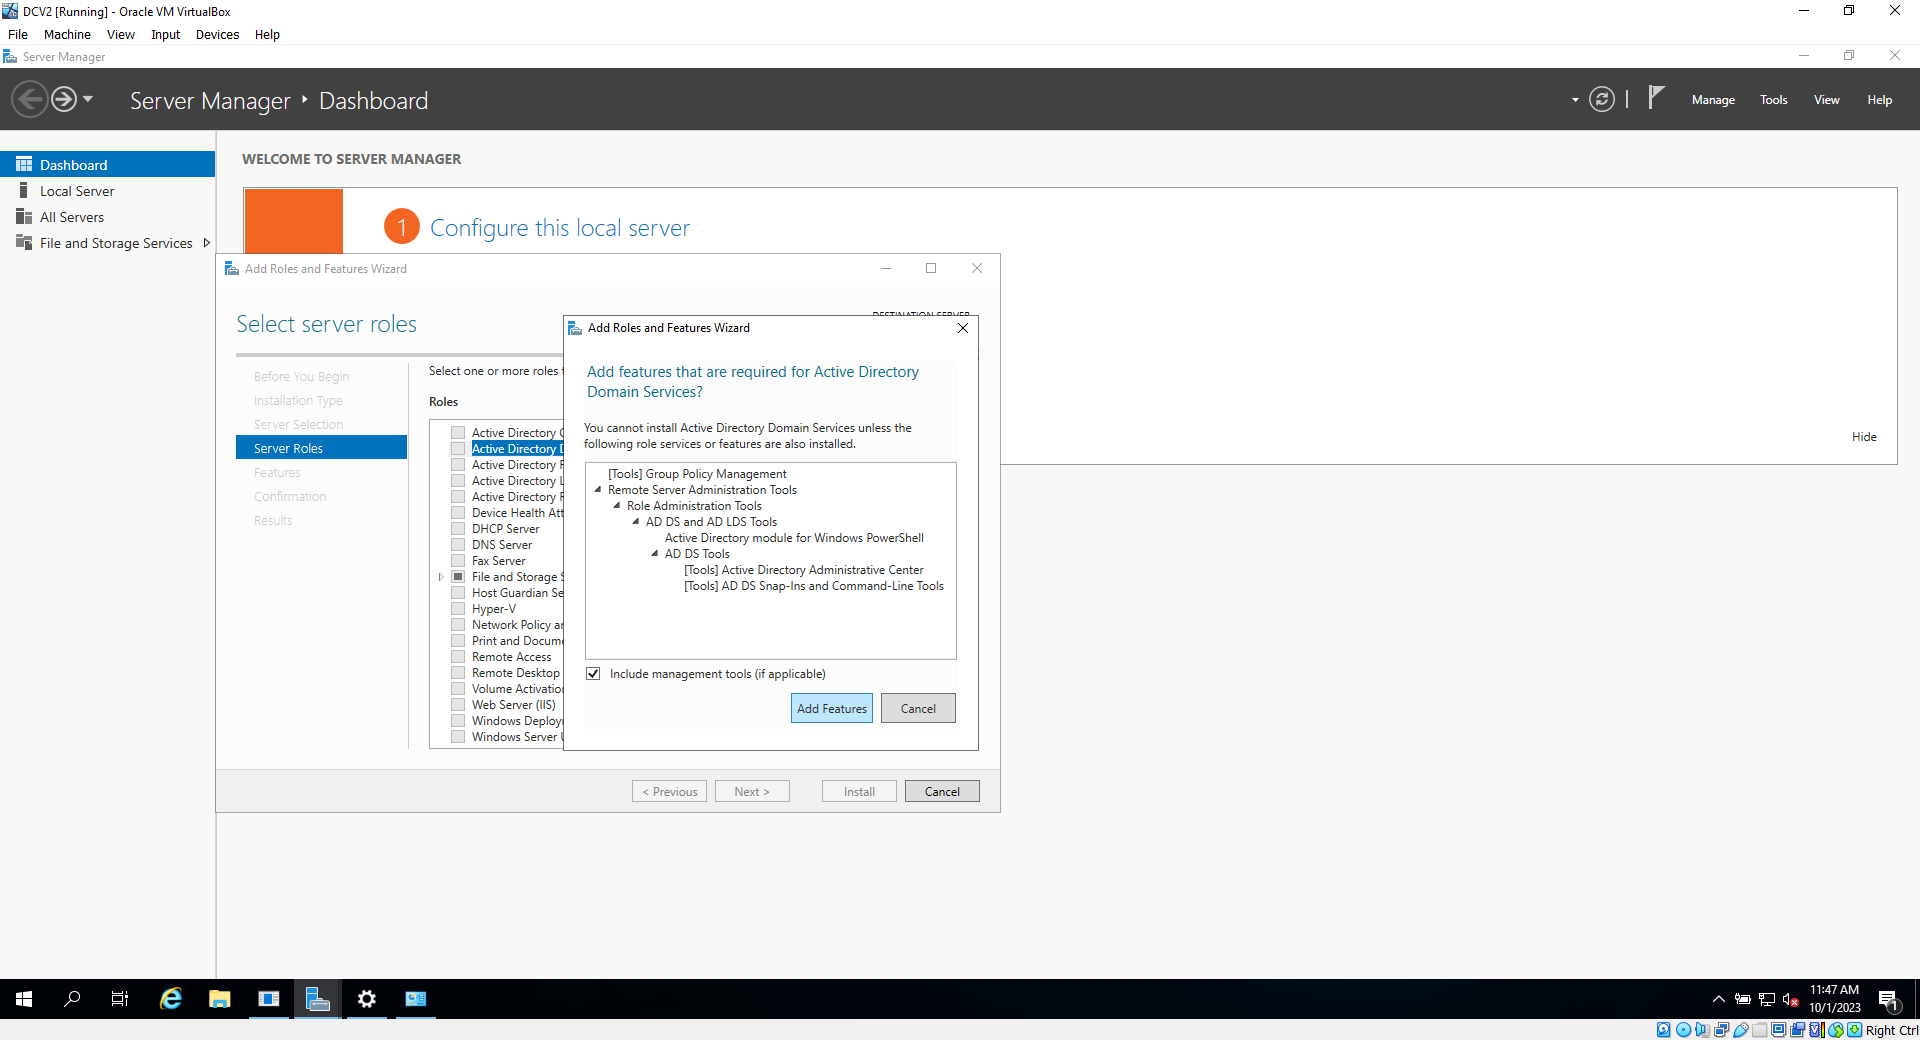
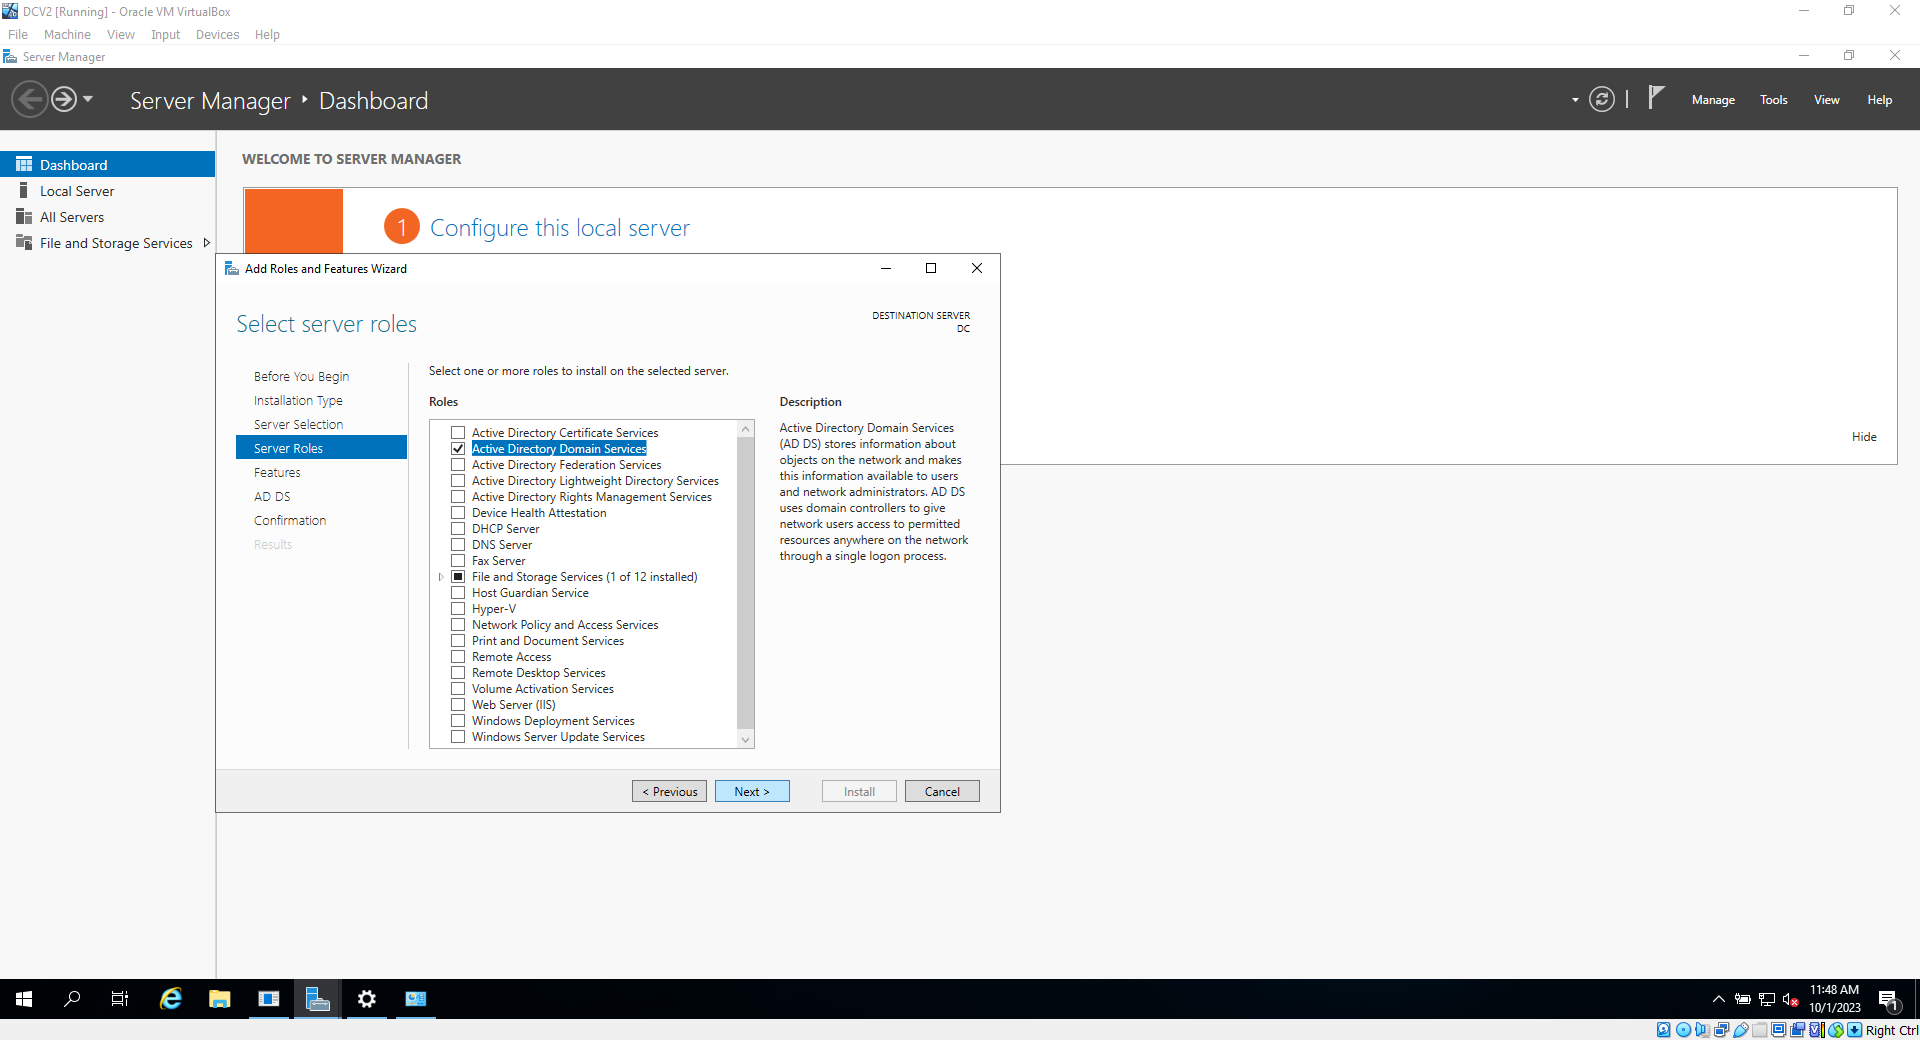
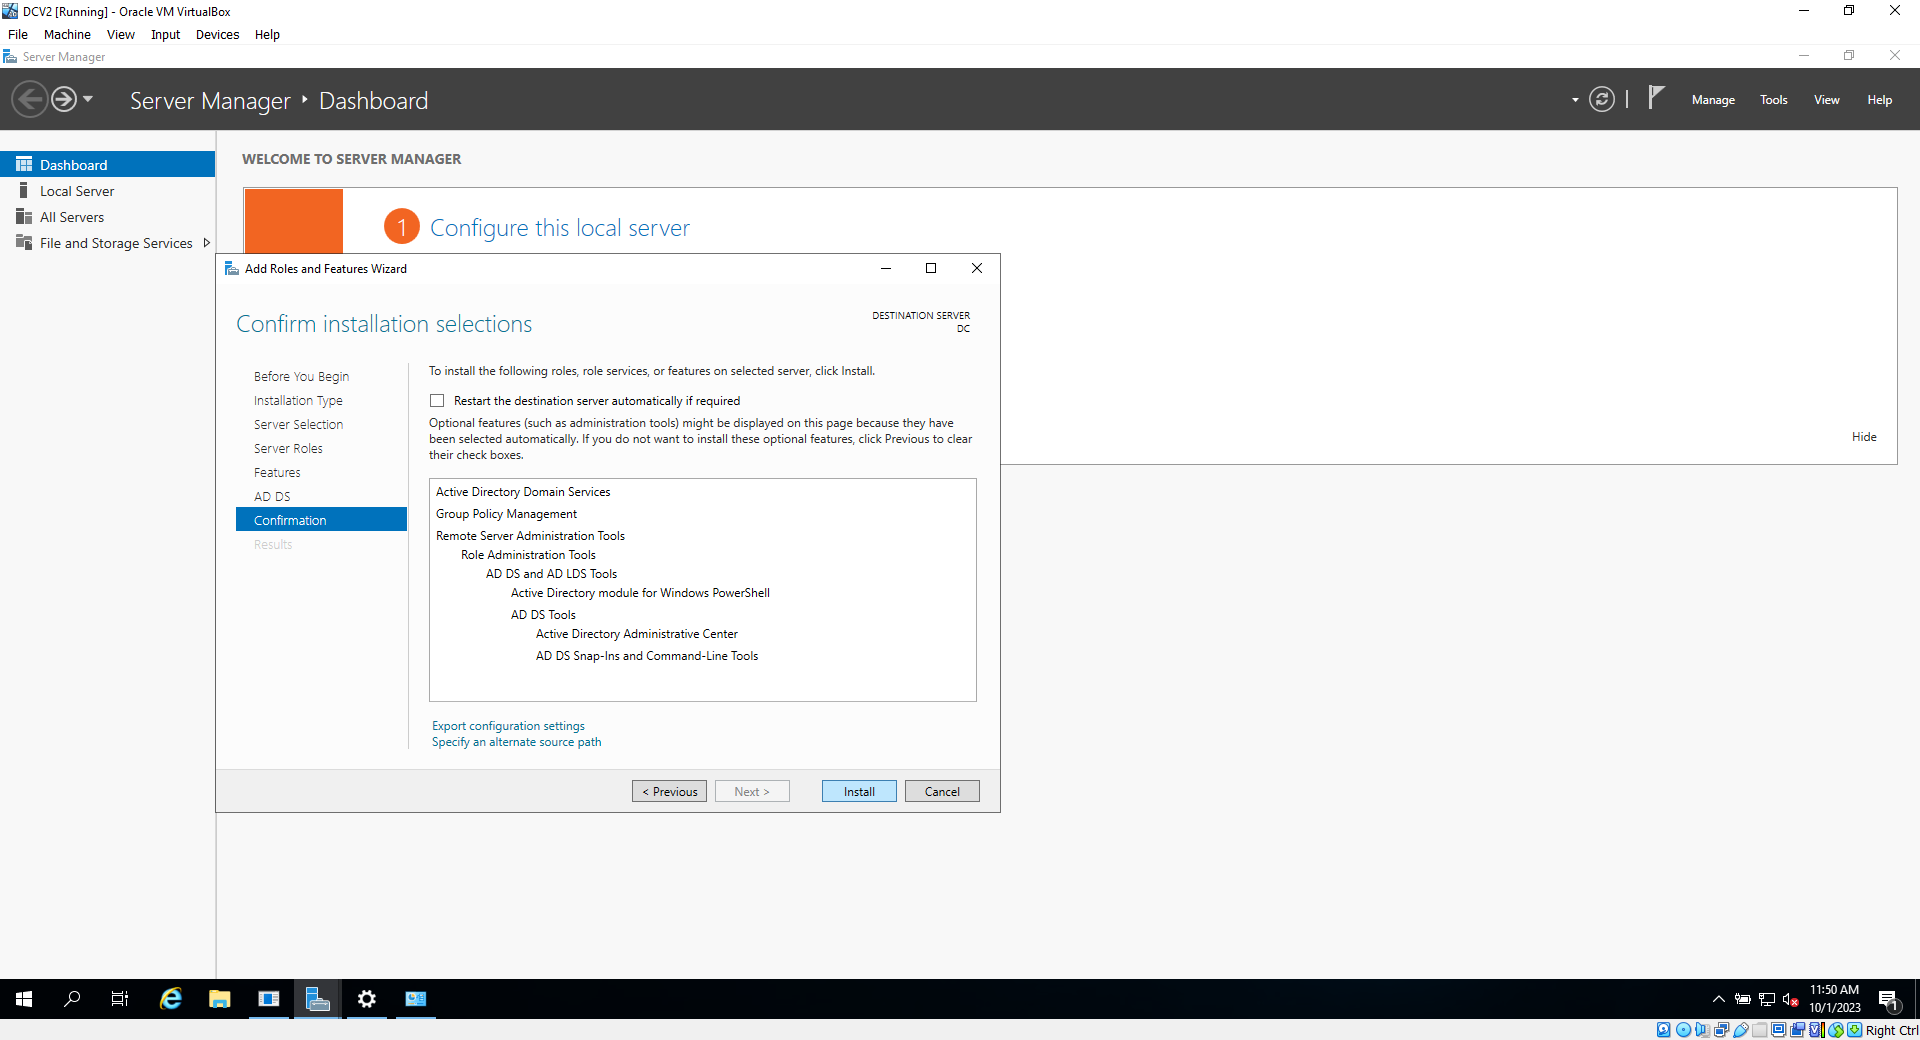
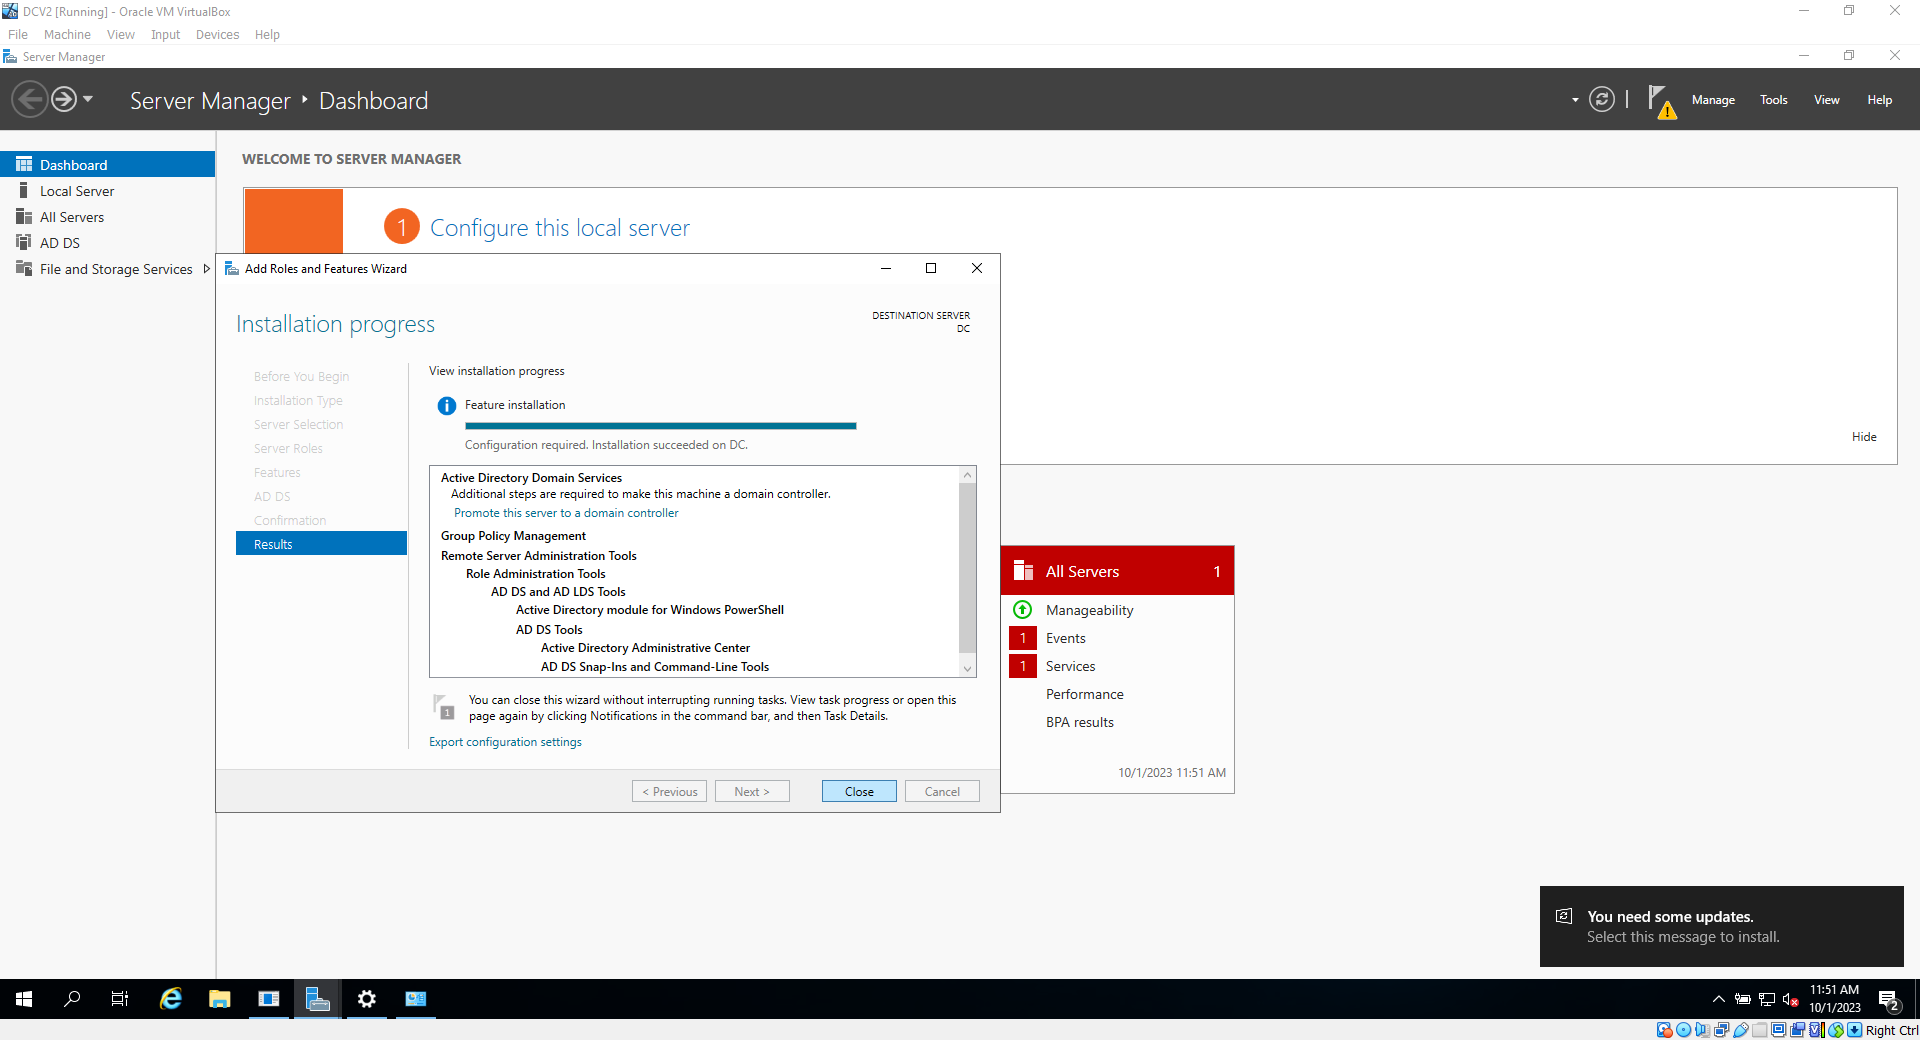
11c. Hit next 2 more times, then click install. The installation will take some time. Be patient. click close once the installation completes
****Configuring Domain Server****
12. In the Server manager main page, click on the yellow flag, then click on " Promote this server to a domain server"


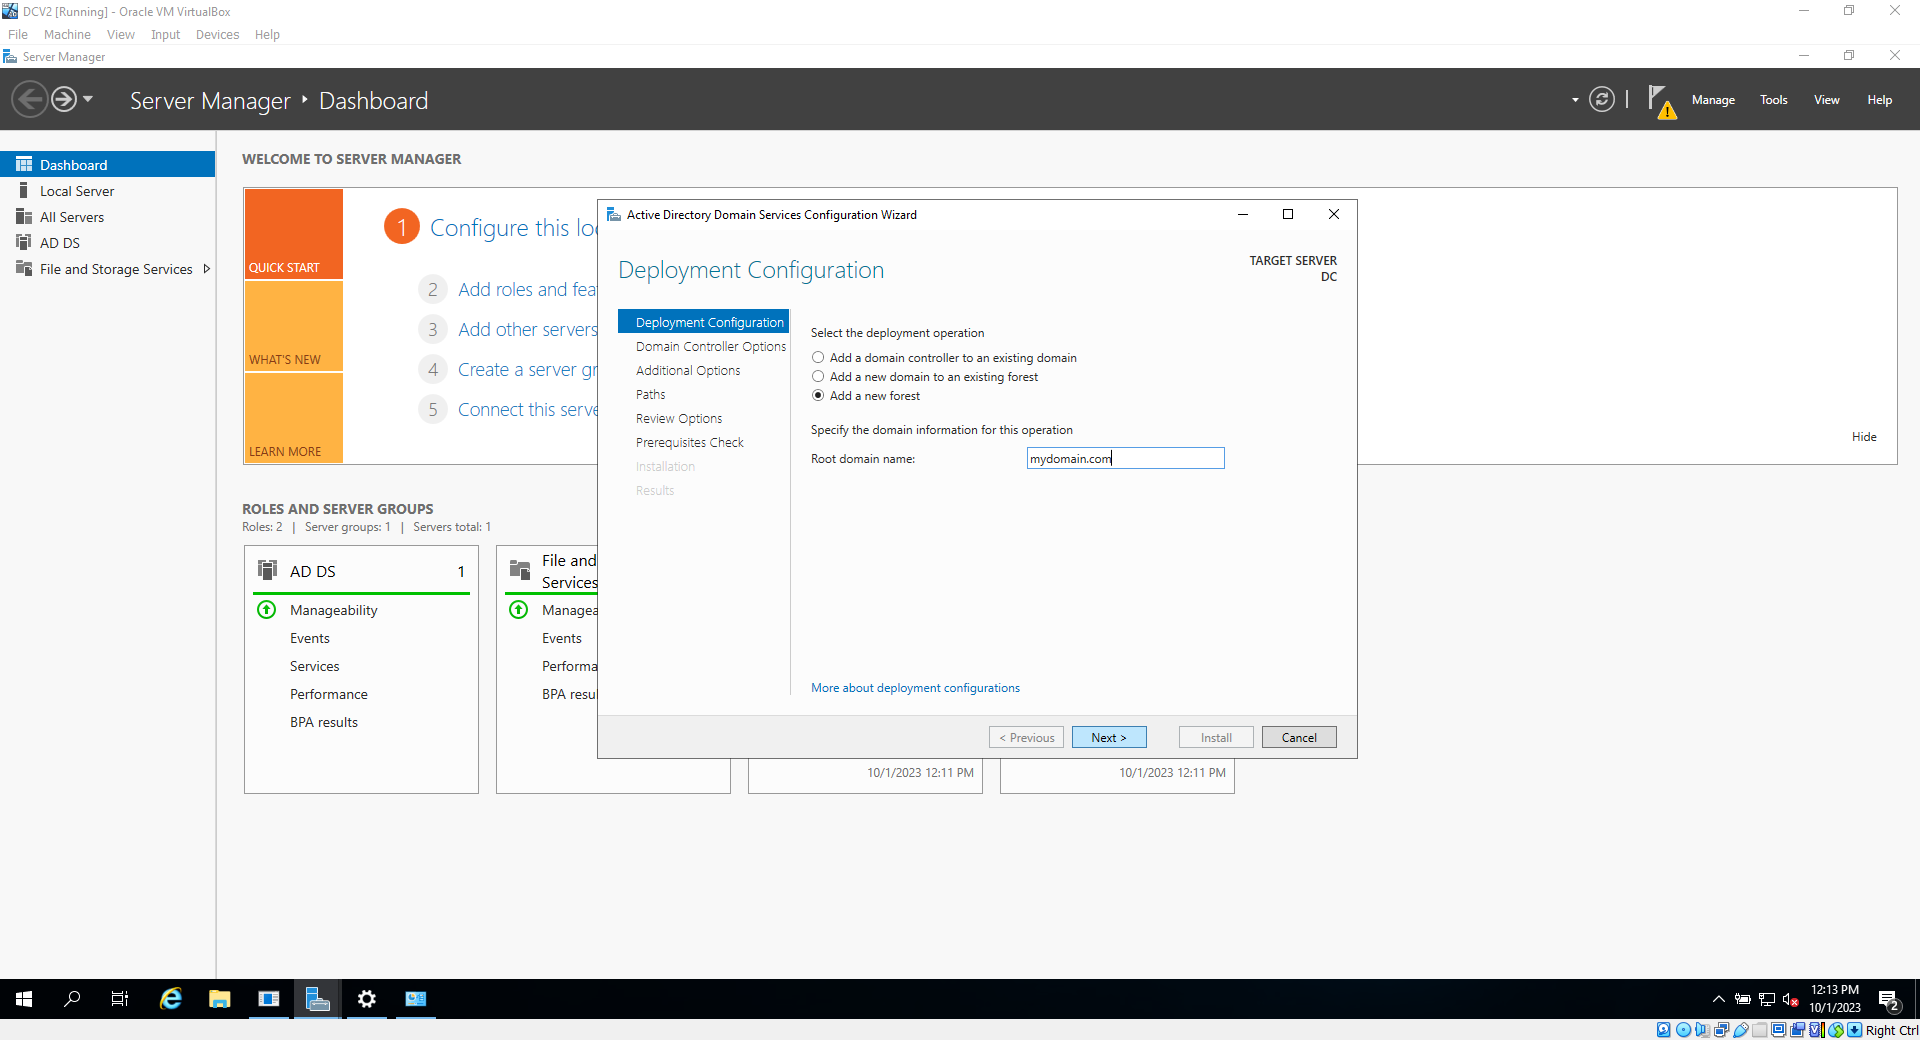
12a. Choose add new forest, then type in a Domain name. In this case, I choose "mydomain.com". click next afterwards
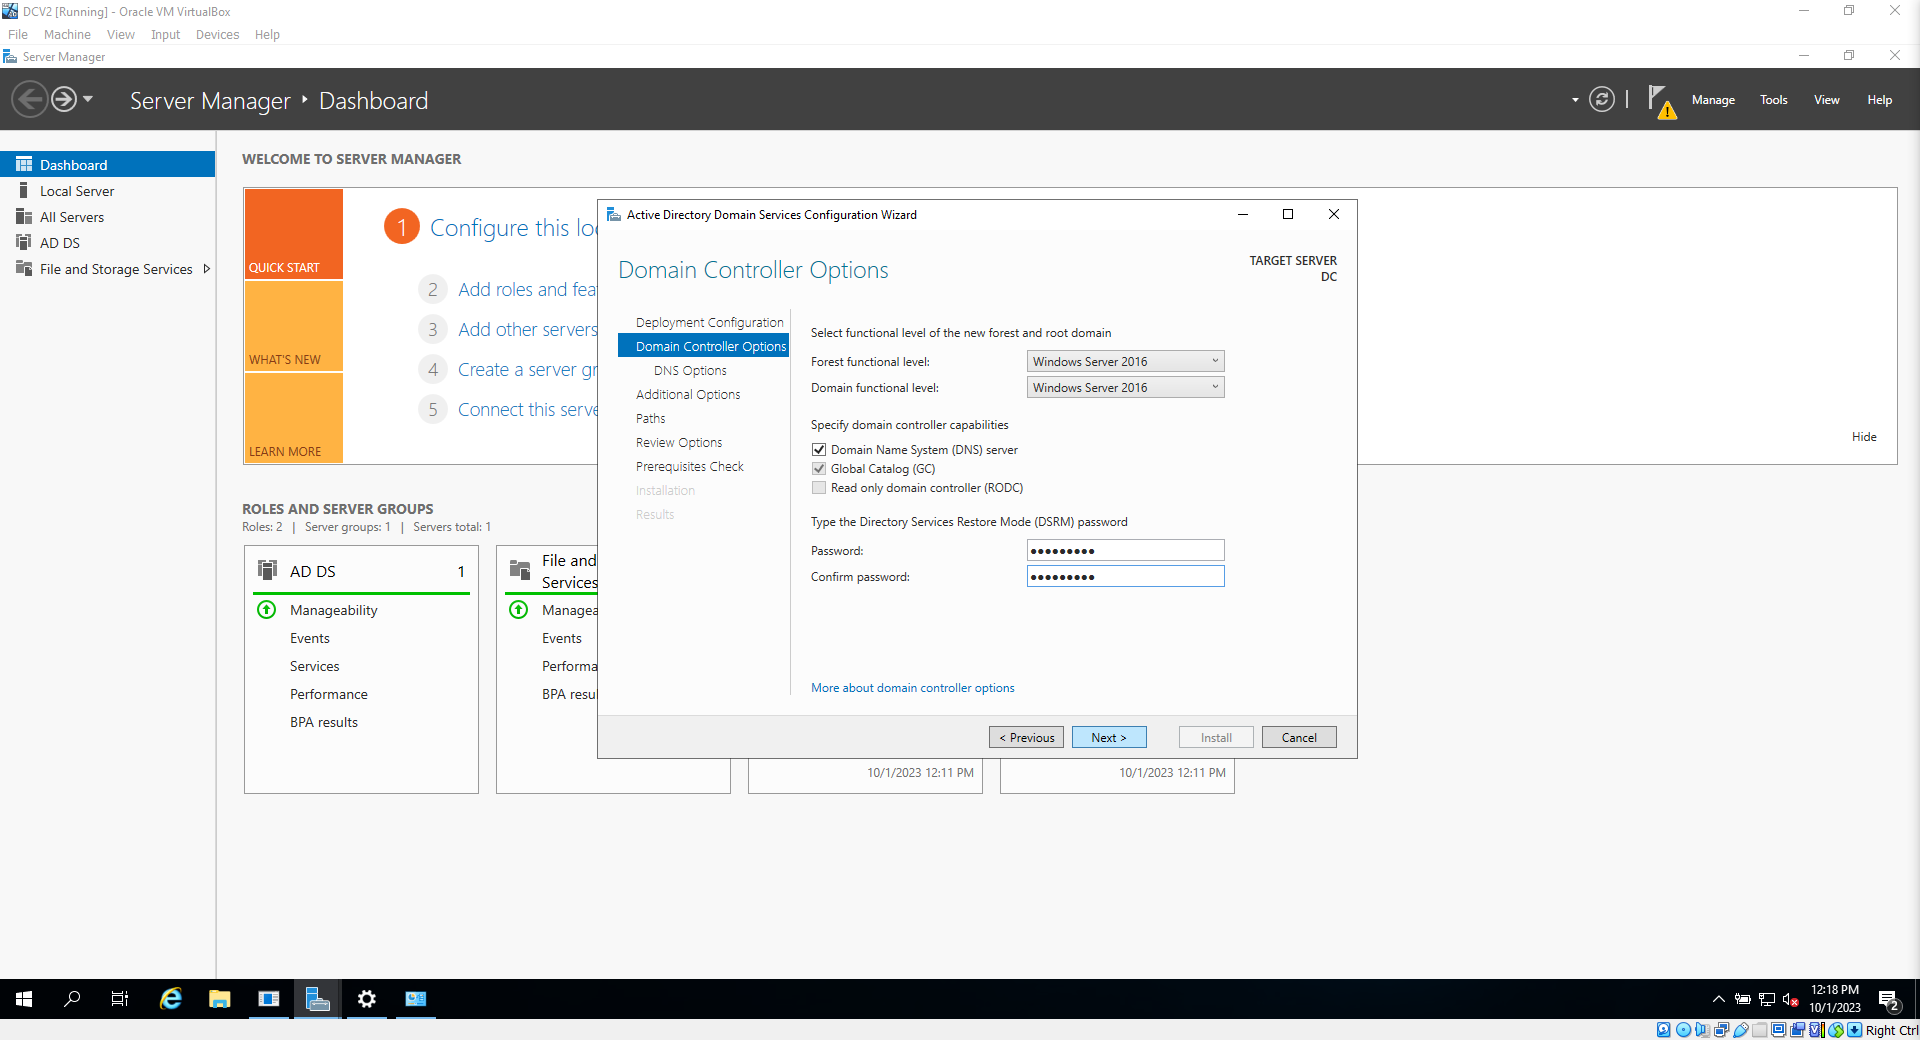
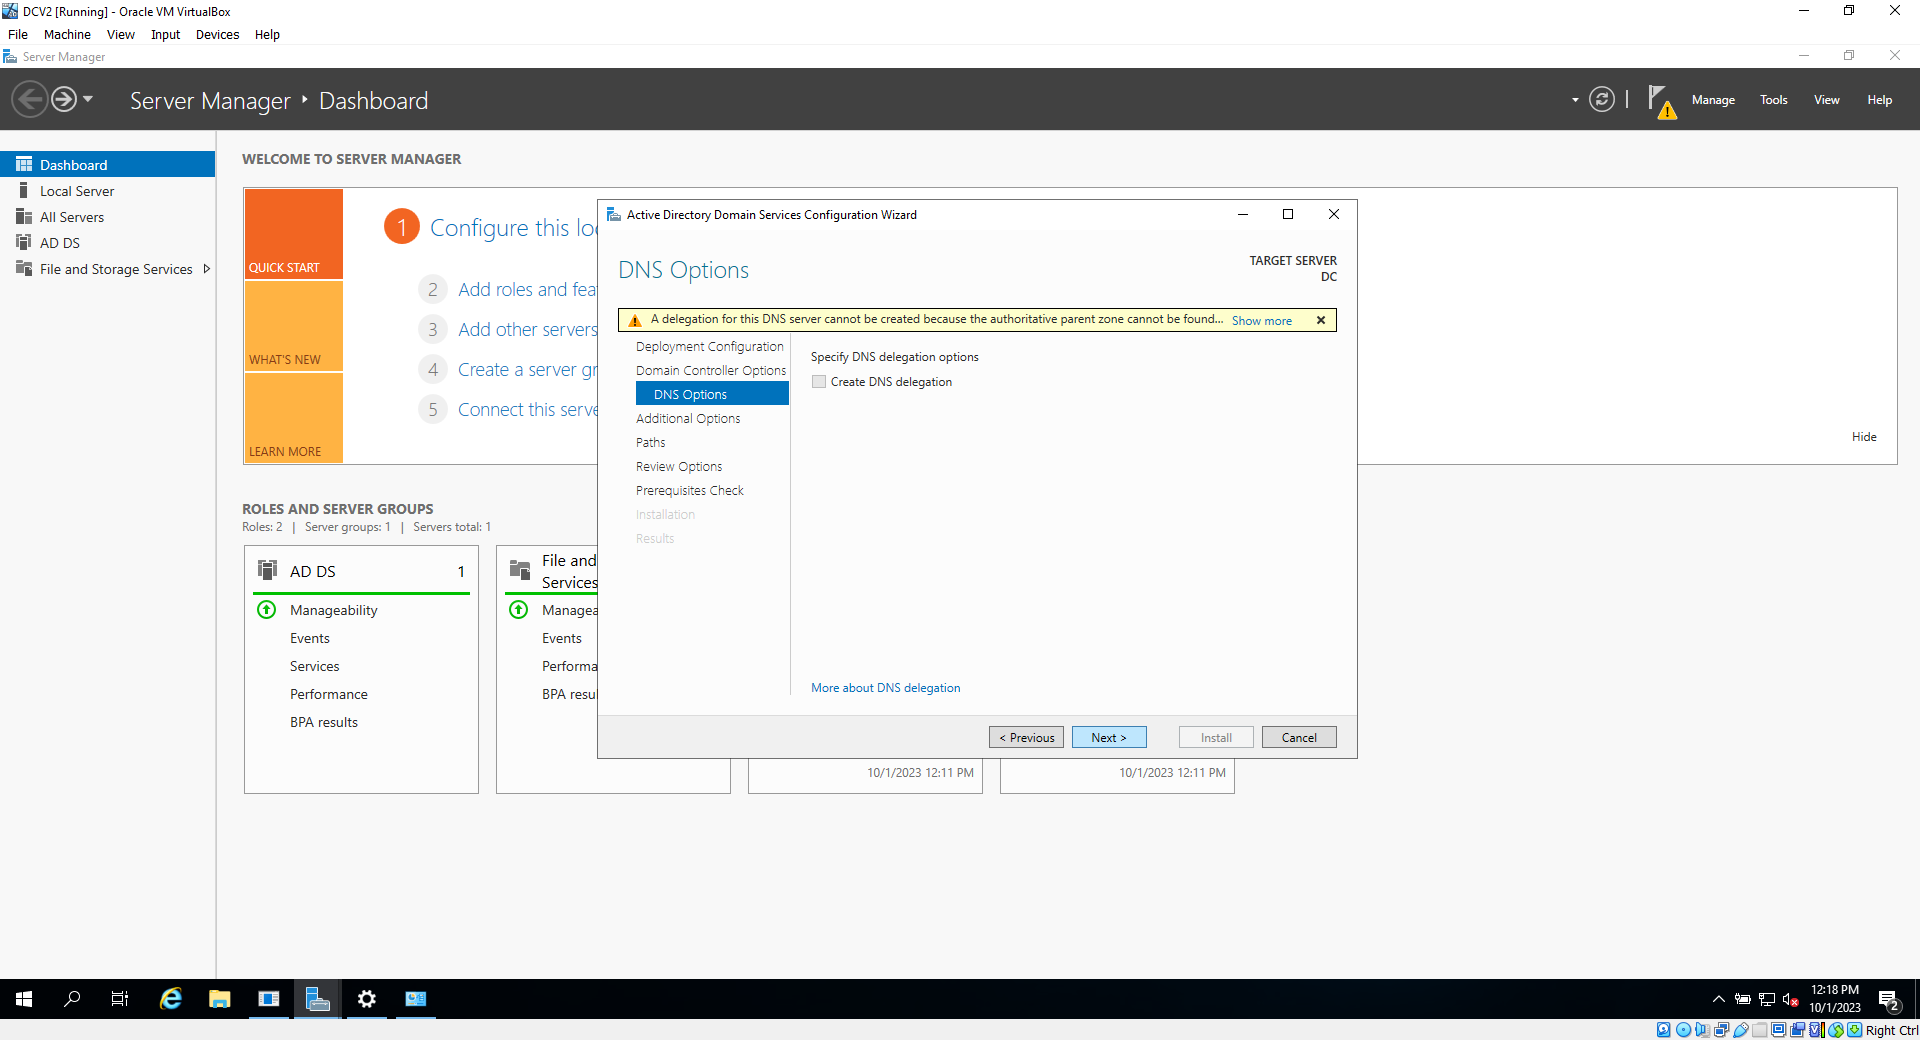
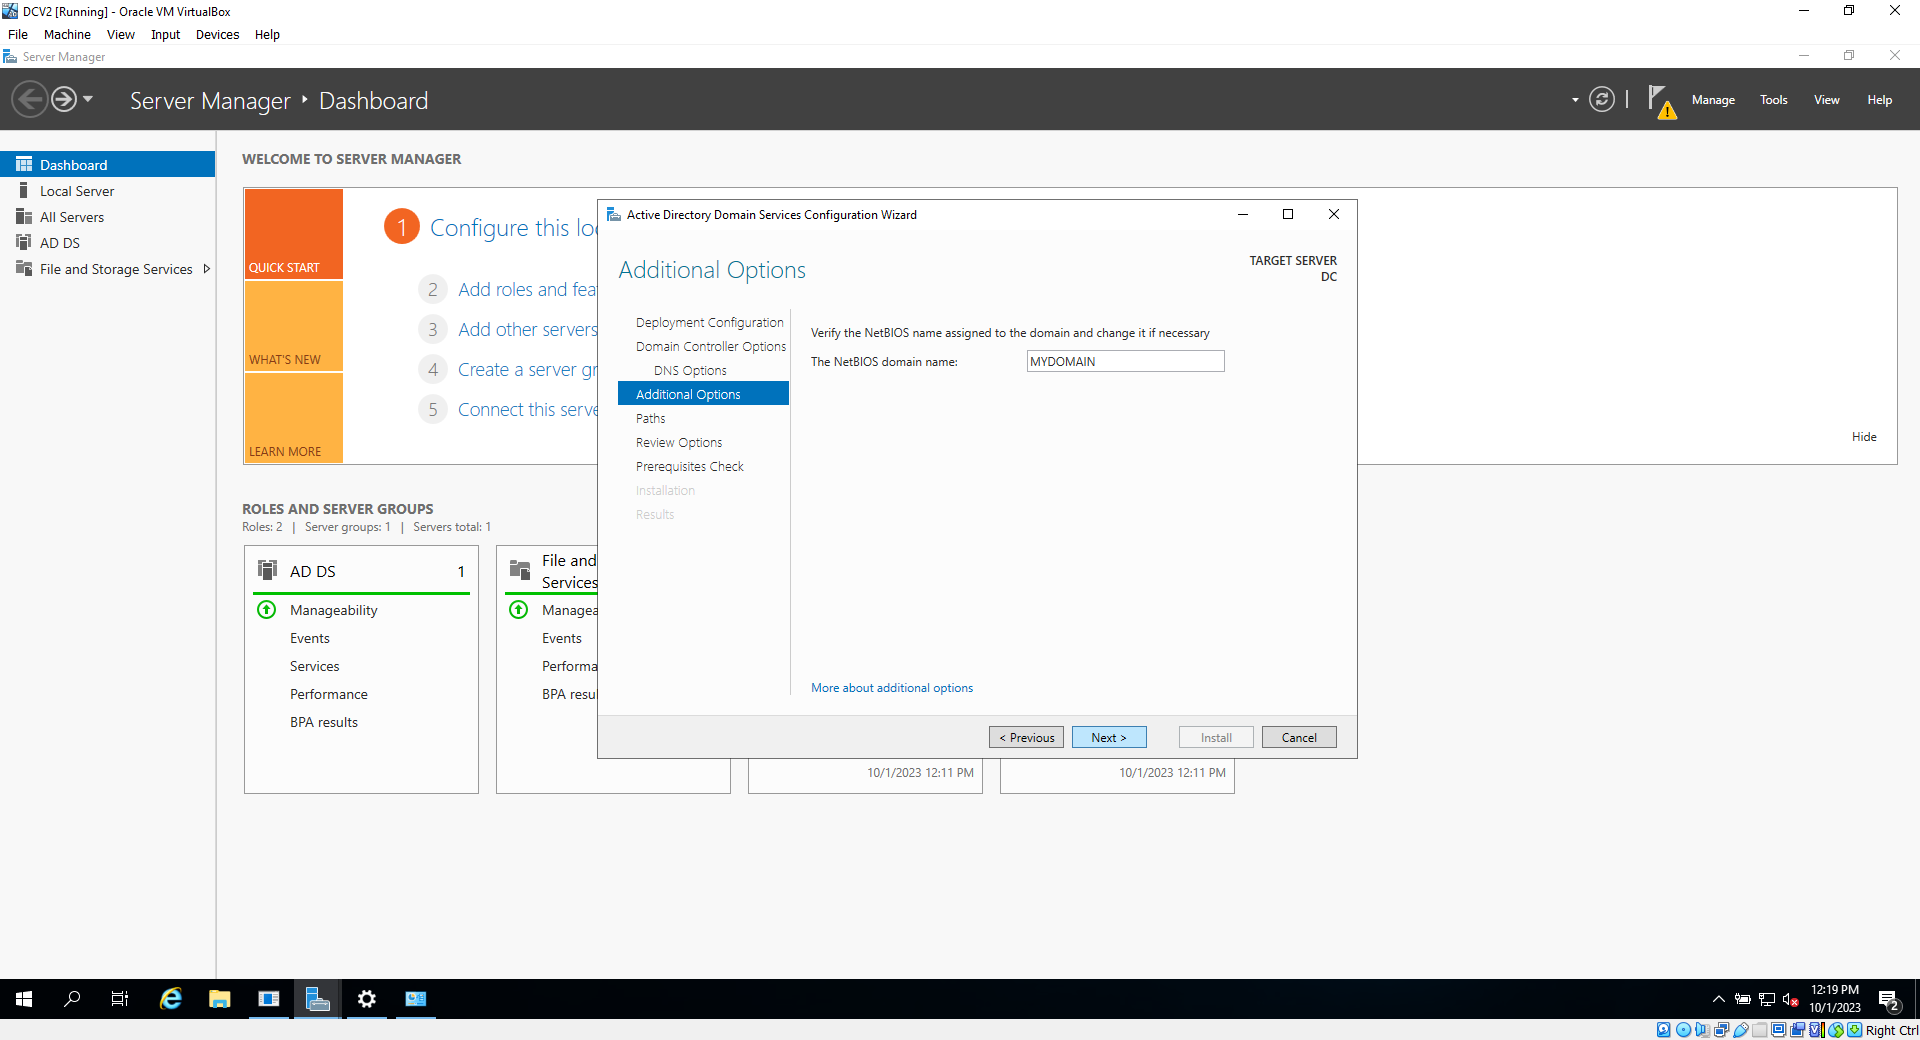
12b. We won't be using this for the lab, but it is required for setting up the domain controller. in the directory services restore password (DSRM) section, choose any password here that you want, then keep clicking next until you get to the final "results" tab, then click install
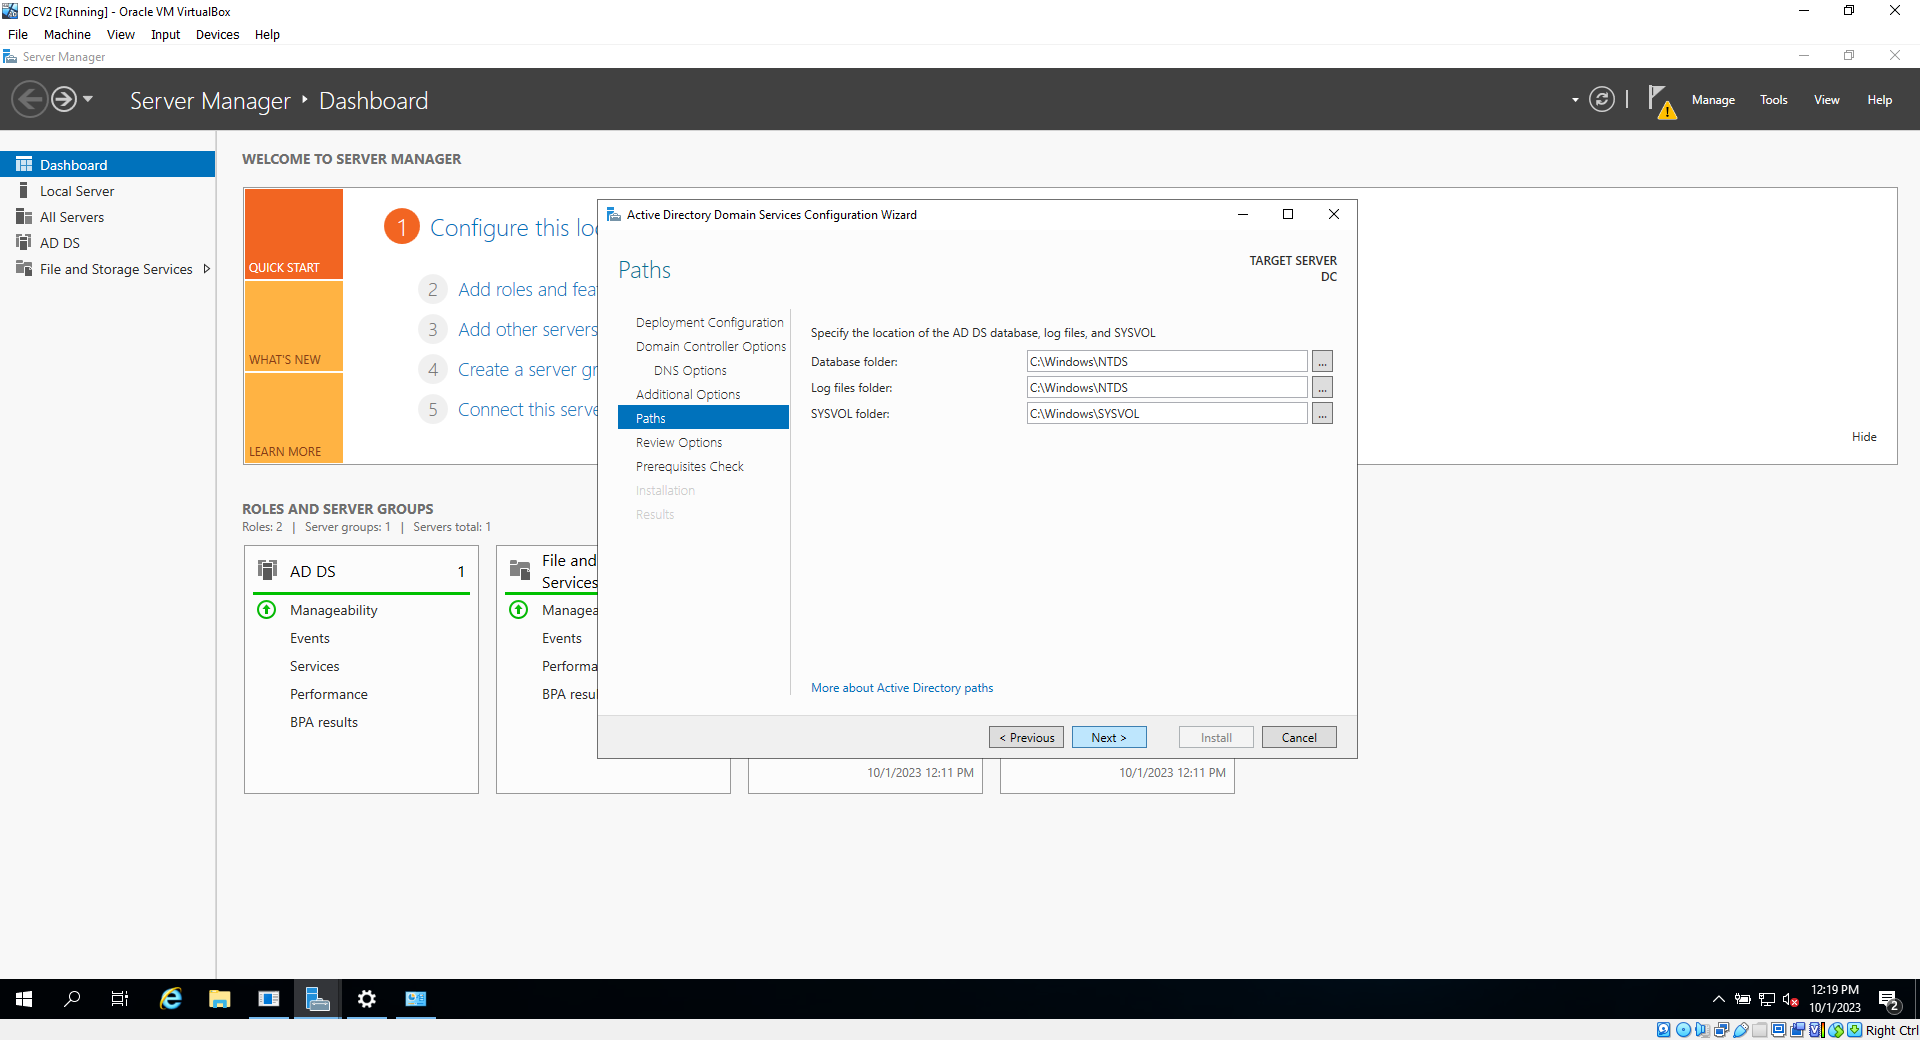
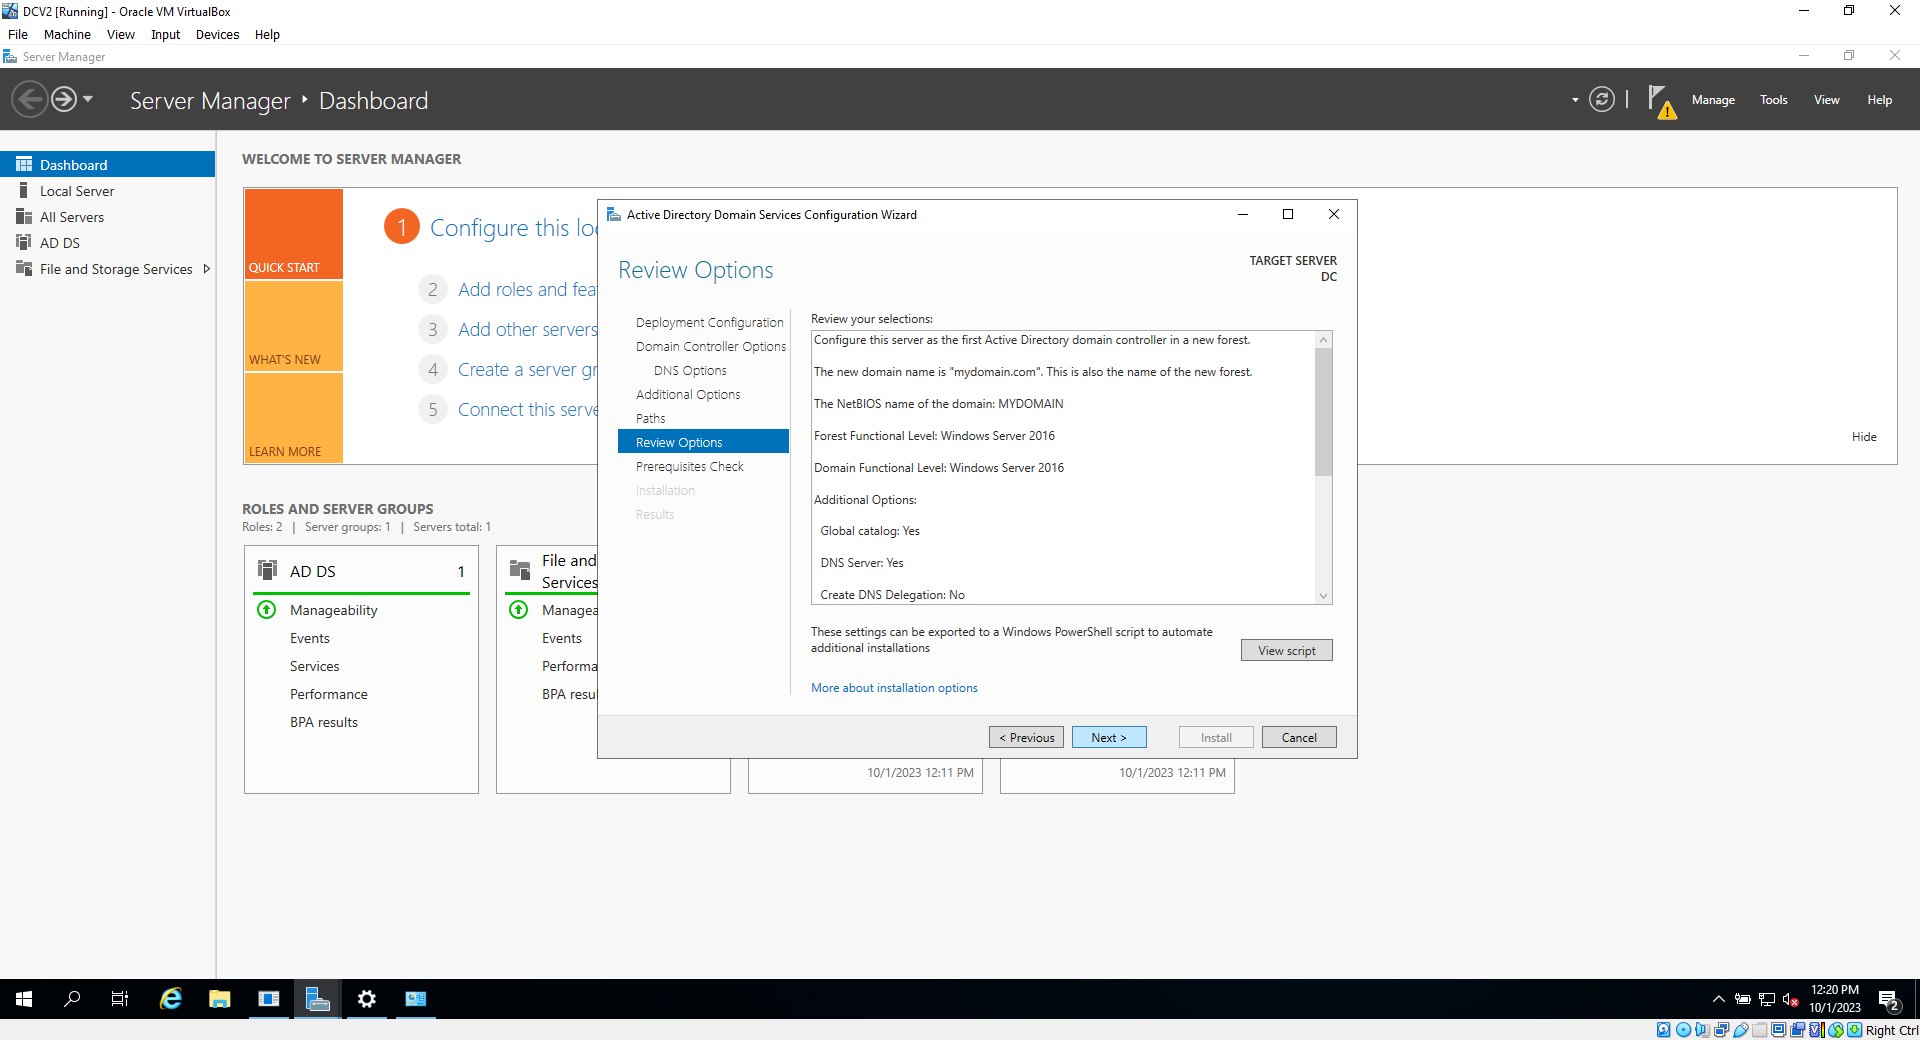
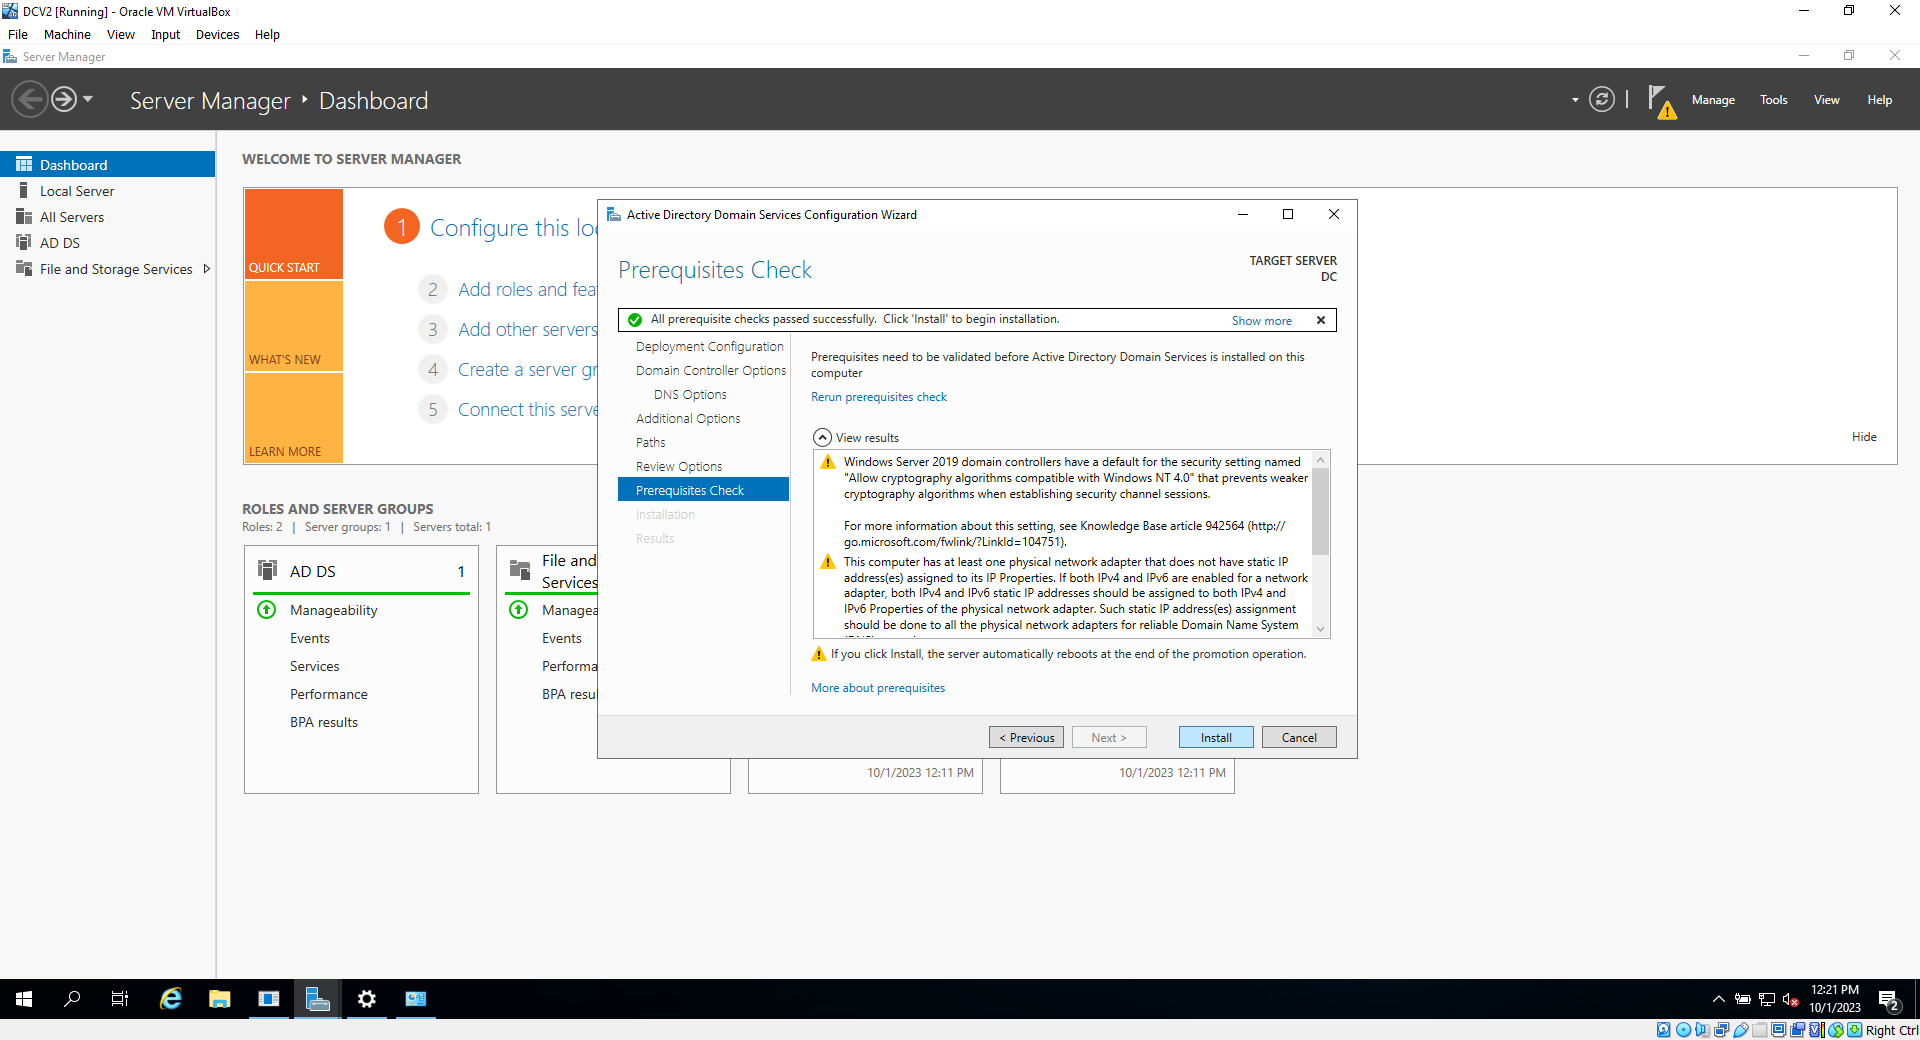
12c. Allow the PC to restart
****Setting up Admin Account****
13. Open the start menu, and open active Directory Users and Computers

13a. right-click on your newly created domain on the left column, and hover over "new" then click on "Organizational Unit"
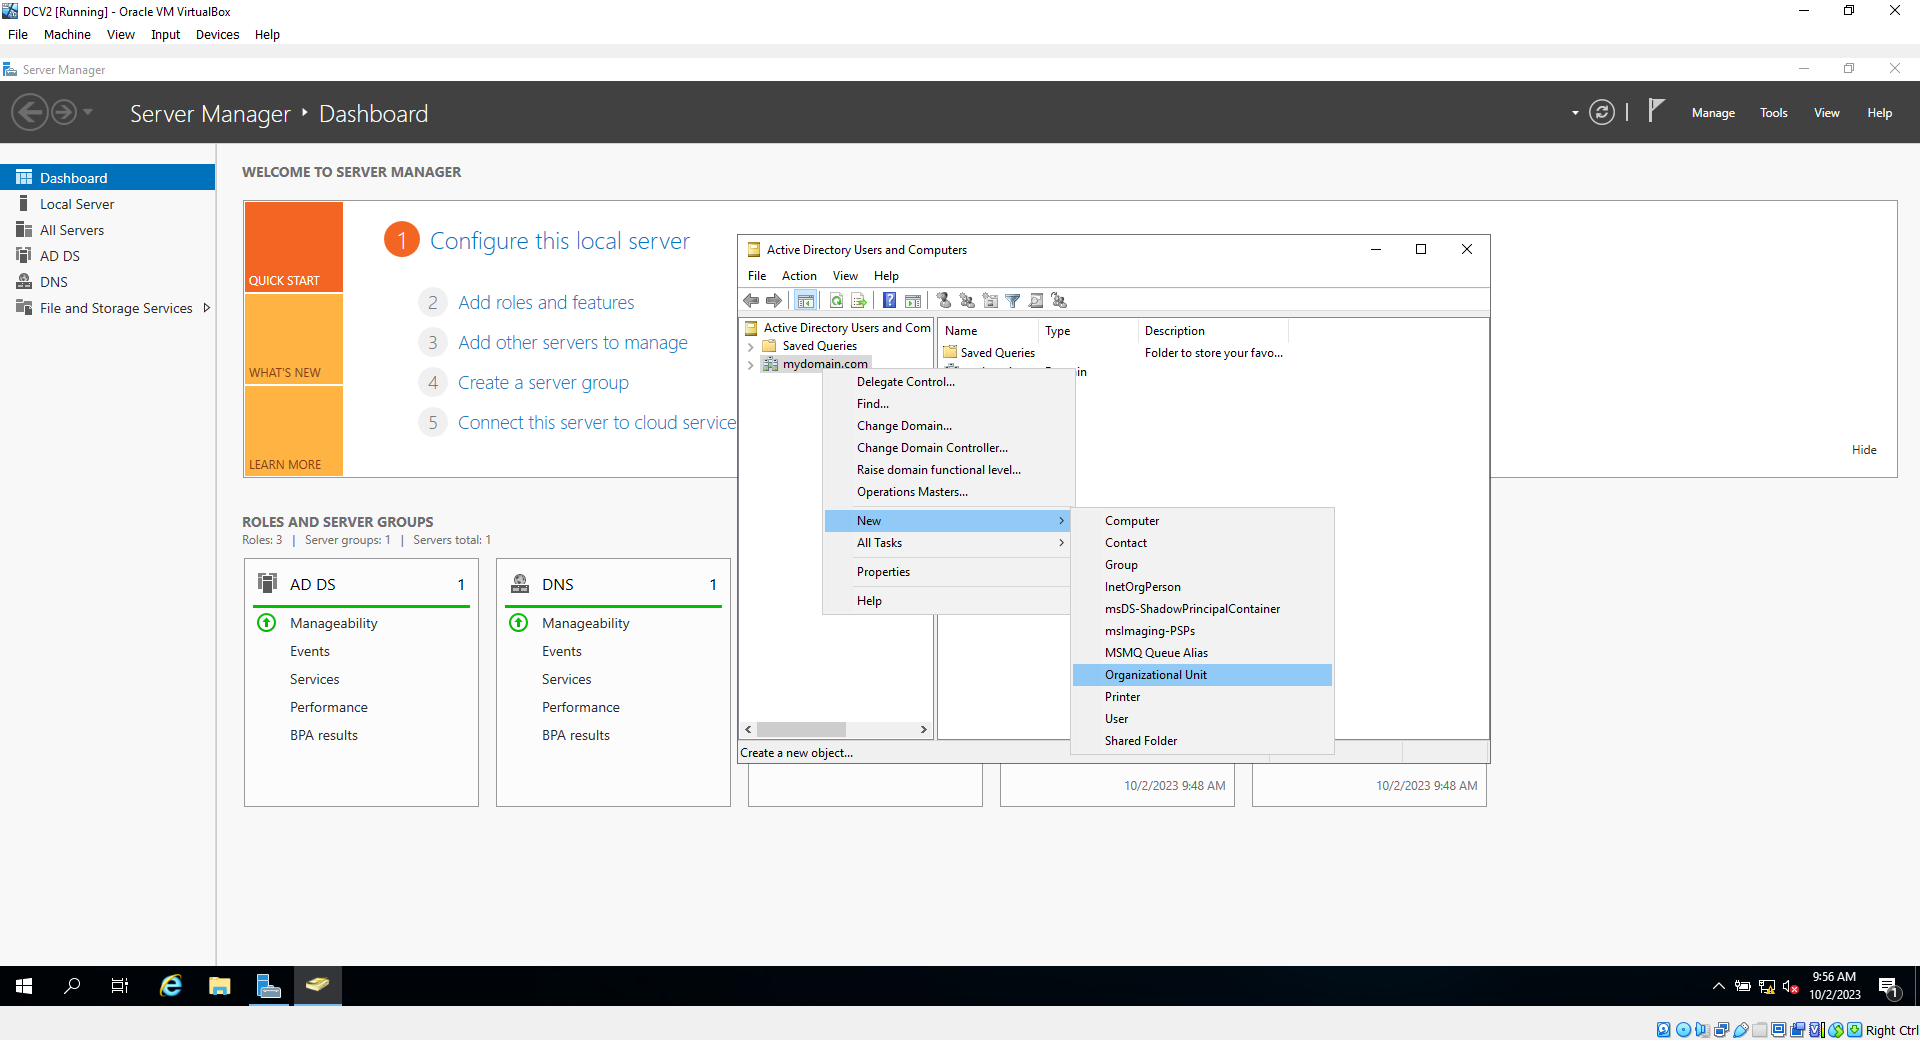
13b. This will be our admin org, you can call it whatever you want, but I will be using "_ADMINS". For the purpose of this lab, uncheck "Protect container from accidental deletion". **NOTE**in real-world work environments, you should always leave this option checked**. Then click ok
13c. Now, right click on your newly created org, and select "new", and "new user"
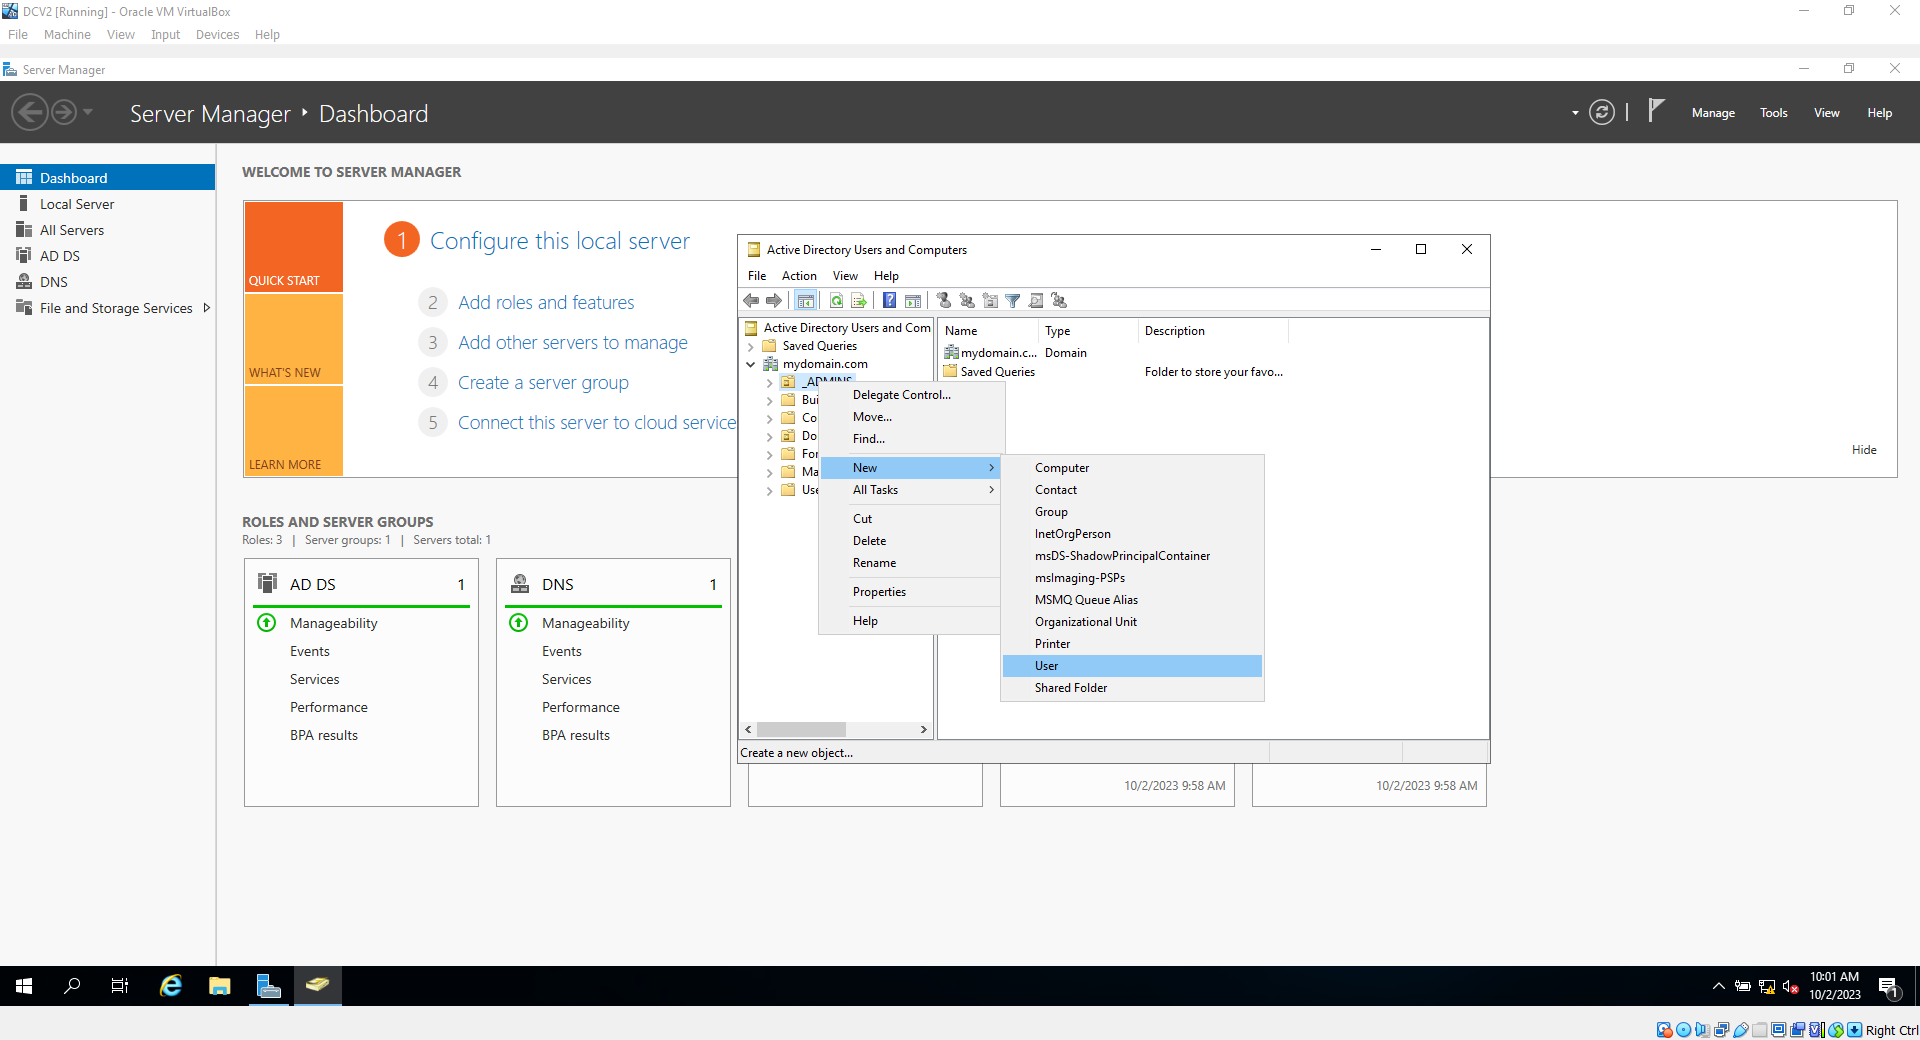
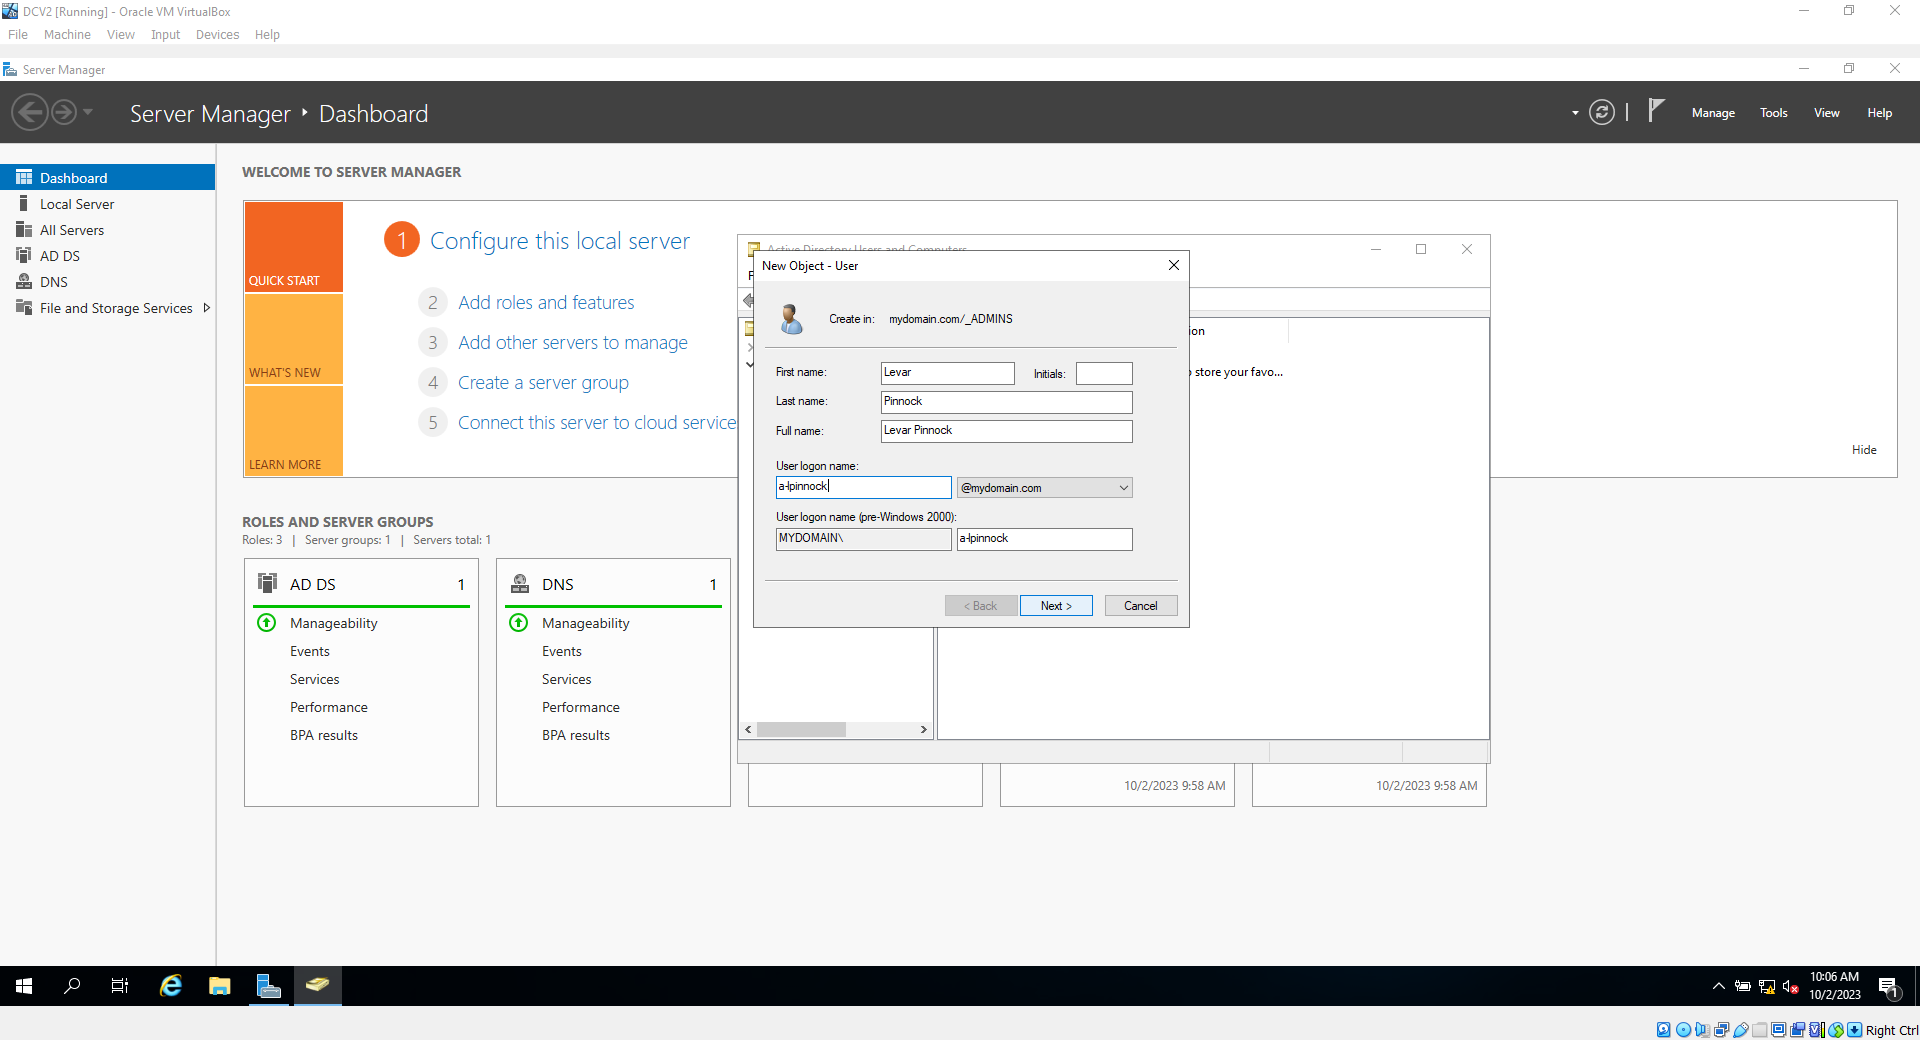
13d. Enter your name in the fields, with whatever username you want (you will need to remember this password, do not forget it). In this case, I'll use
"a-lpinnock". "a" is for "Admin" followed by a dash- and my first initial and second name.
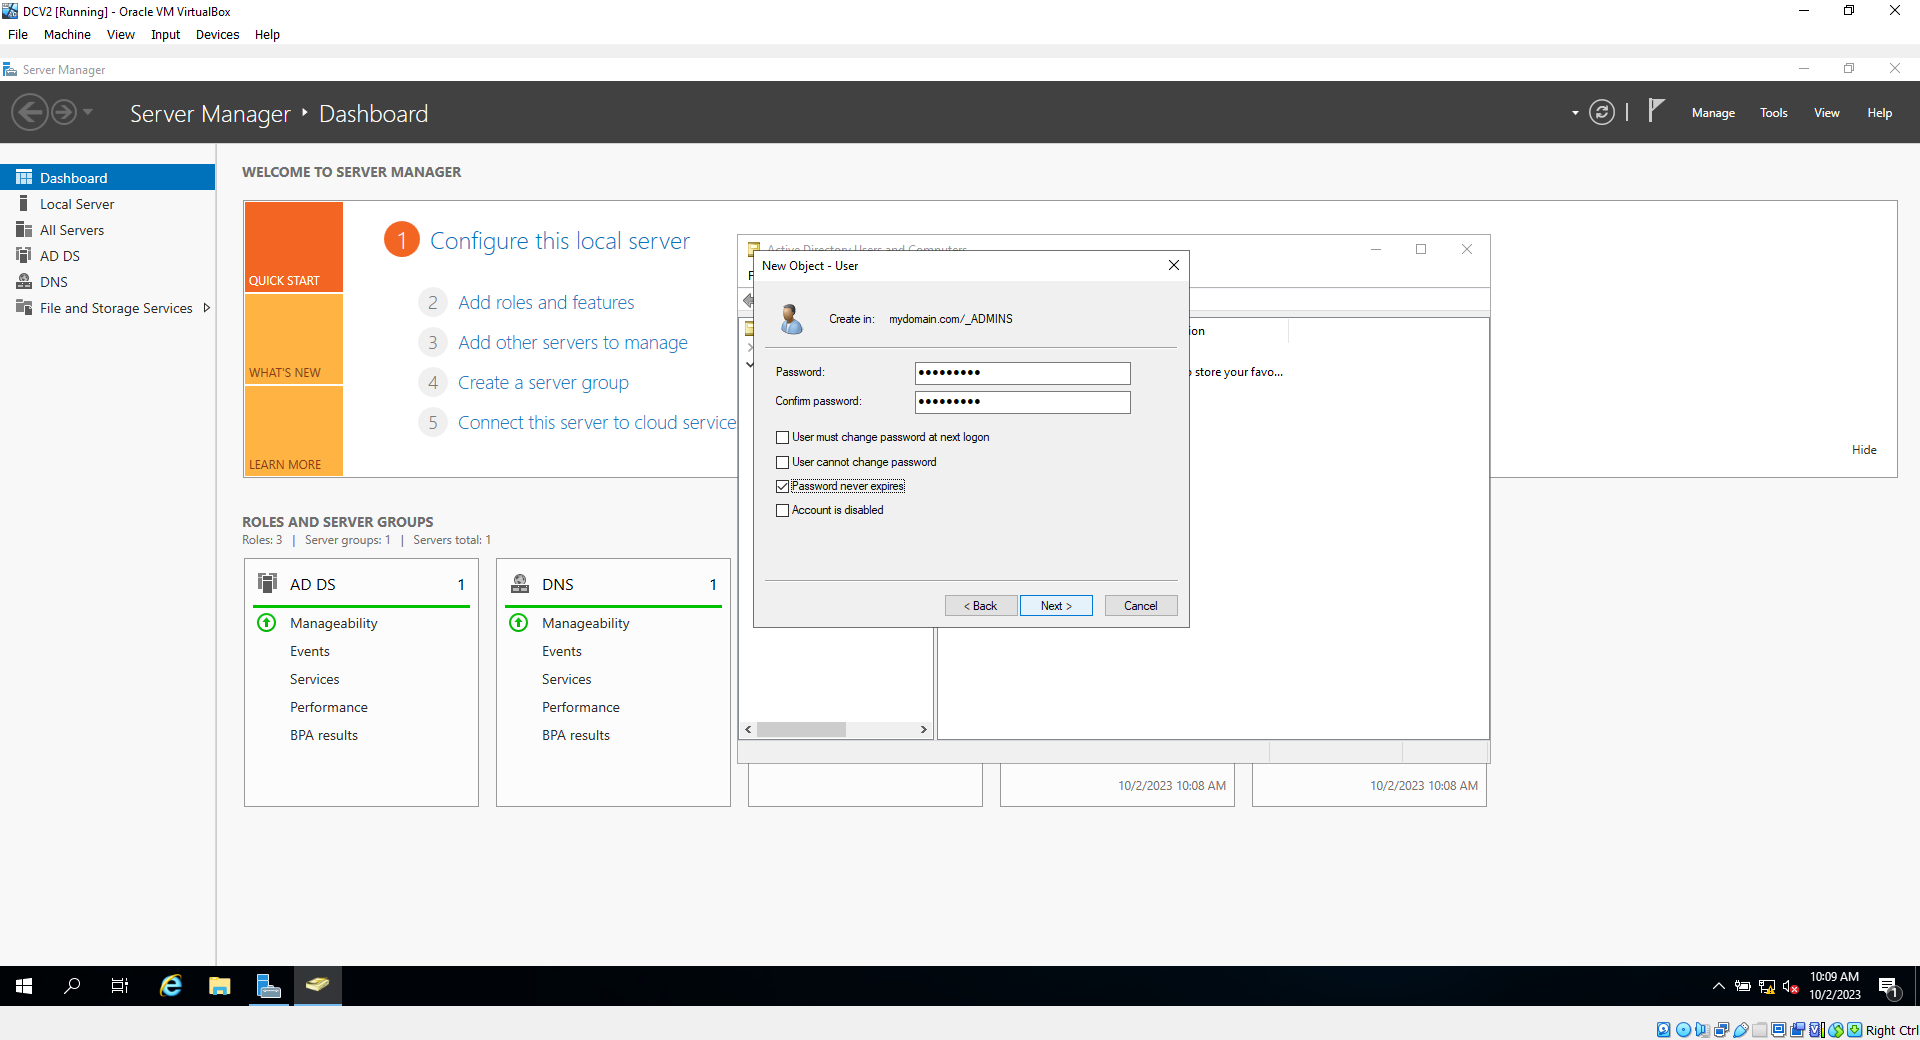
13e. Choose your password, and for this lab, uncheck "User must change password on next logon" and check" Password never expires", then click next and finish
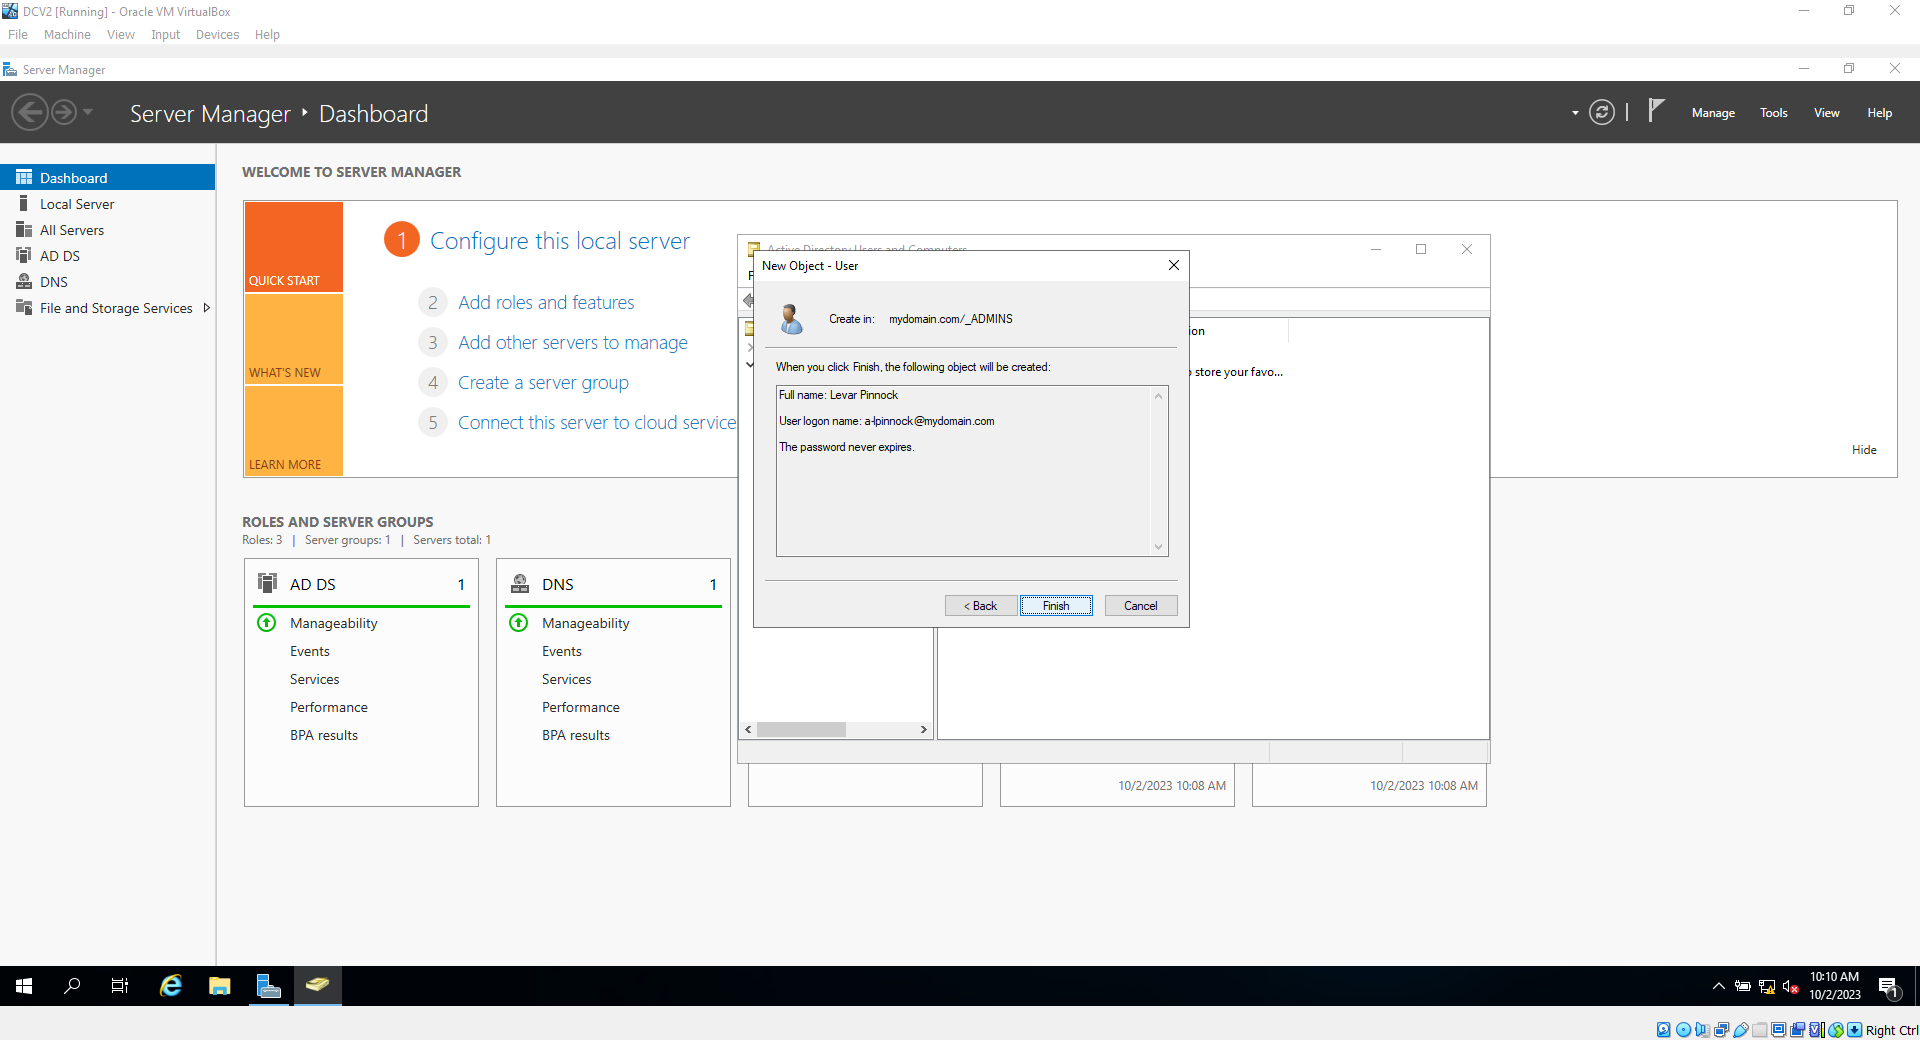
13f. now click on your admin org, and right click on your newly created user, and click "Properties"
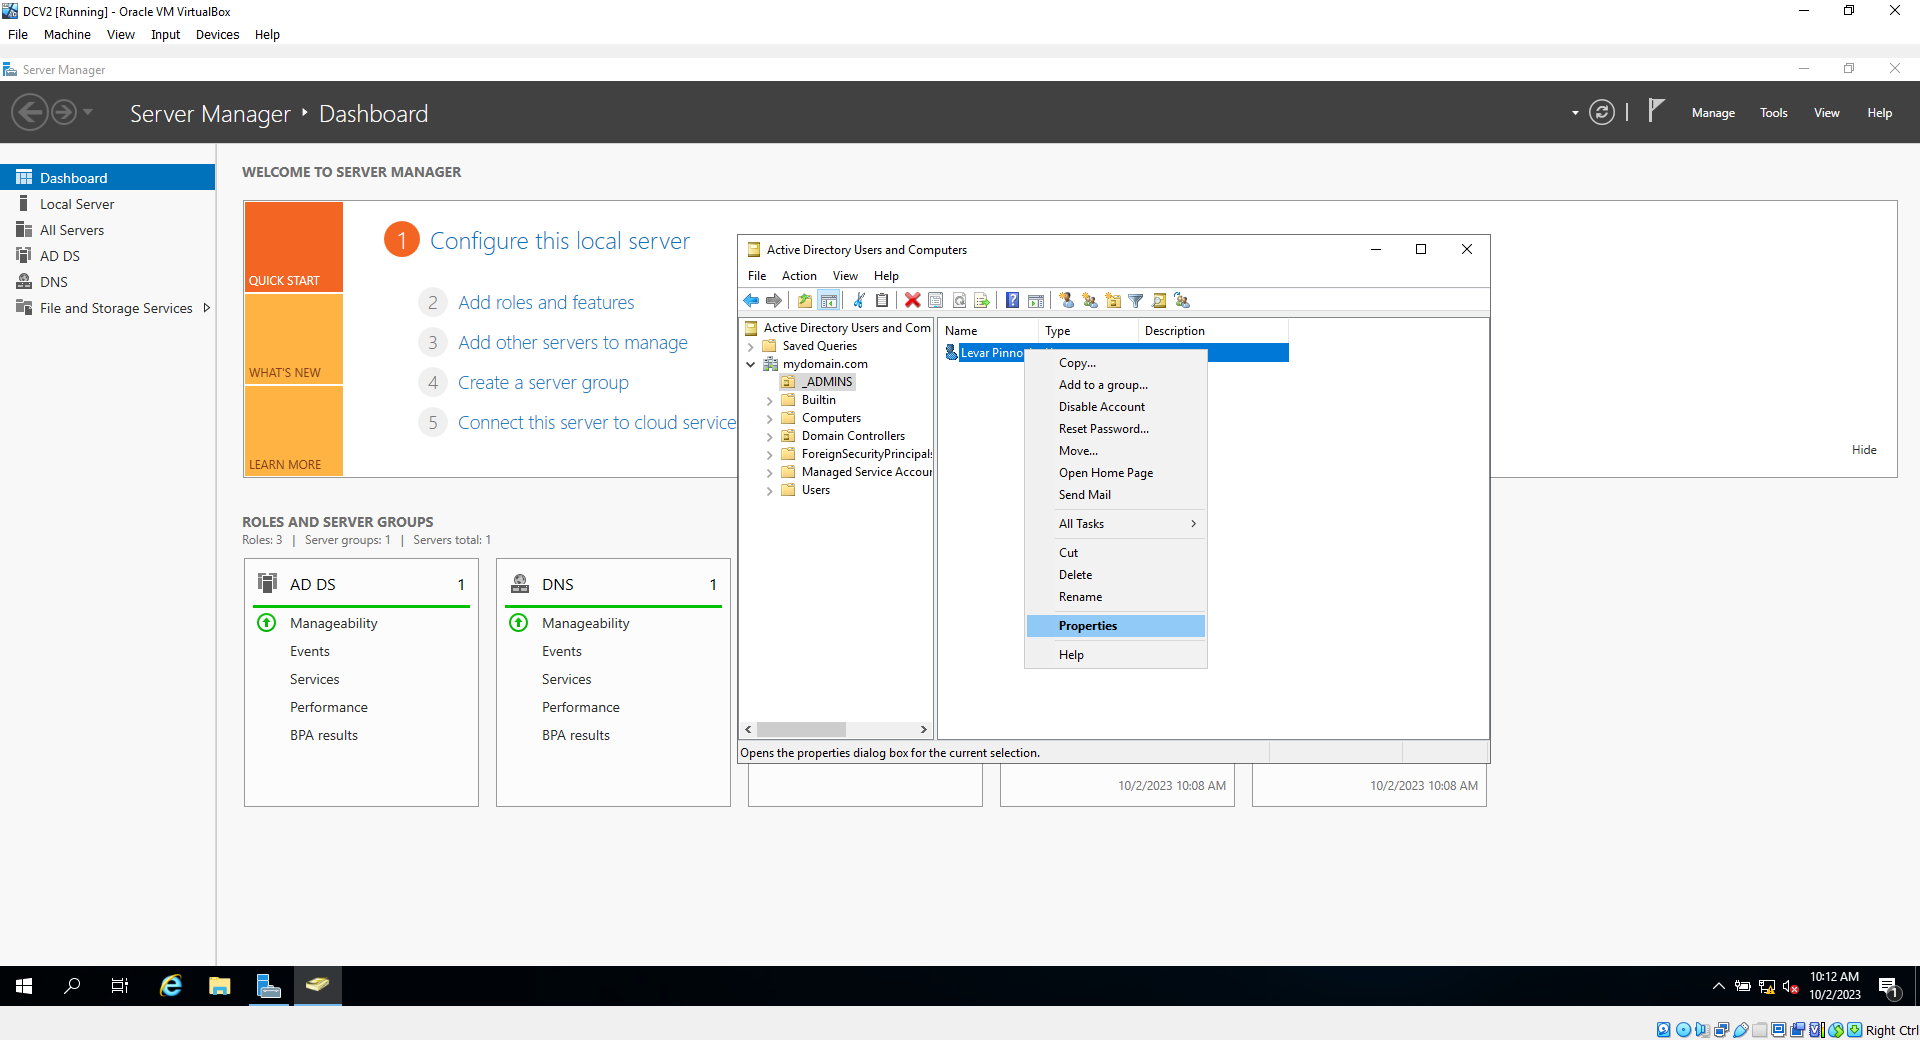
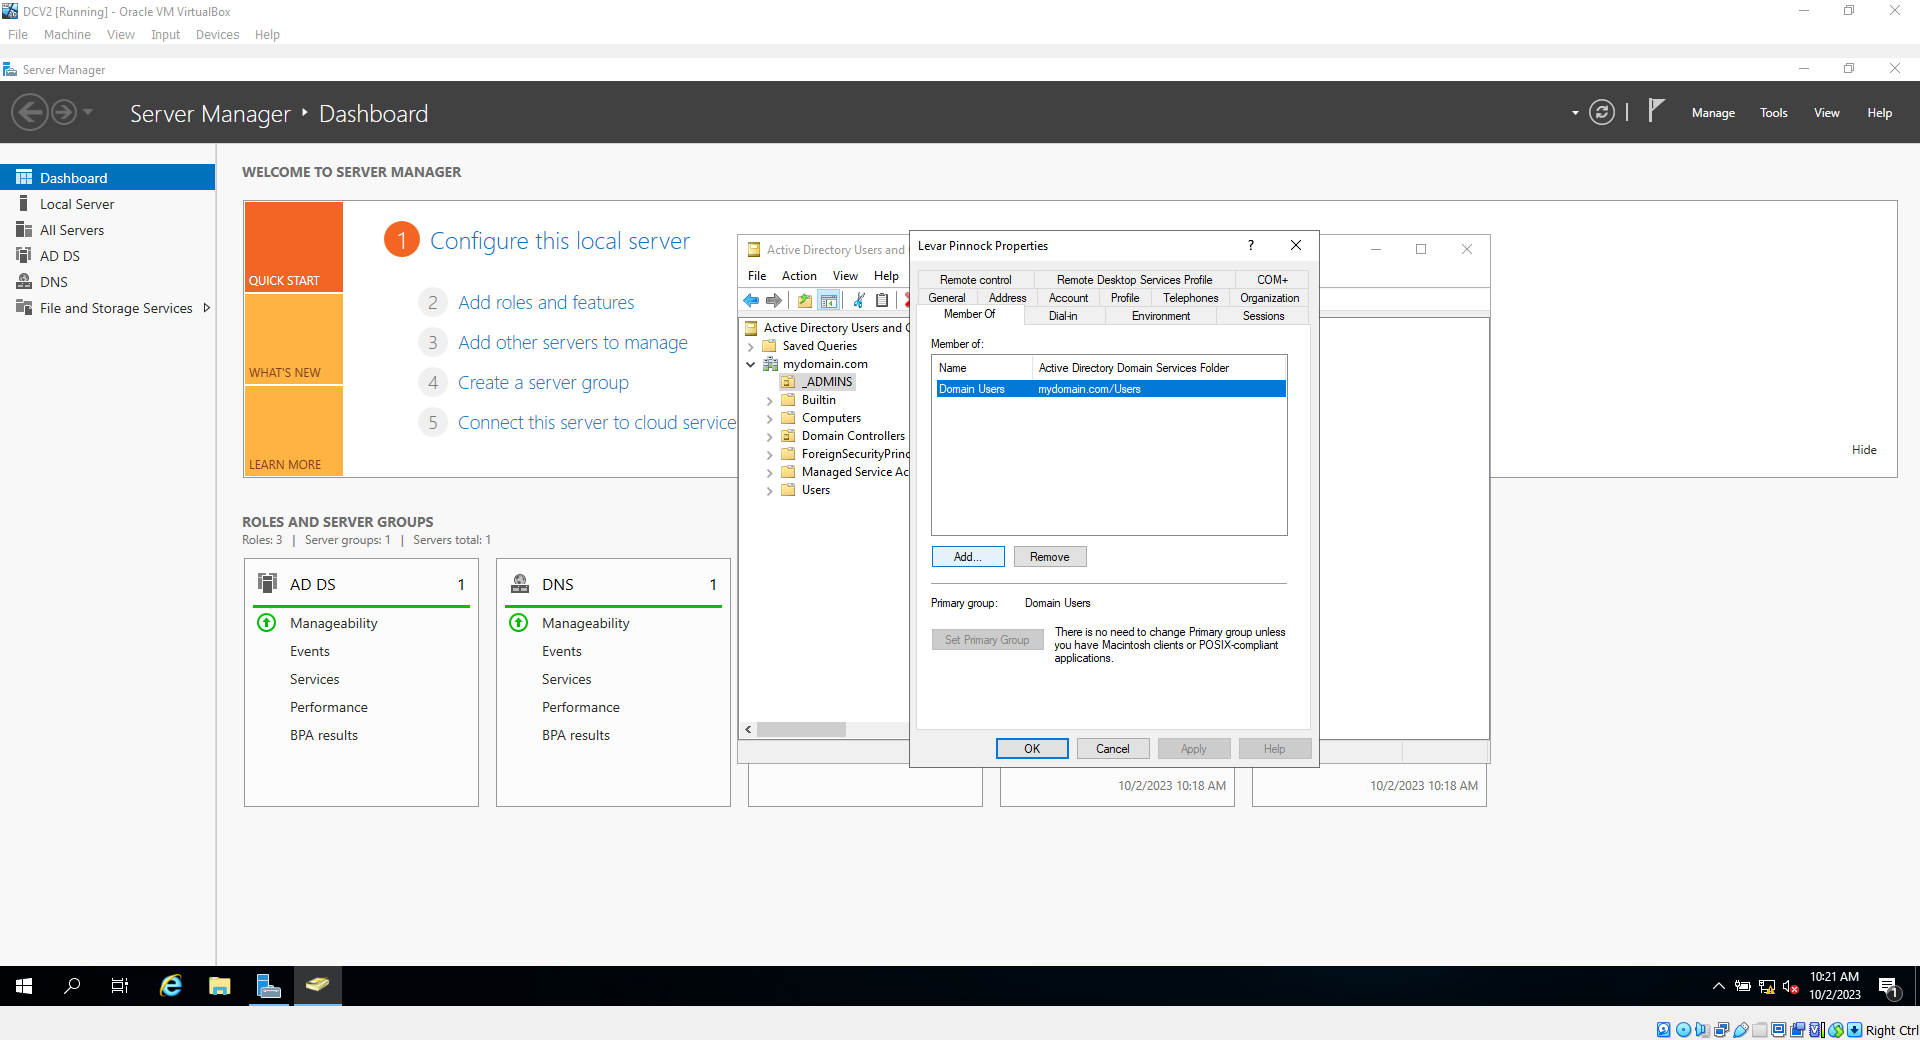
13g. Click on the "Member of" Tab, then click on add
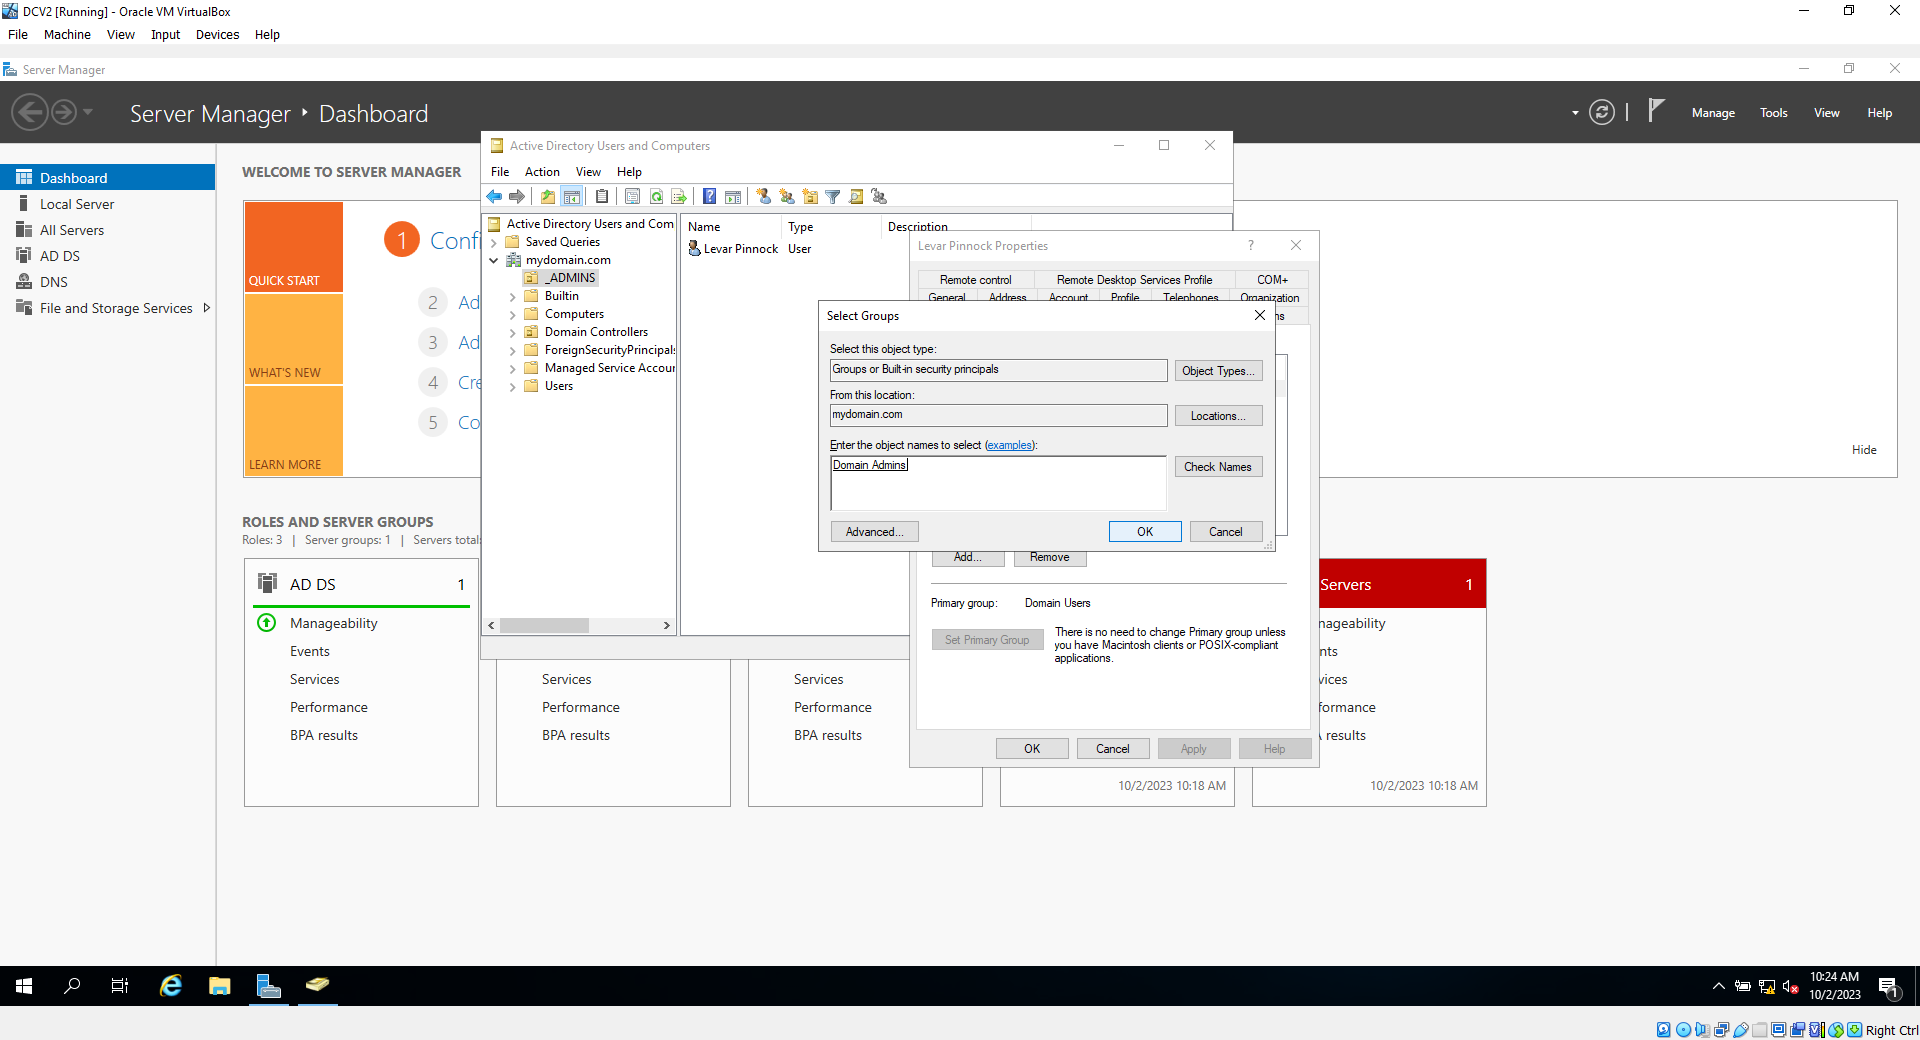
13h. Type in "Domain Admins" in the object names field, click "check names" then click ok
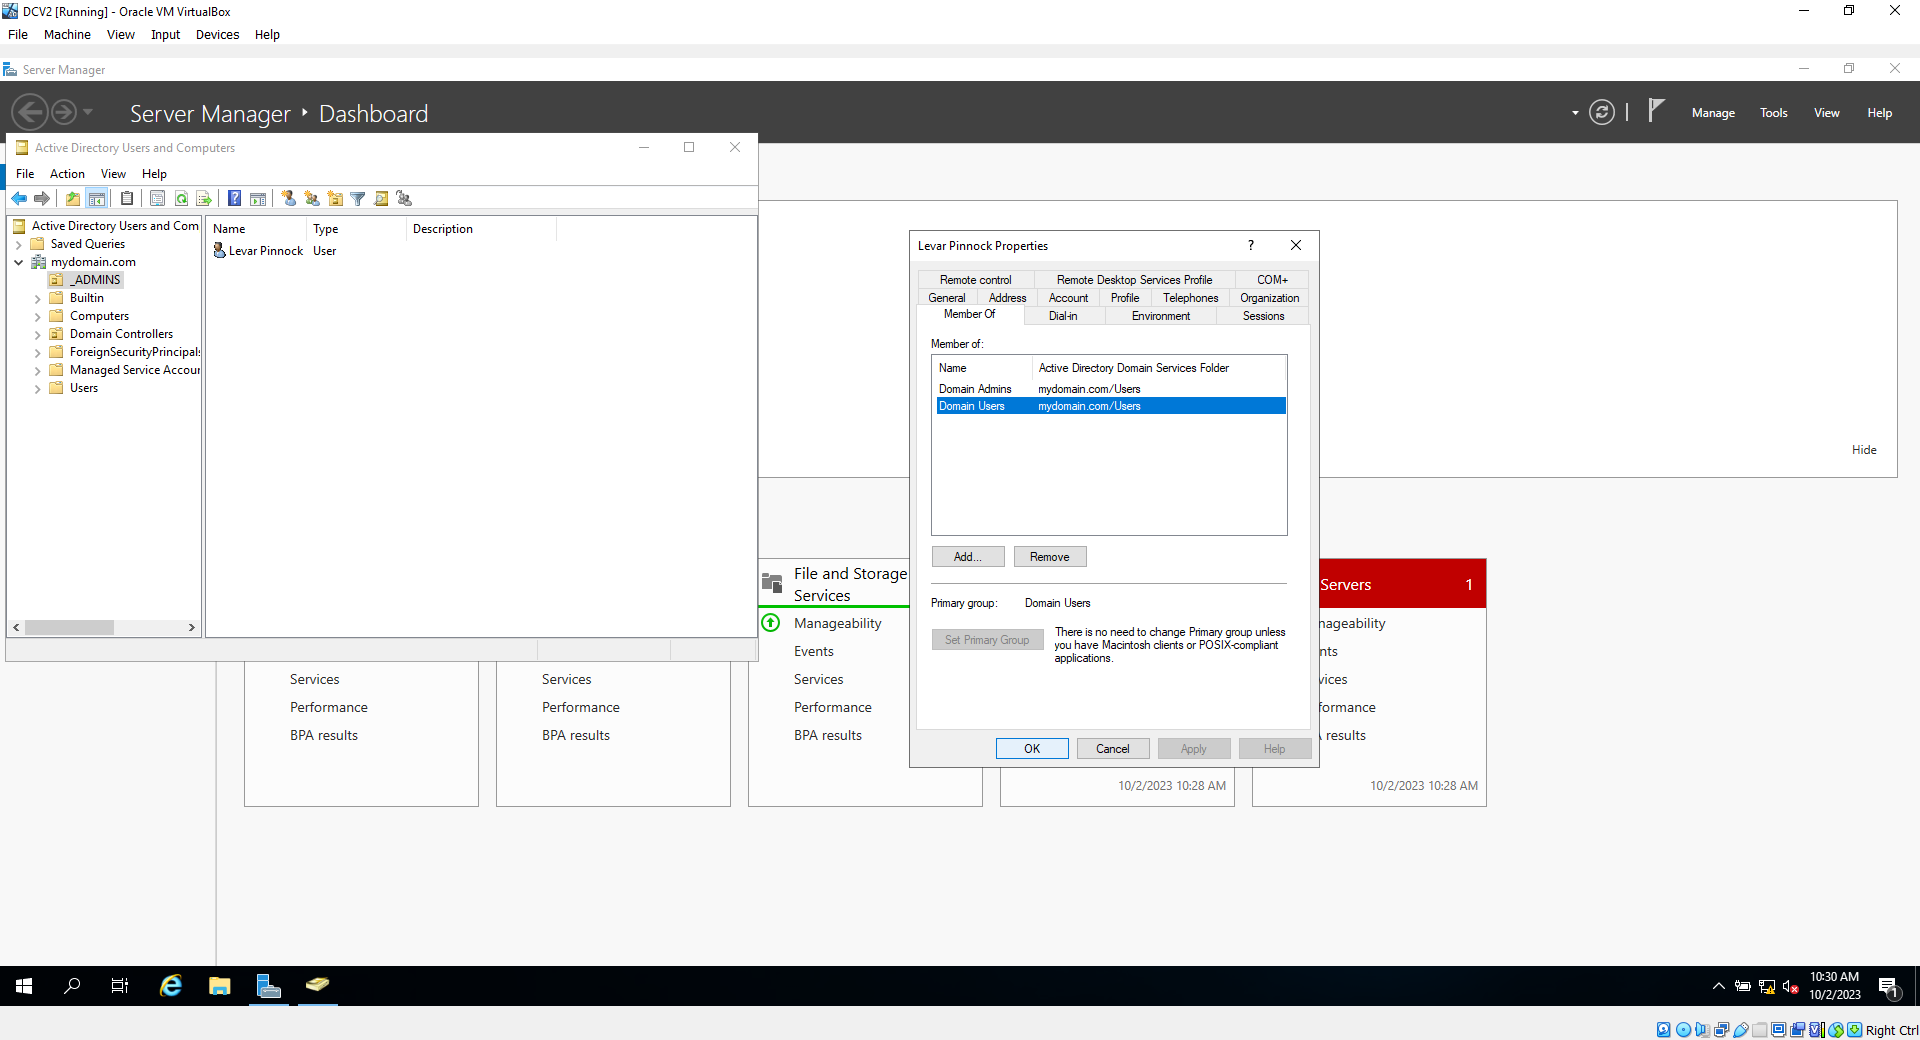
13i. Click apply and Ok. then sign out of the machine, do not shutdown
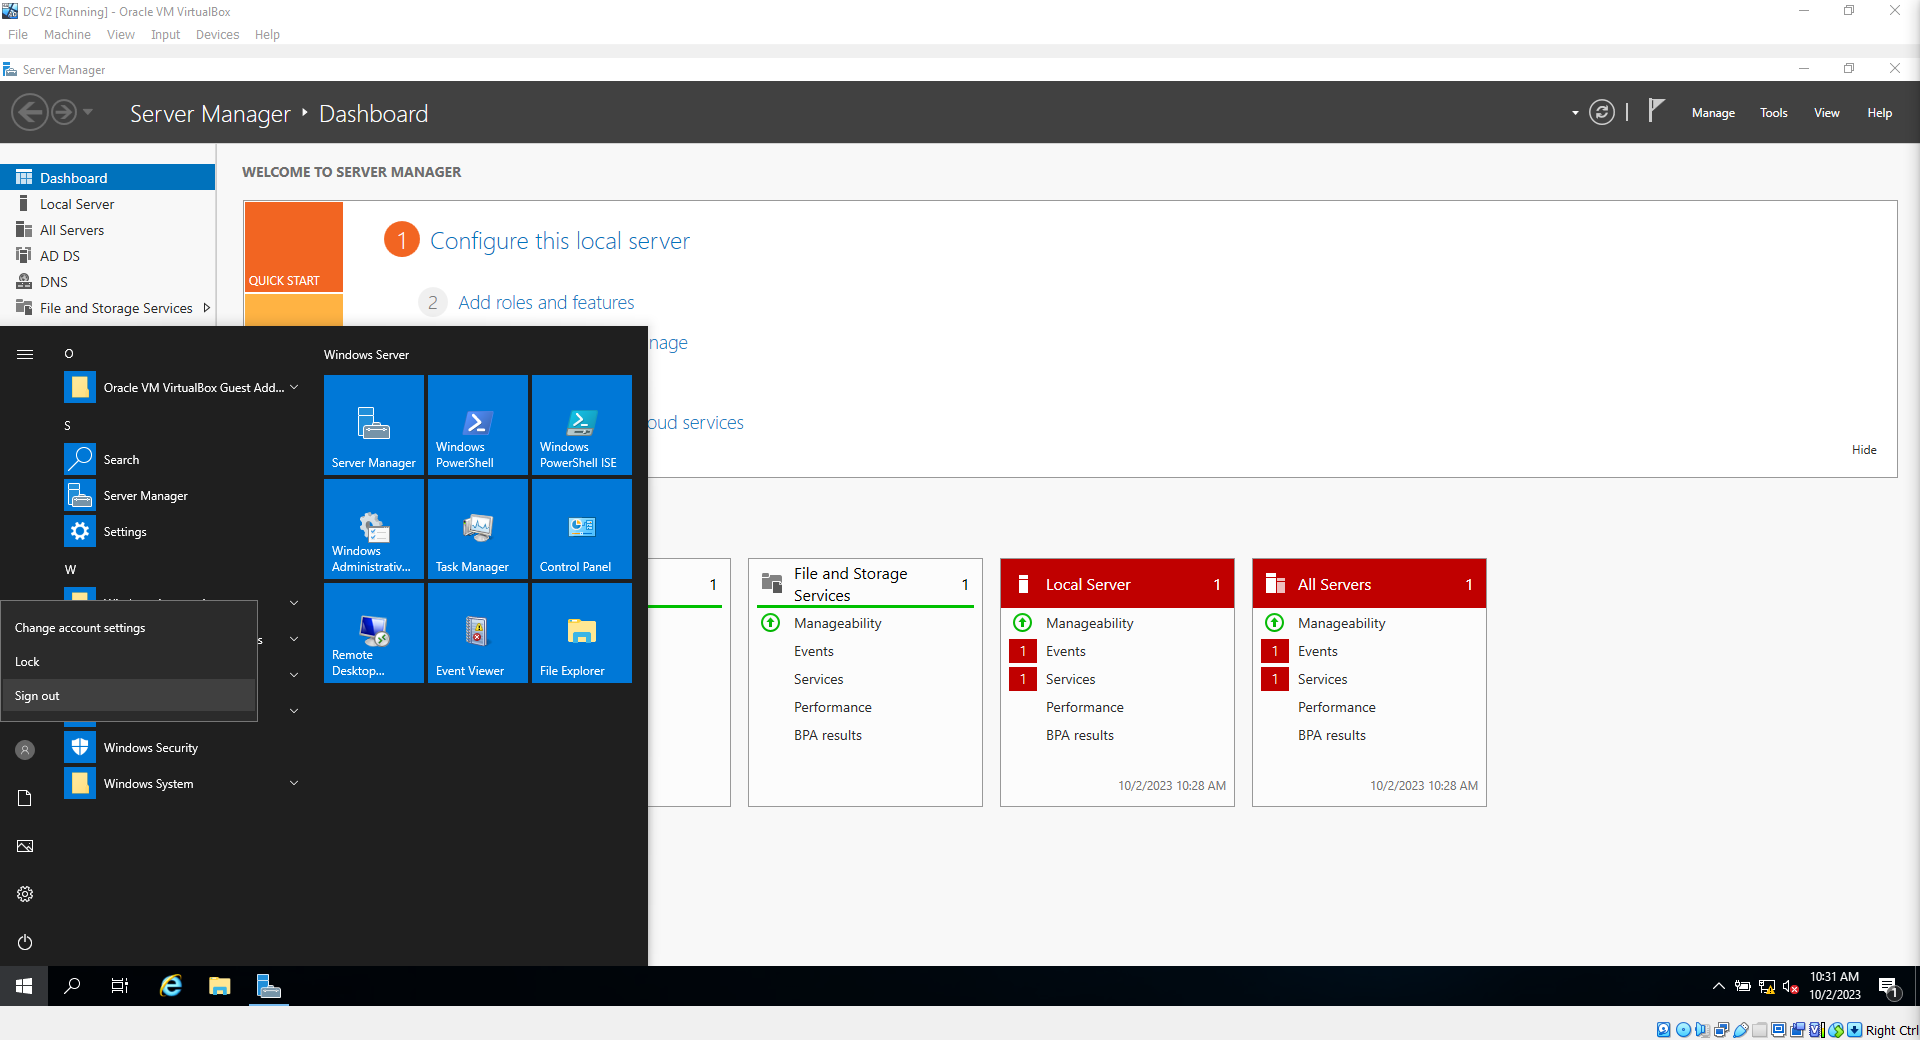
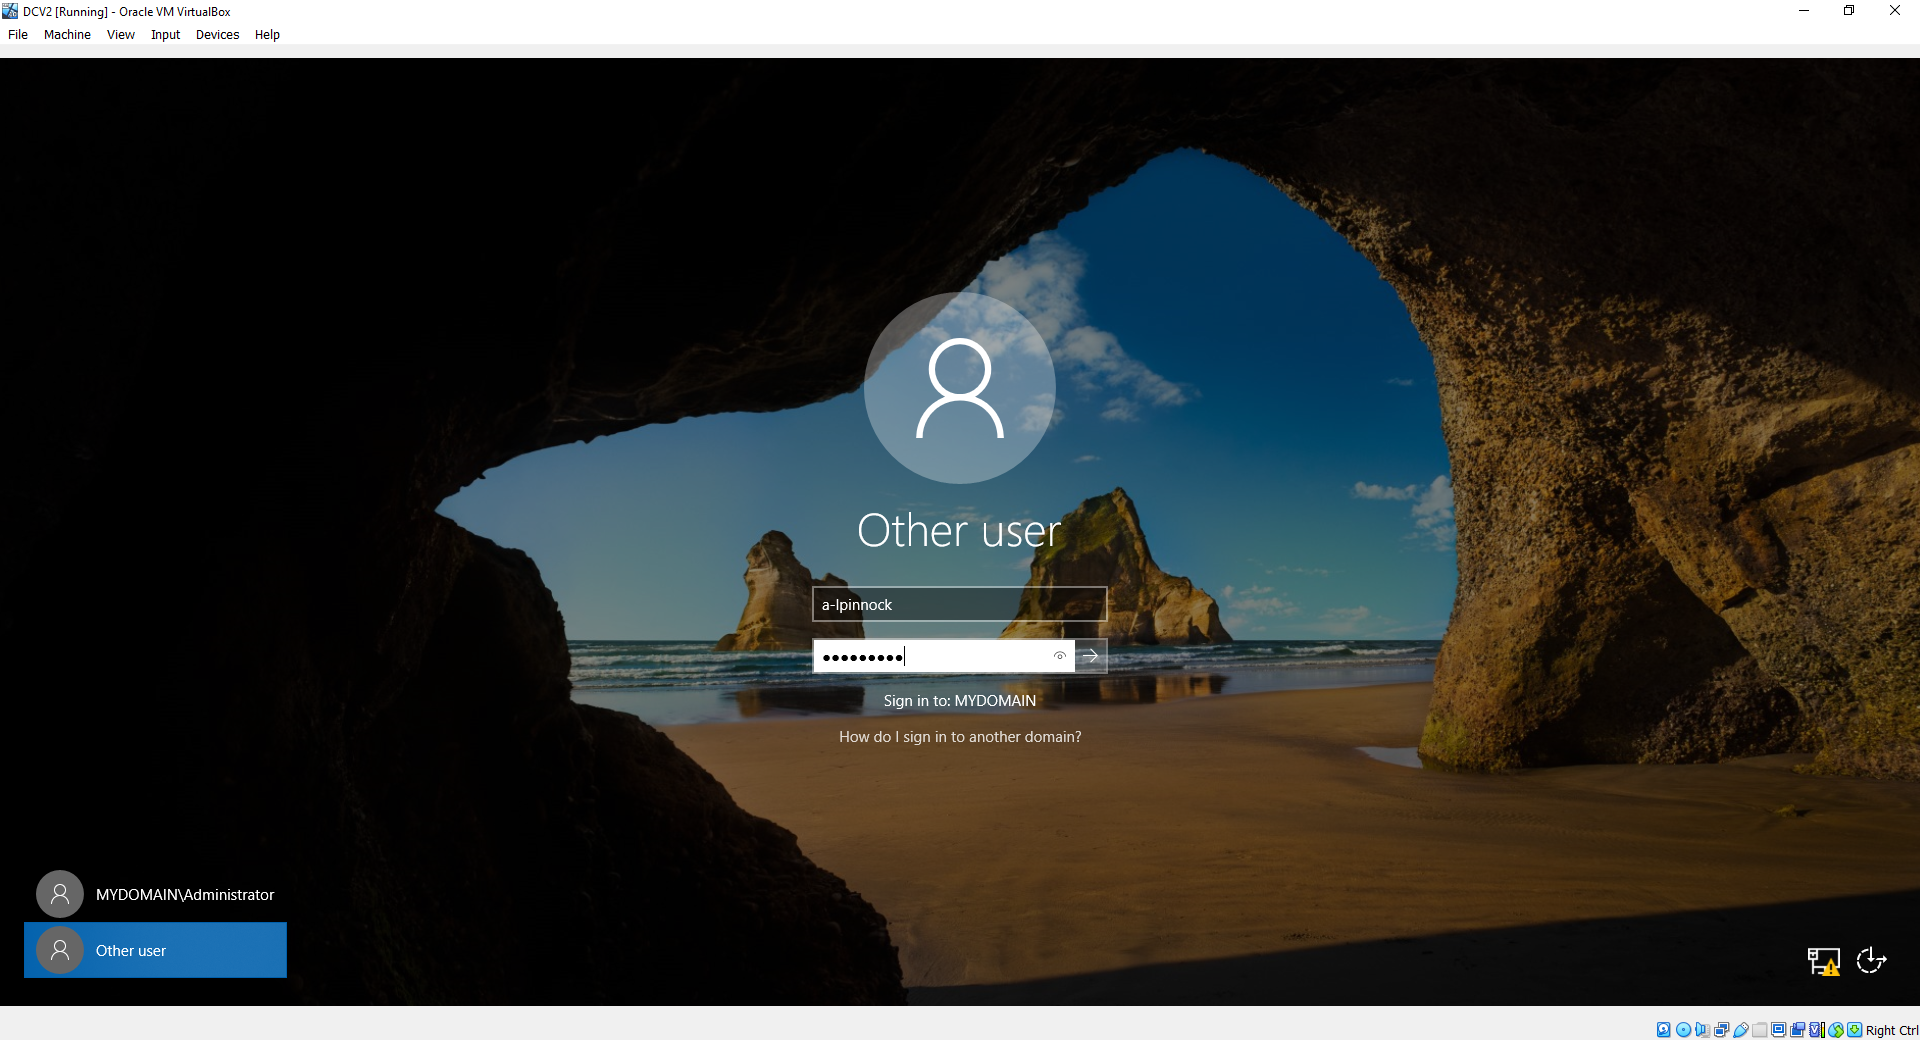
13j. Click on "Other User" and then enter in the user you created earlier, along with the password you picked for this user
****install and configure network traffic routing****
14. Go to the Server Manager, and click on add new roles and features

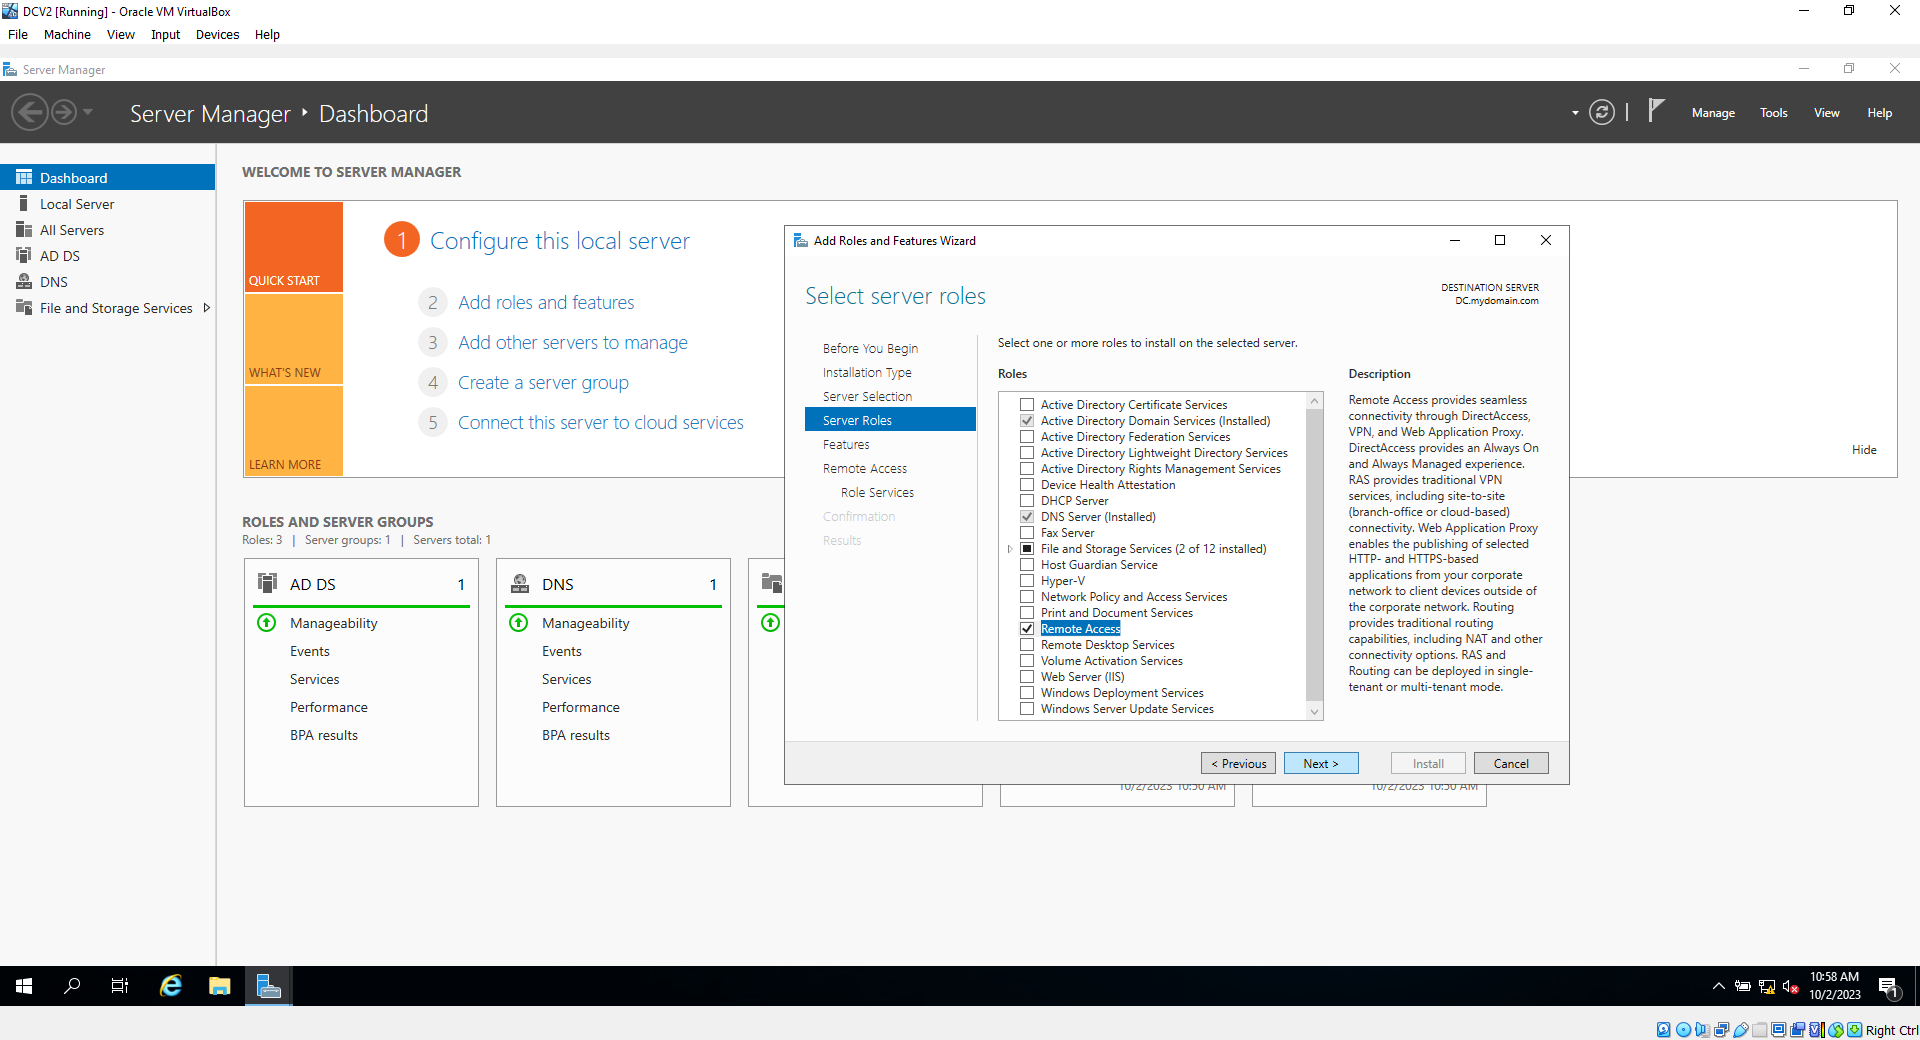
14a. Click next, next , next, then select "Remote Access" From the List., then hit next 3 times
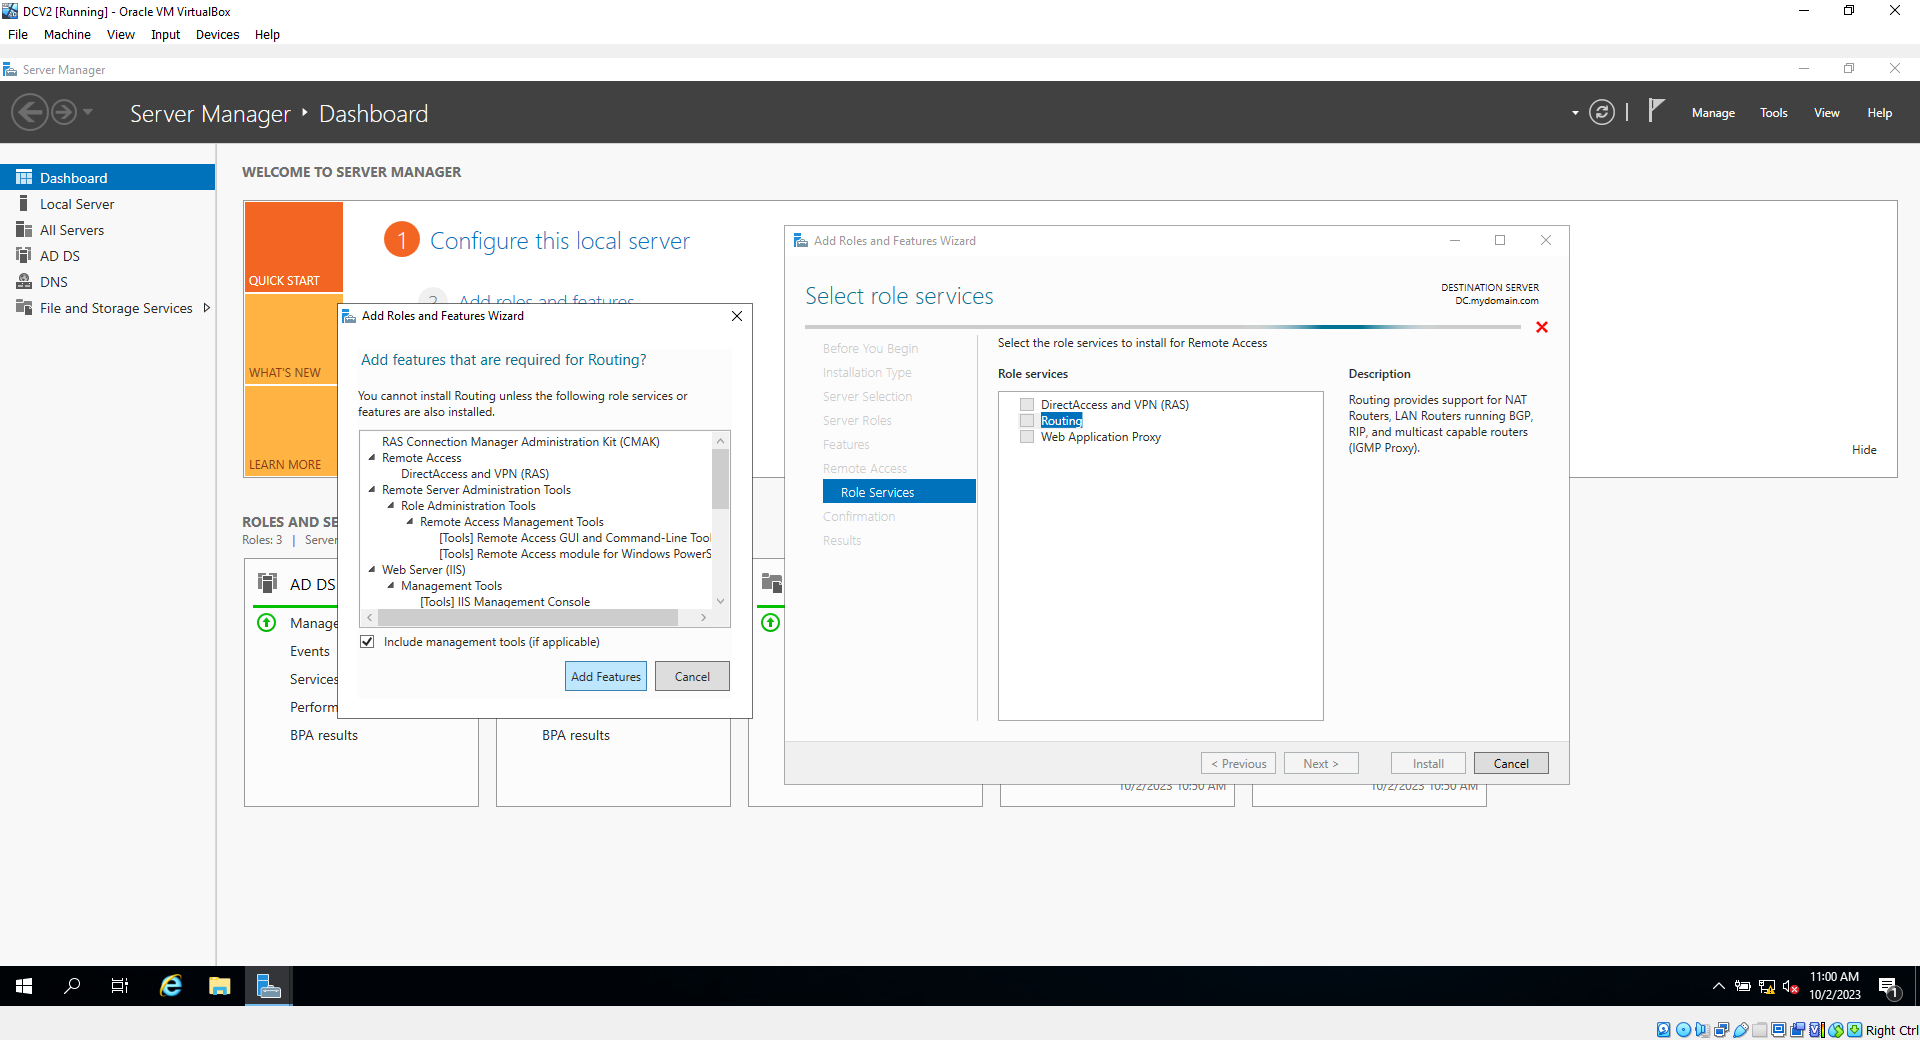
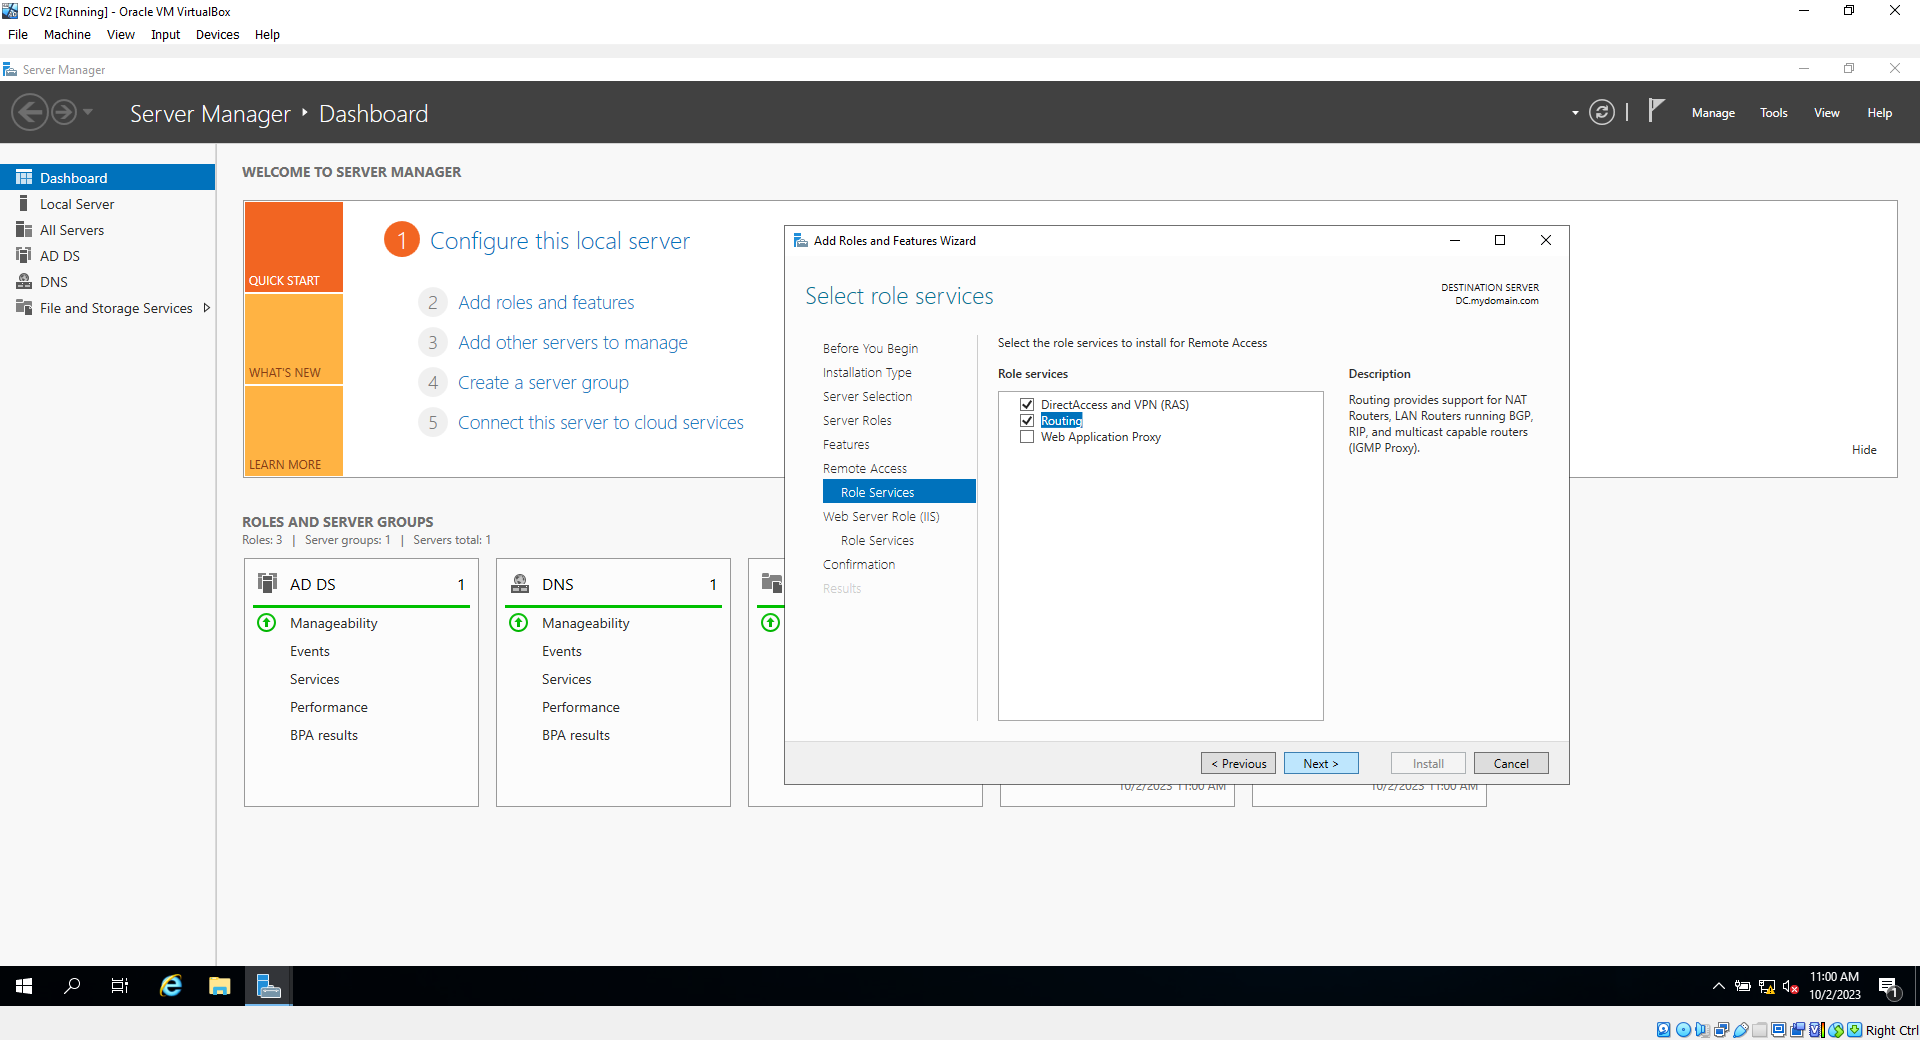
14b. On the "Role Services" section, check "Routing", then click, "add Features", then click next 3 times, then install
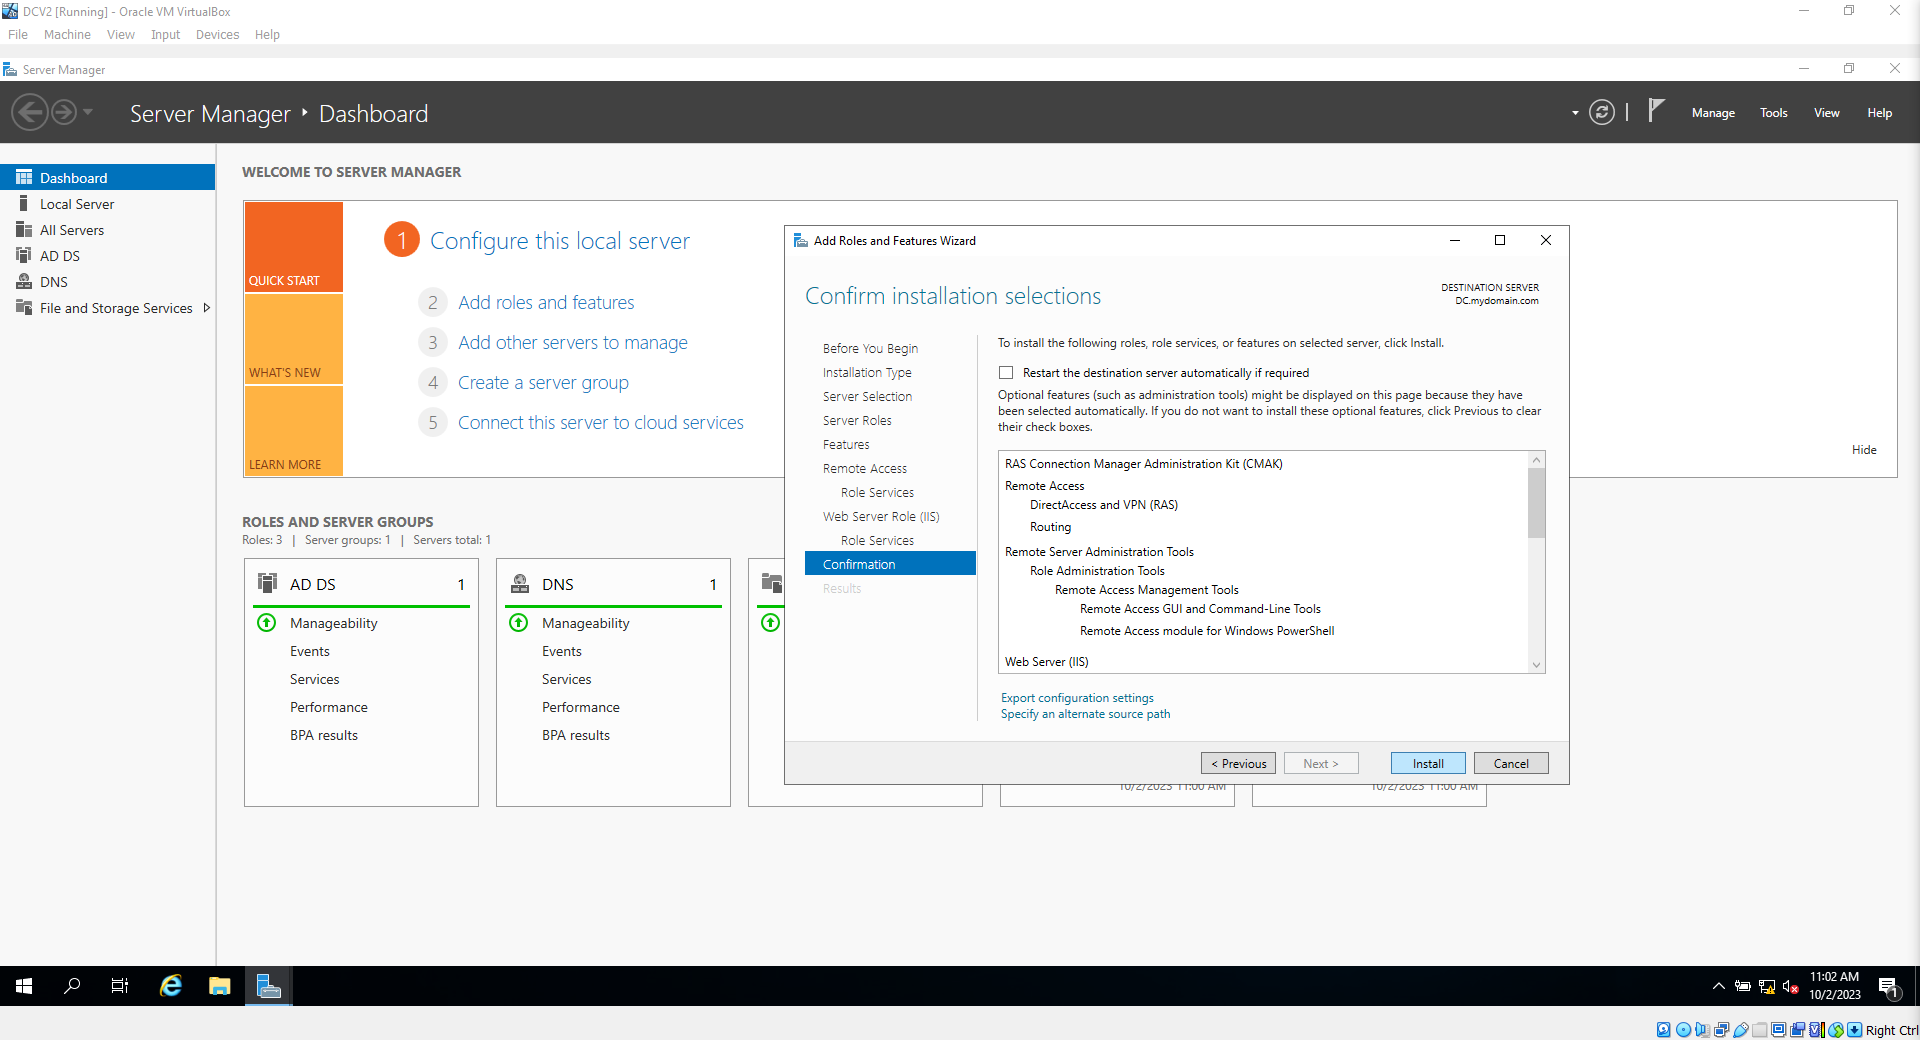
14c. While this installs, you can hit close and the installation will continue uninterrupted, or wait until it's done and close this window
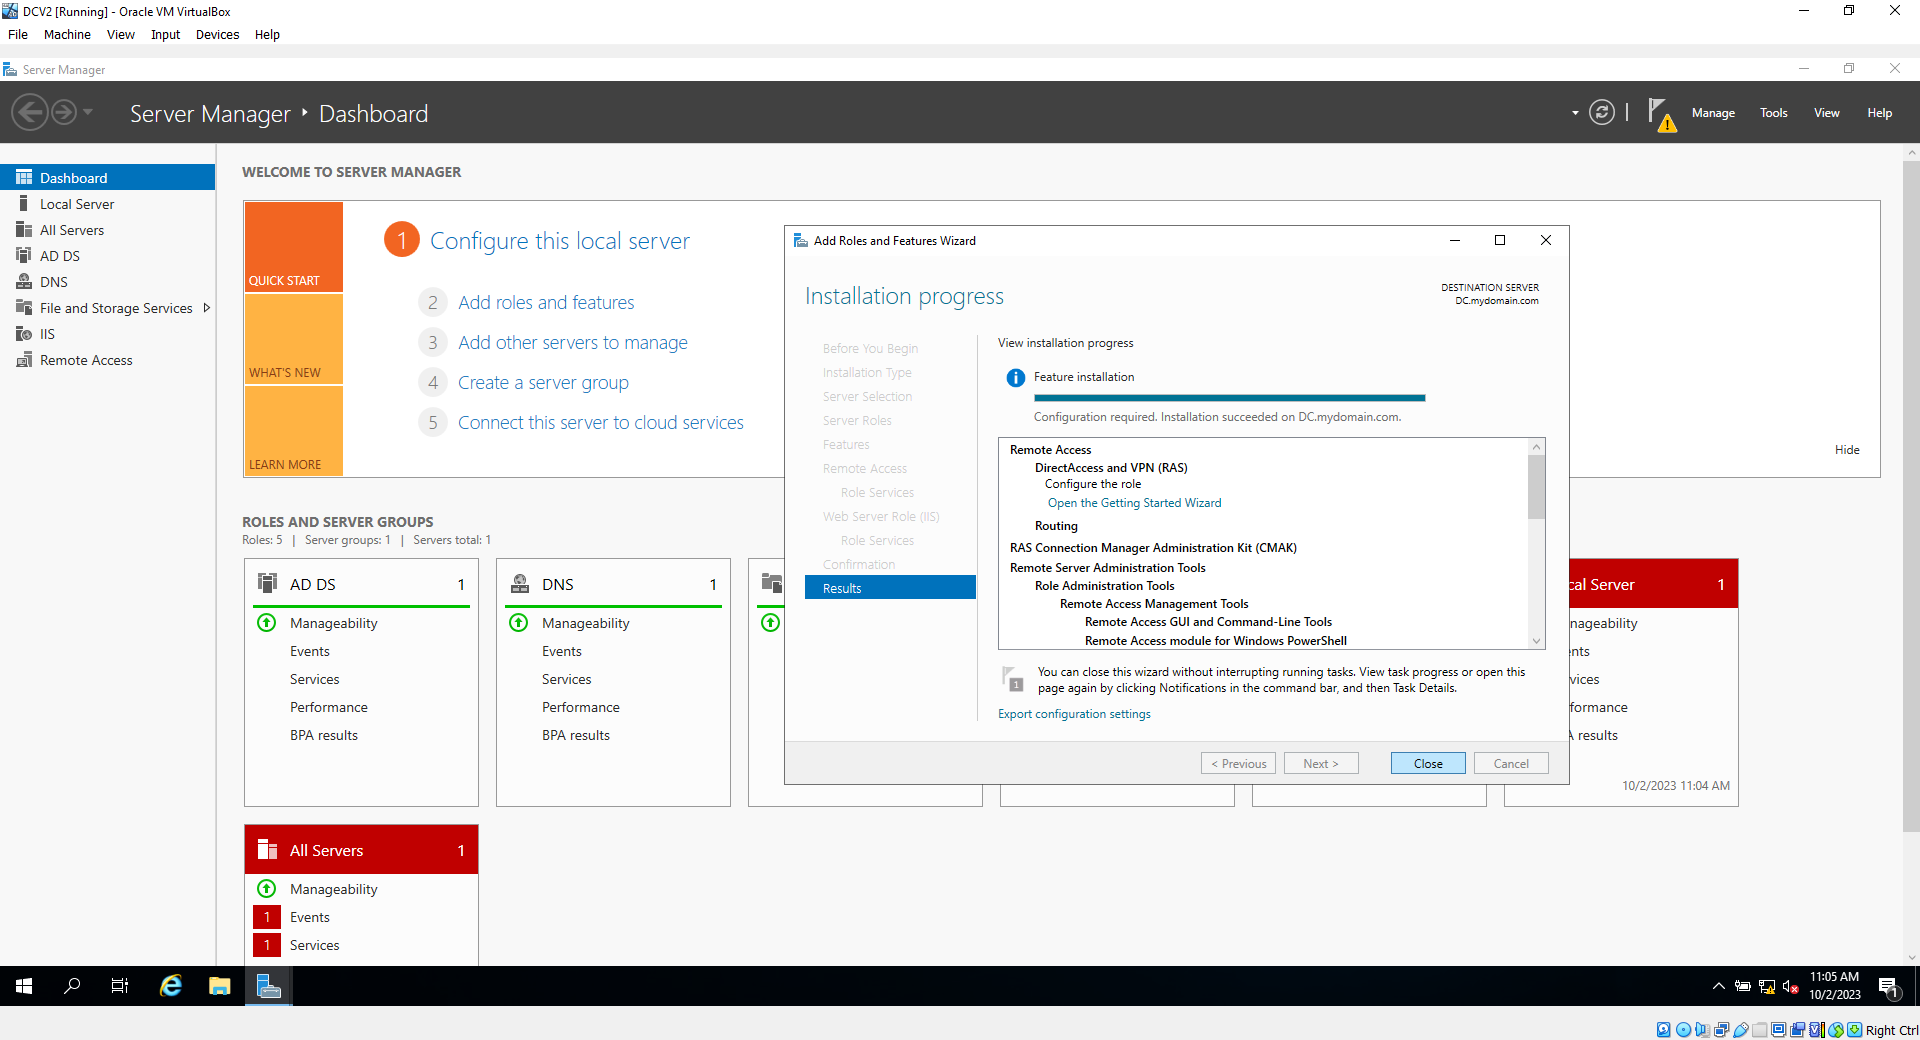
14d. Go to the Server manager, and click tools, then select "routing and remote access"
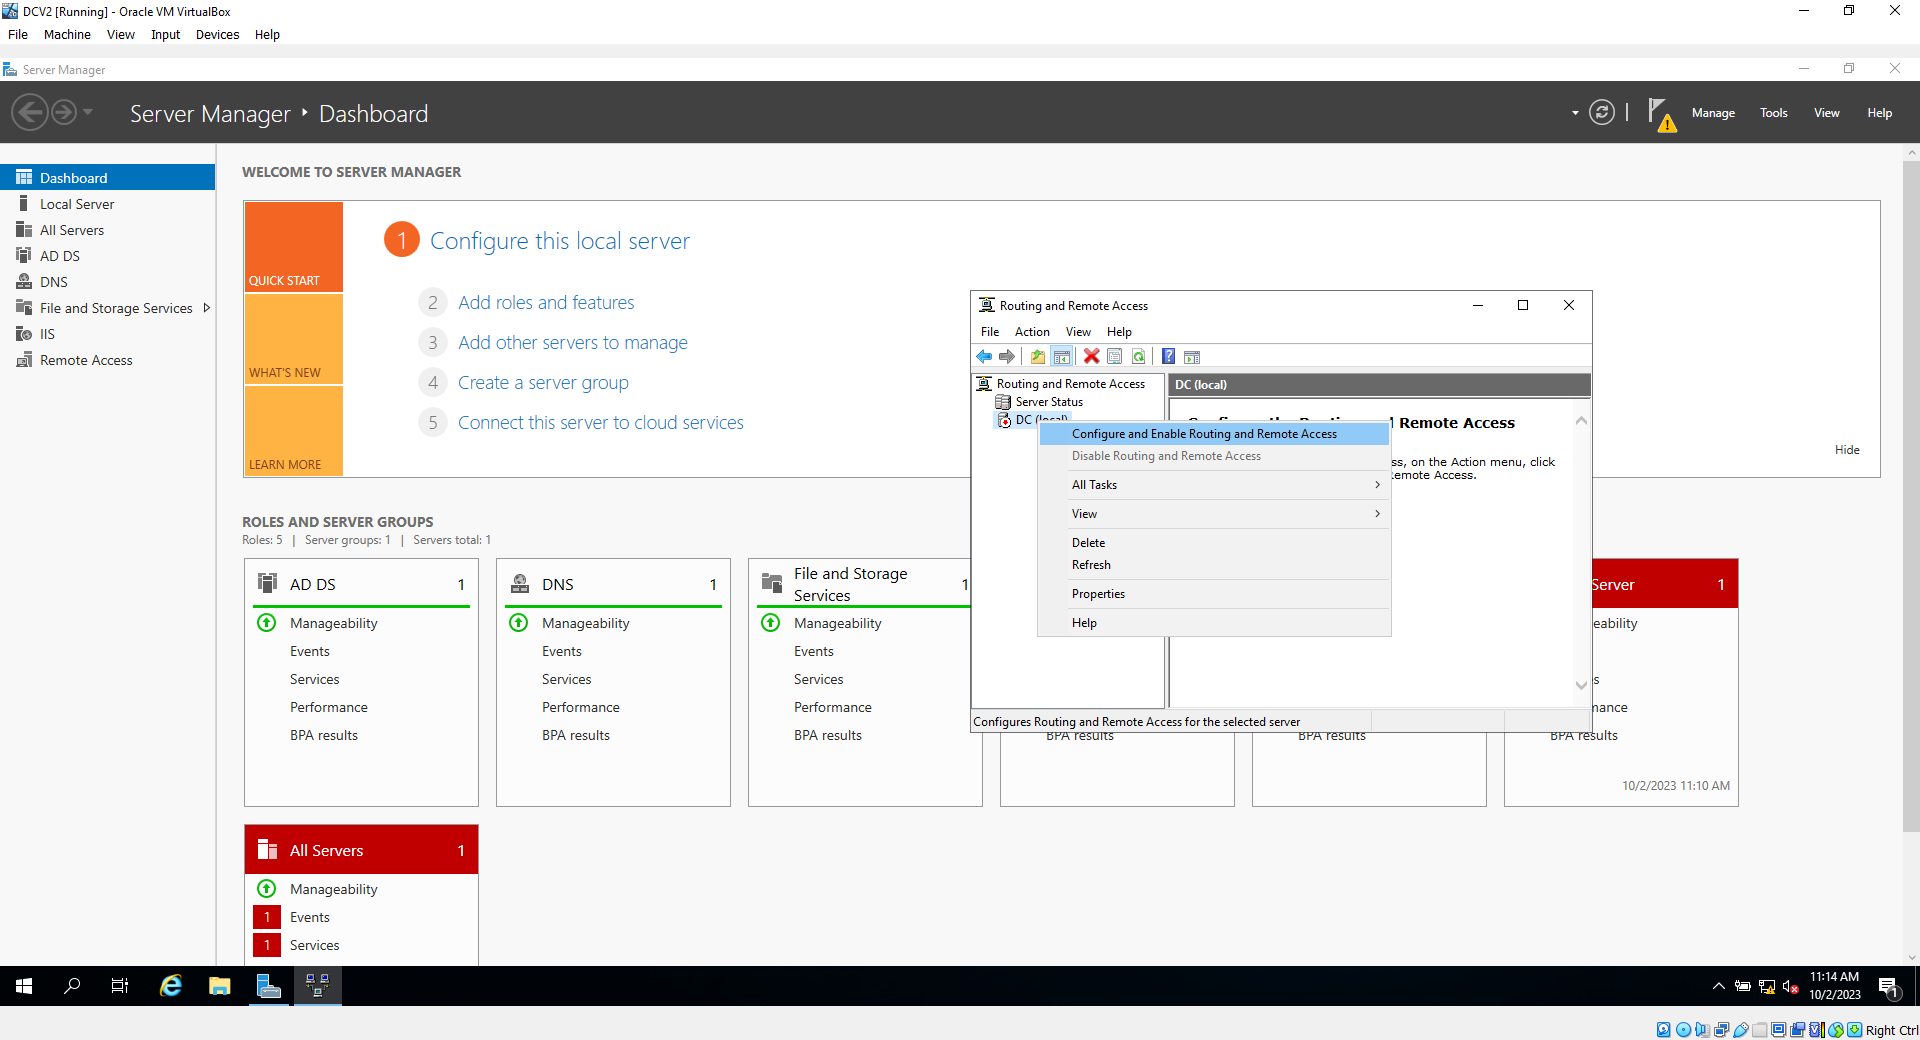
14e. Right click on your domain controller, and select "Configure and Enable Routing and Remote Access"
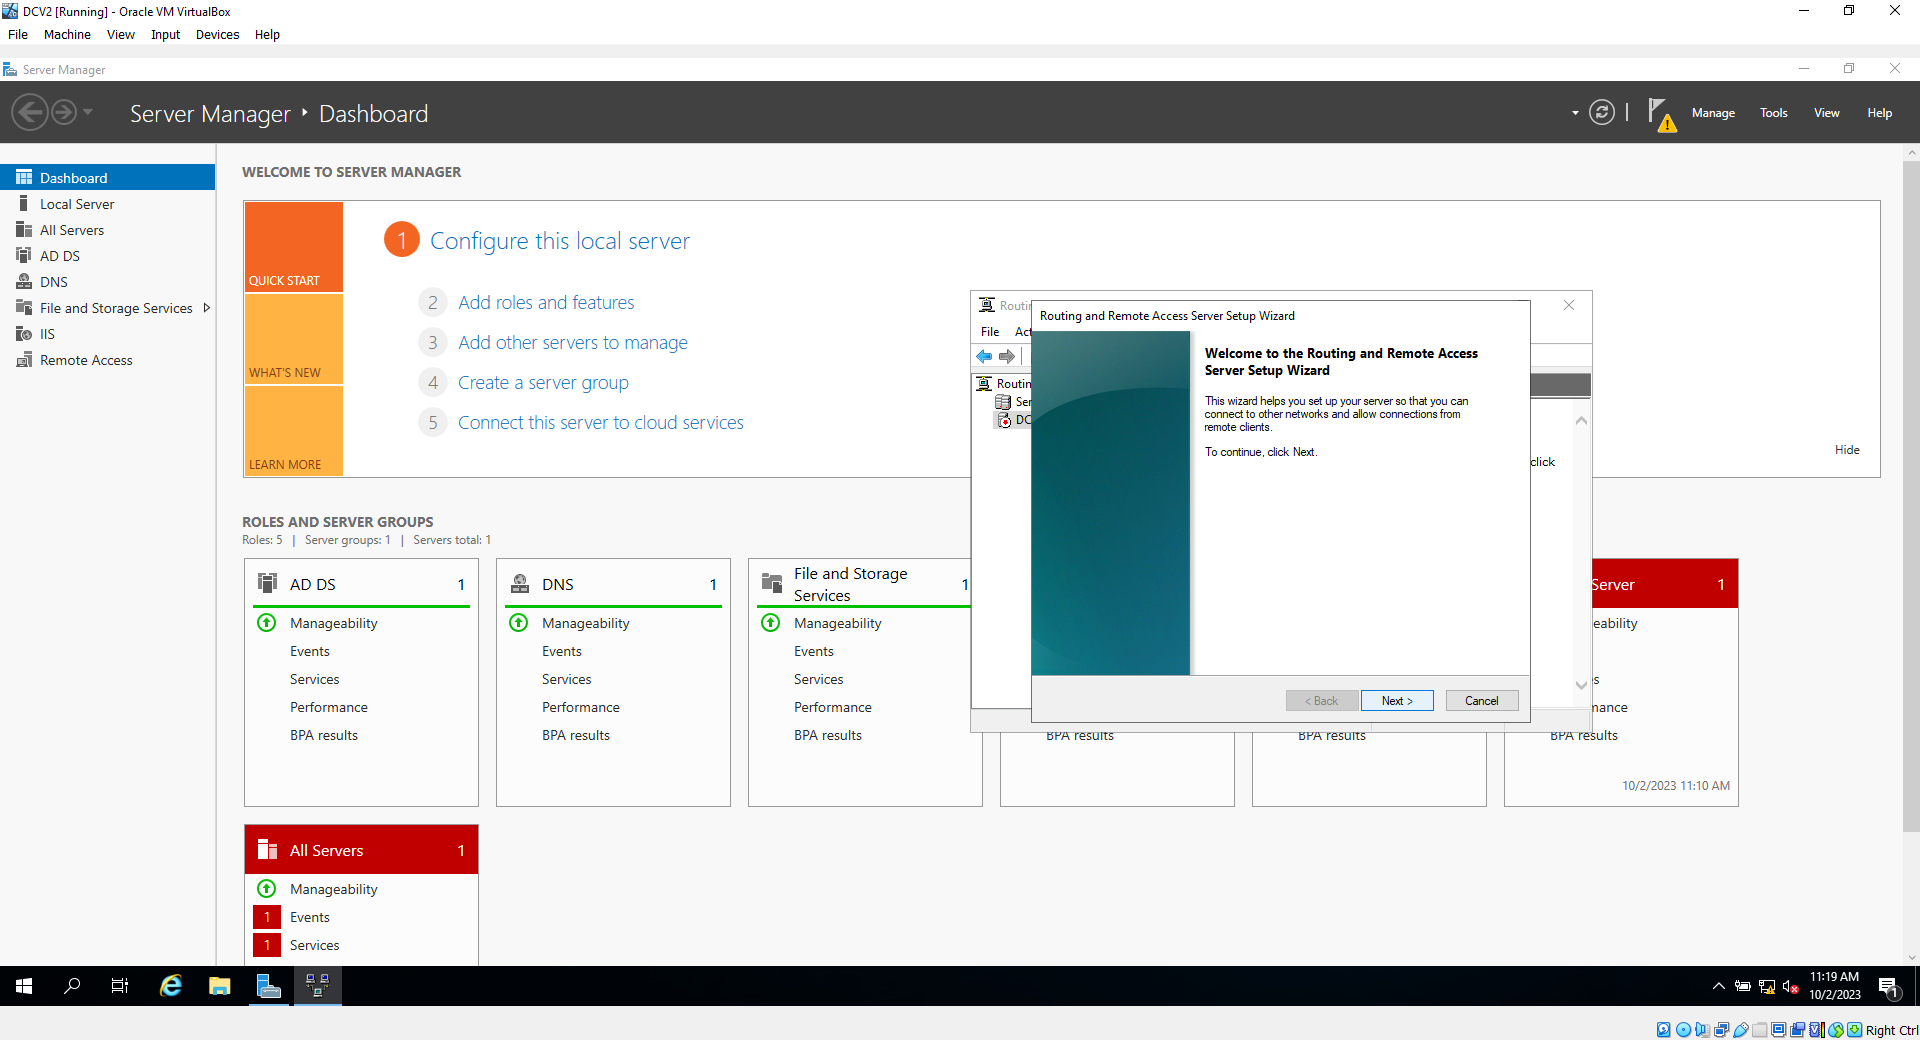
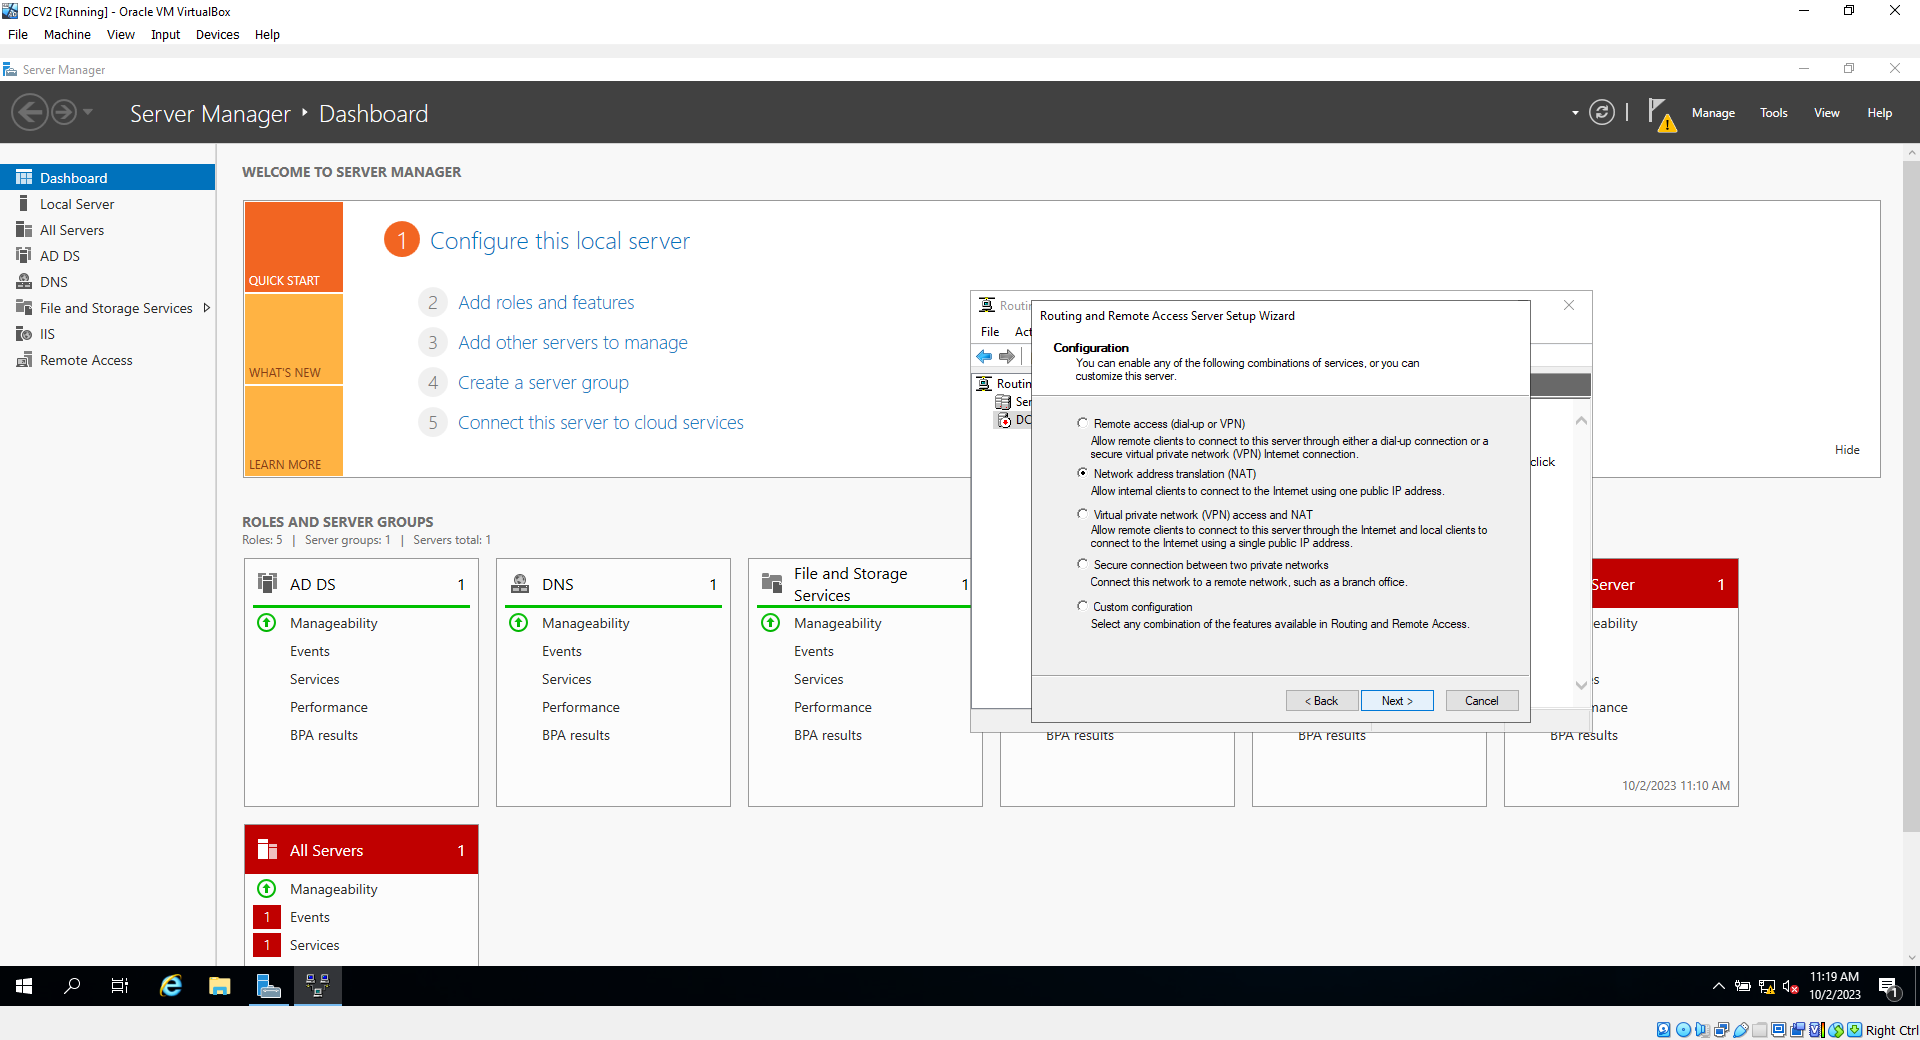
14f. Click next, the select "Network address Translation, then hit next
14g. Select the Interface you labeled as "Internet" as this will link your network to the internet. Then hit finish
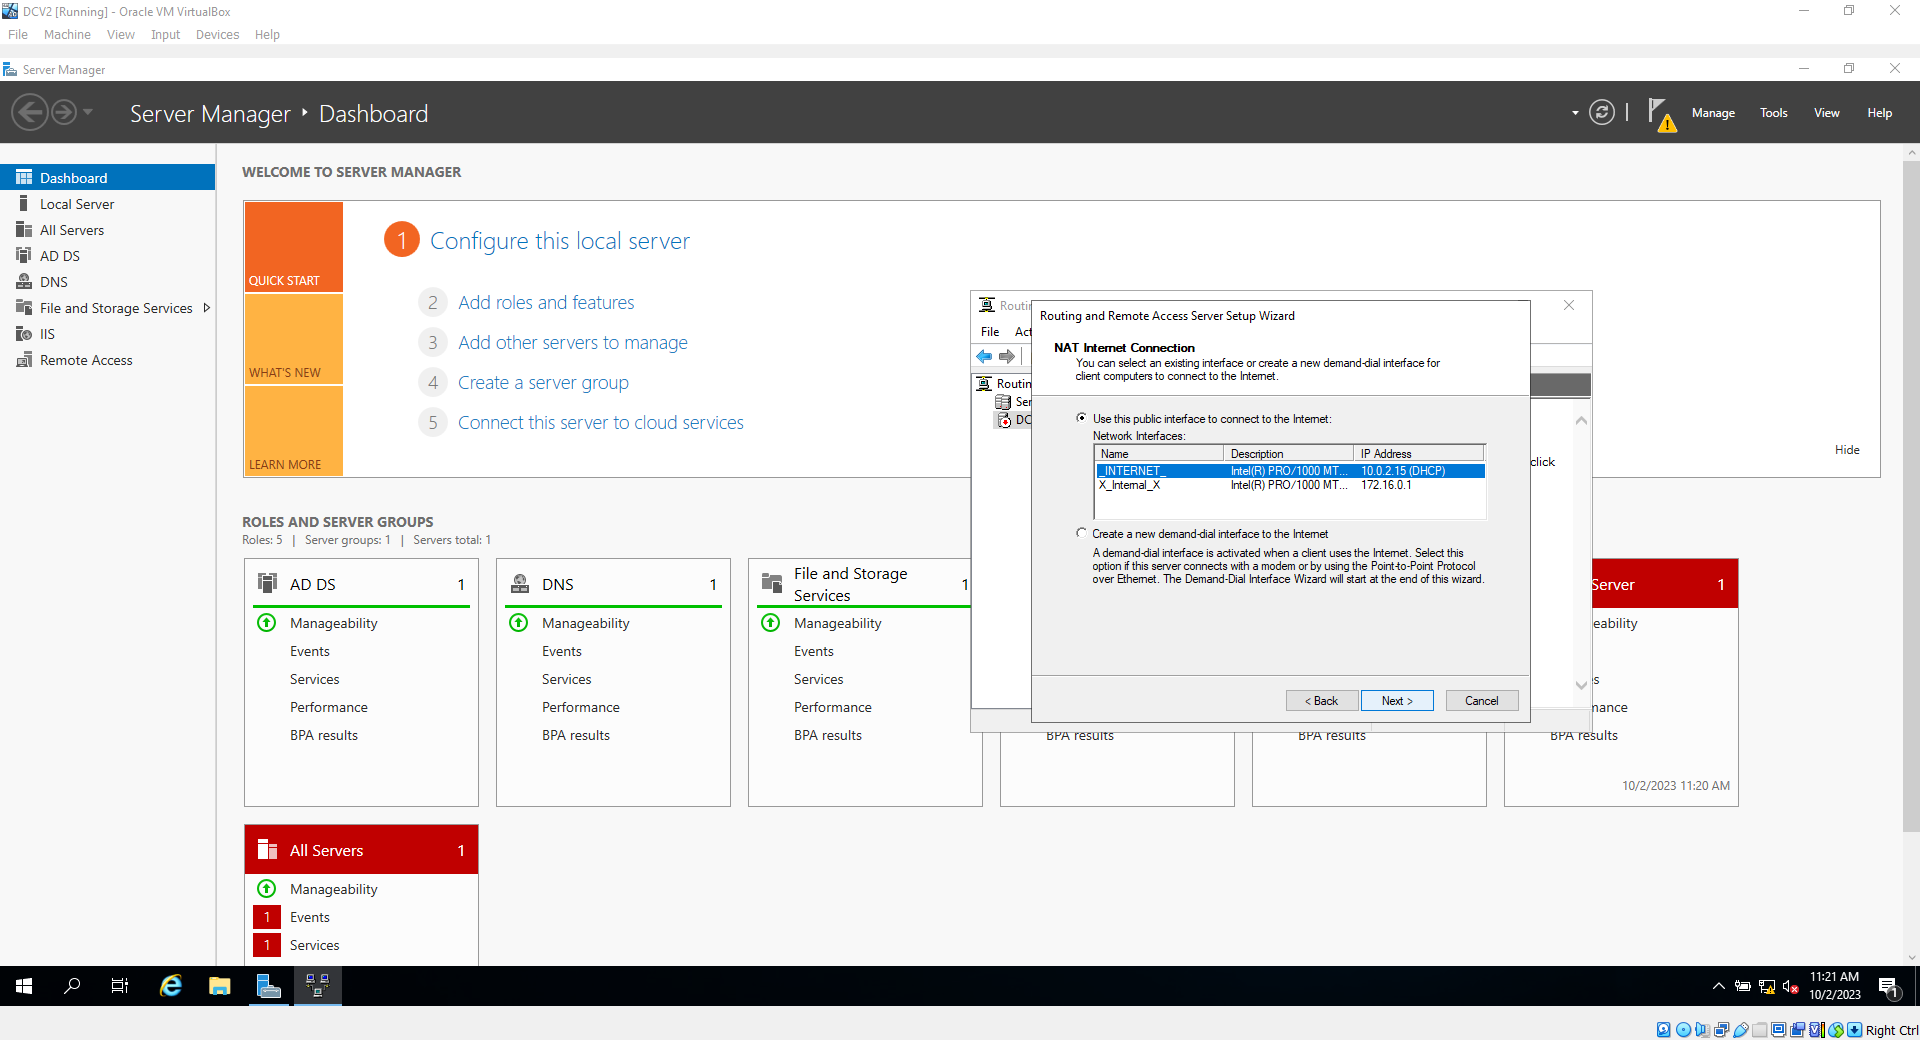
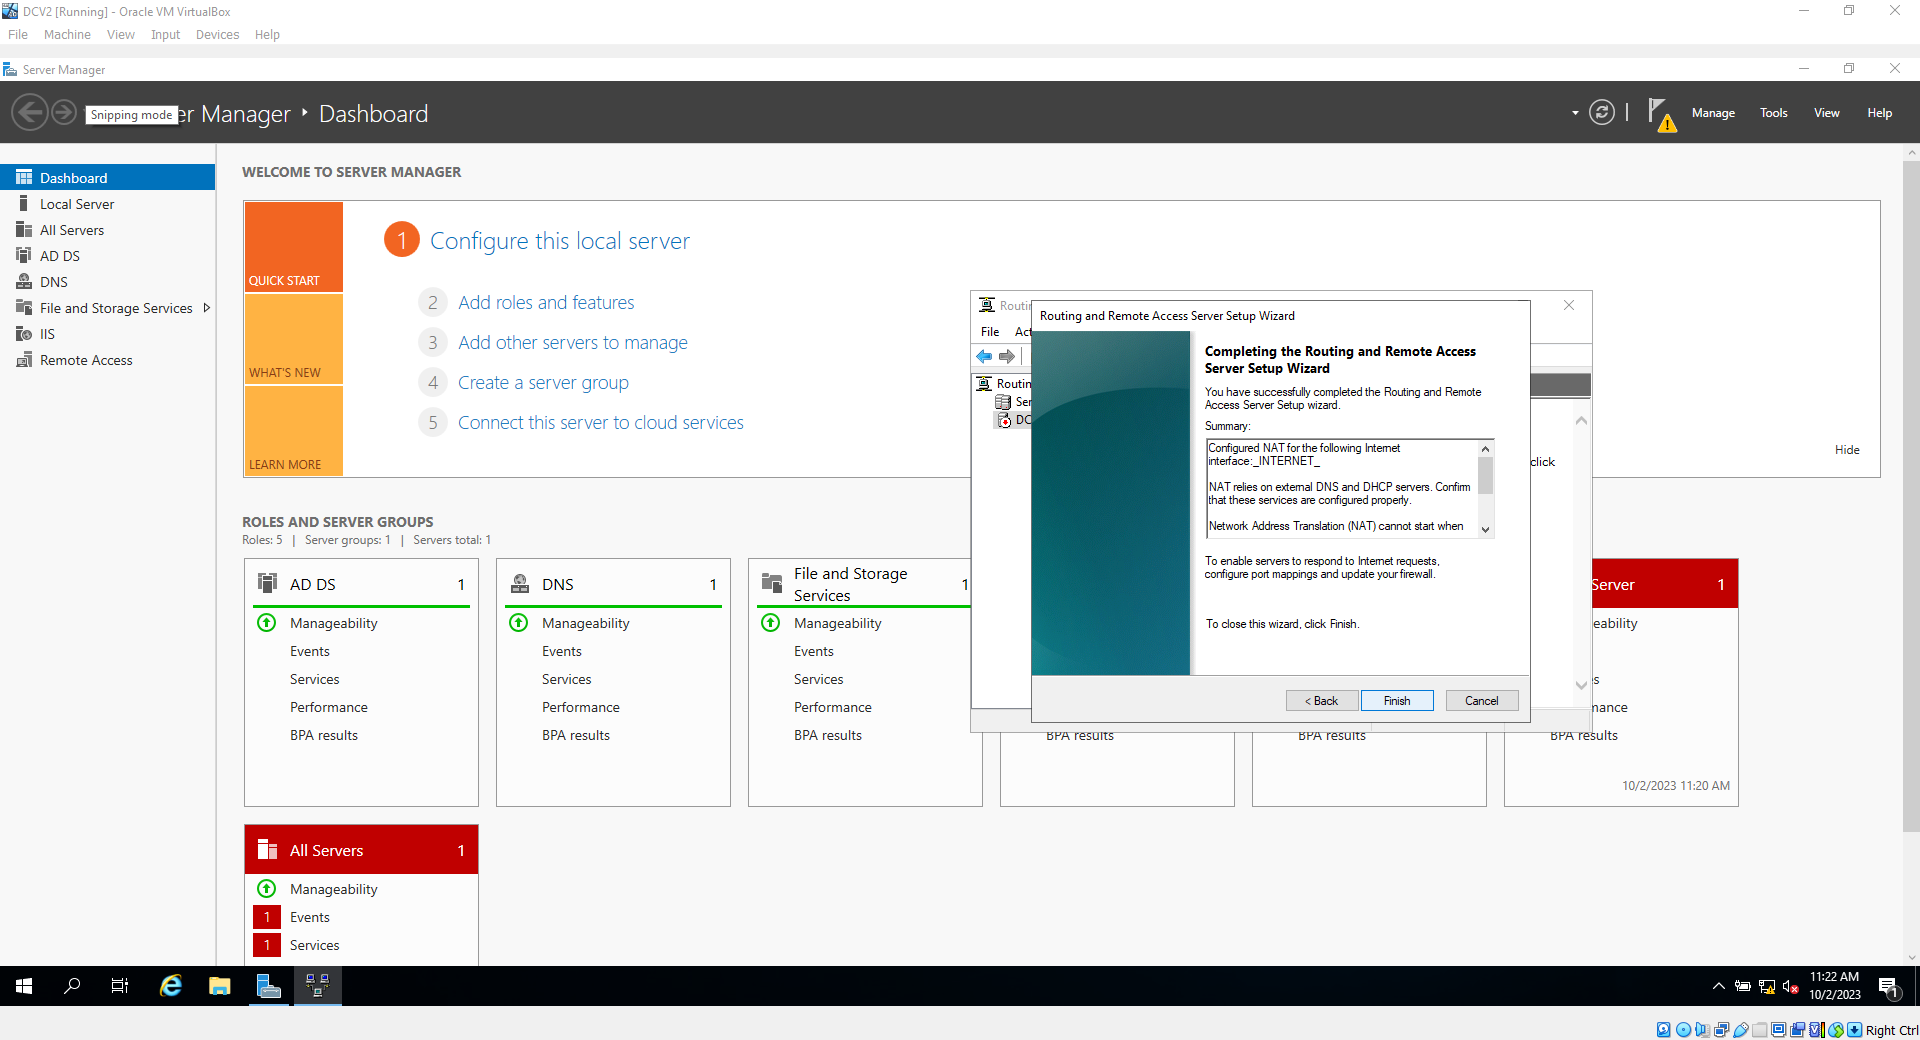
***Sometimes with virtualization, the option to select network interfaces is greyed out. This is an error that can be solved by simply closing the window, and repeating step number 14d - 14g****
****Installing DHCP Server****
15. Go to server Manager, and click add roles and features. From here, hit next 3 times, and in the "Features" section ,select "DHCP Server", then click ldblquote add Features. Click next 3 times, then click install. When the installation closes, hit close

15a. Now go to tools, and hit DHCP
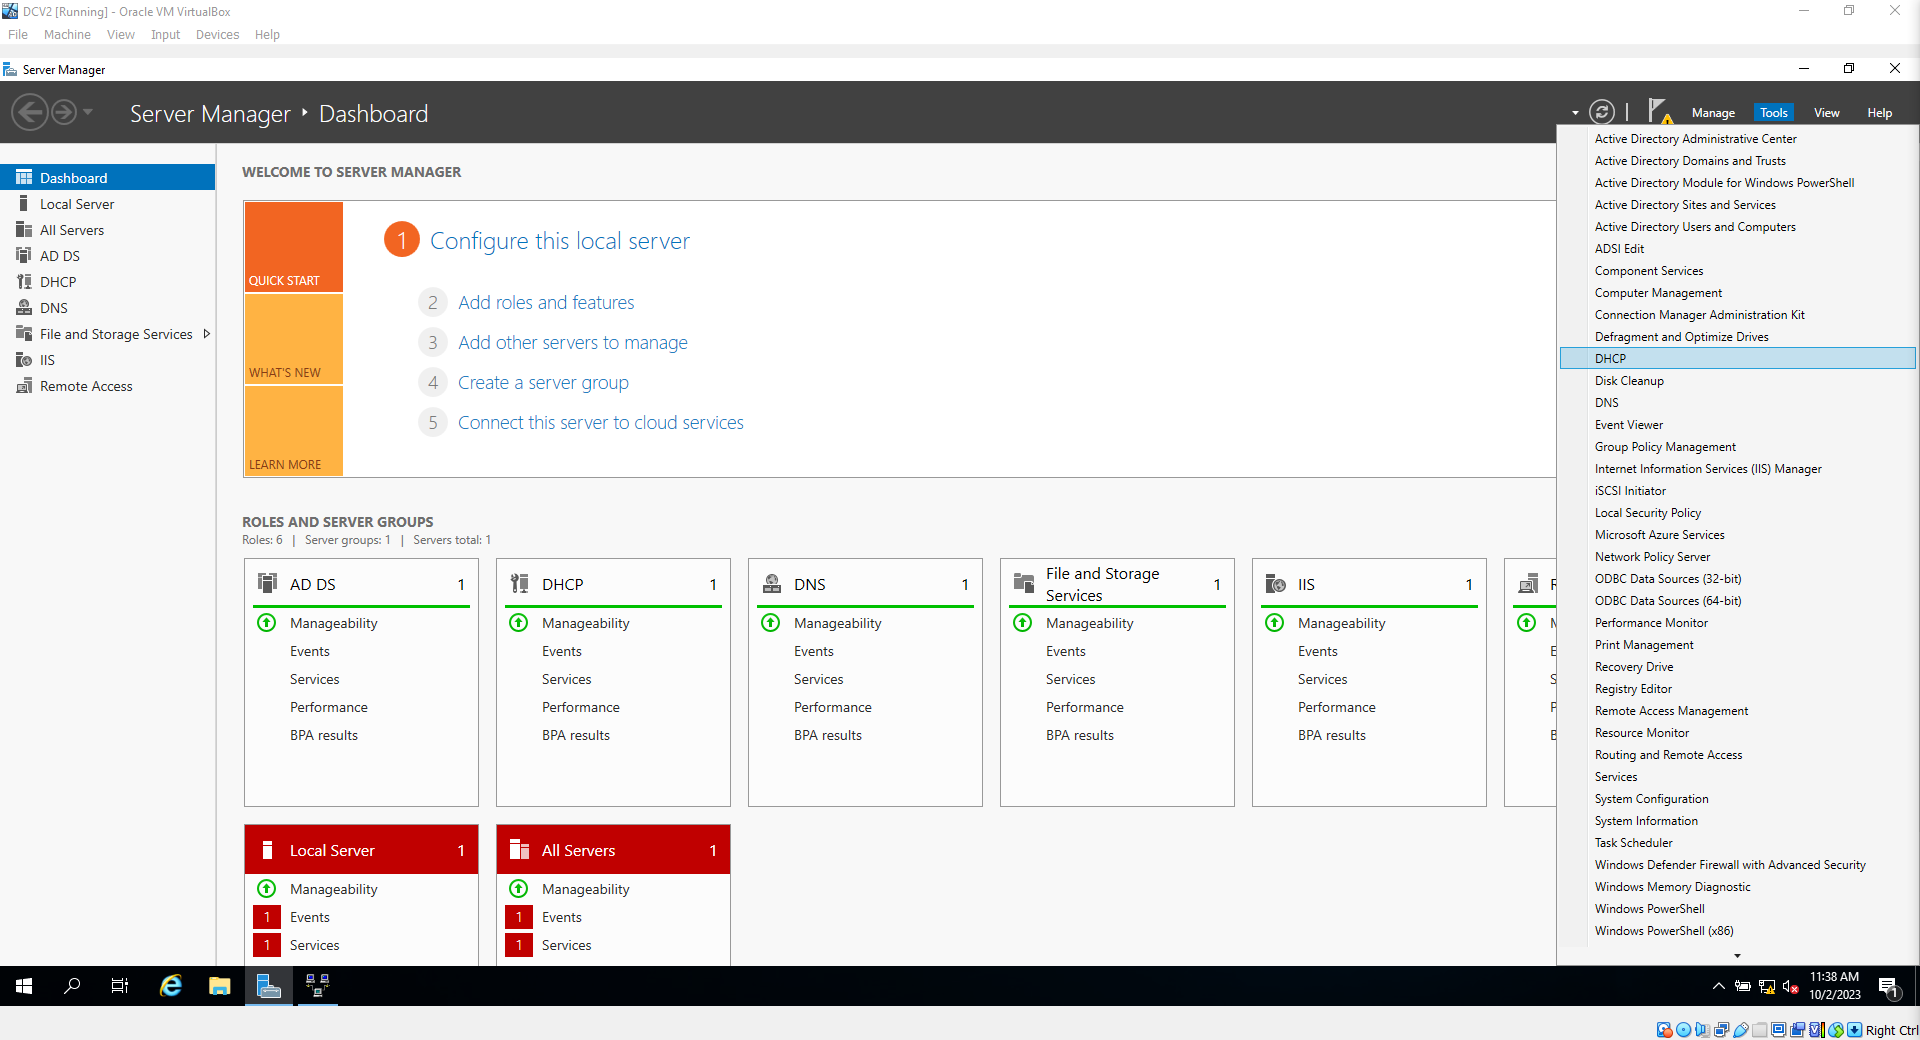
15b. Click on the domain you created, right click on IPV4, then select, "New Scope"
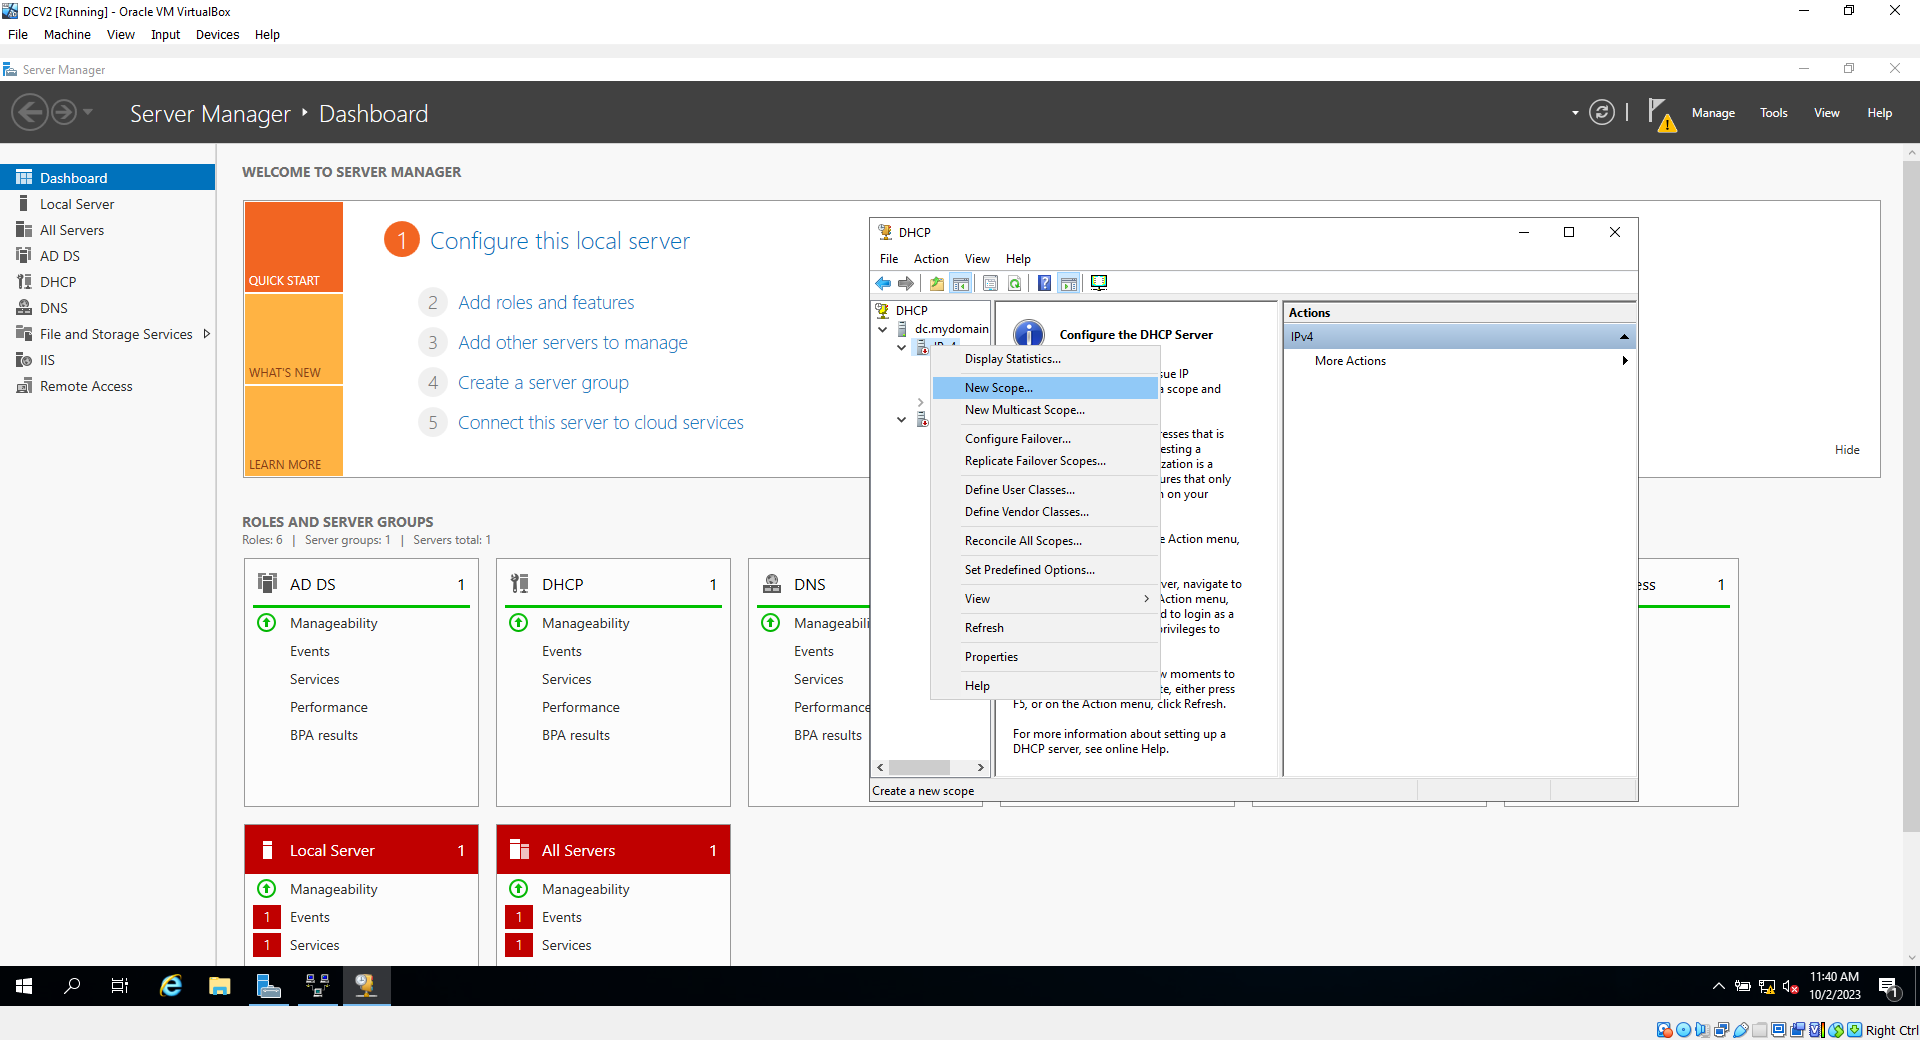
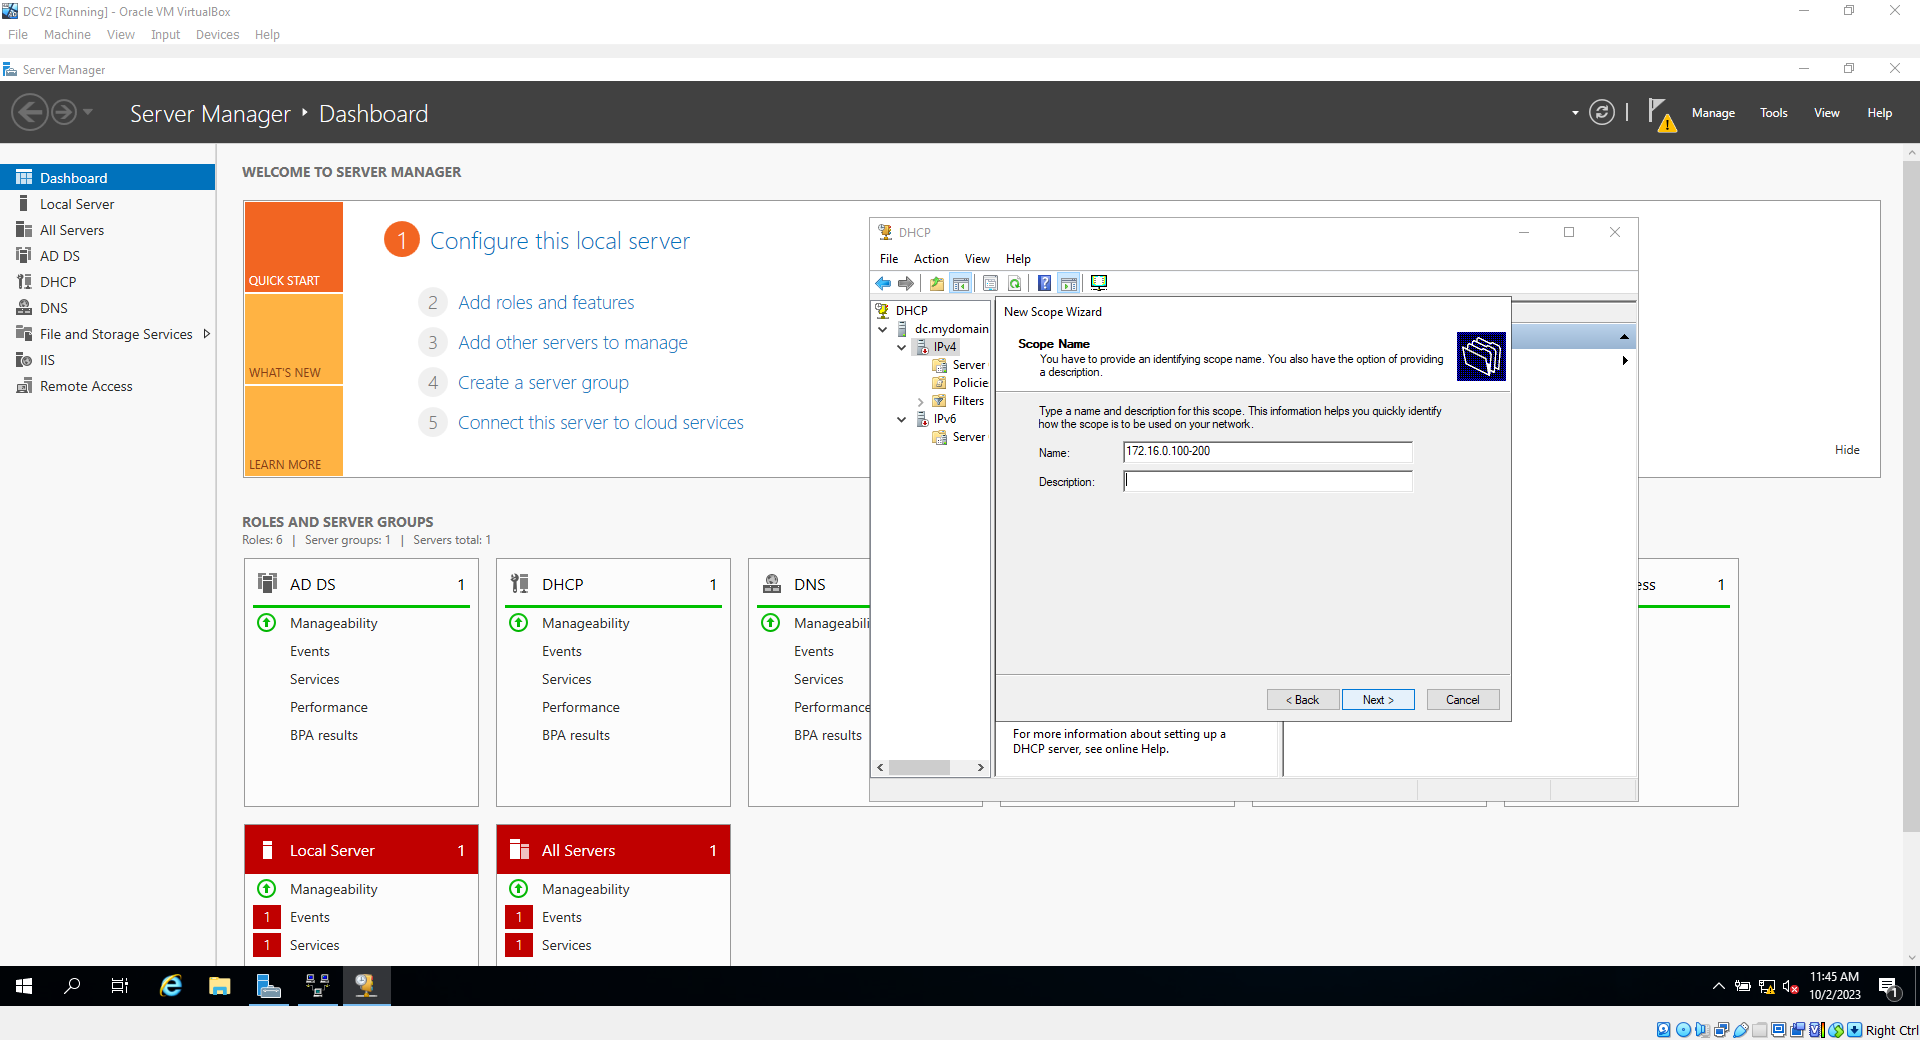
15c. Click next, then name your scope. For ease of use, I will use the Gateway address(the ip address assigned to our internal interface) plus the address range, which will be 172.16.0.100-200. then click next
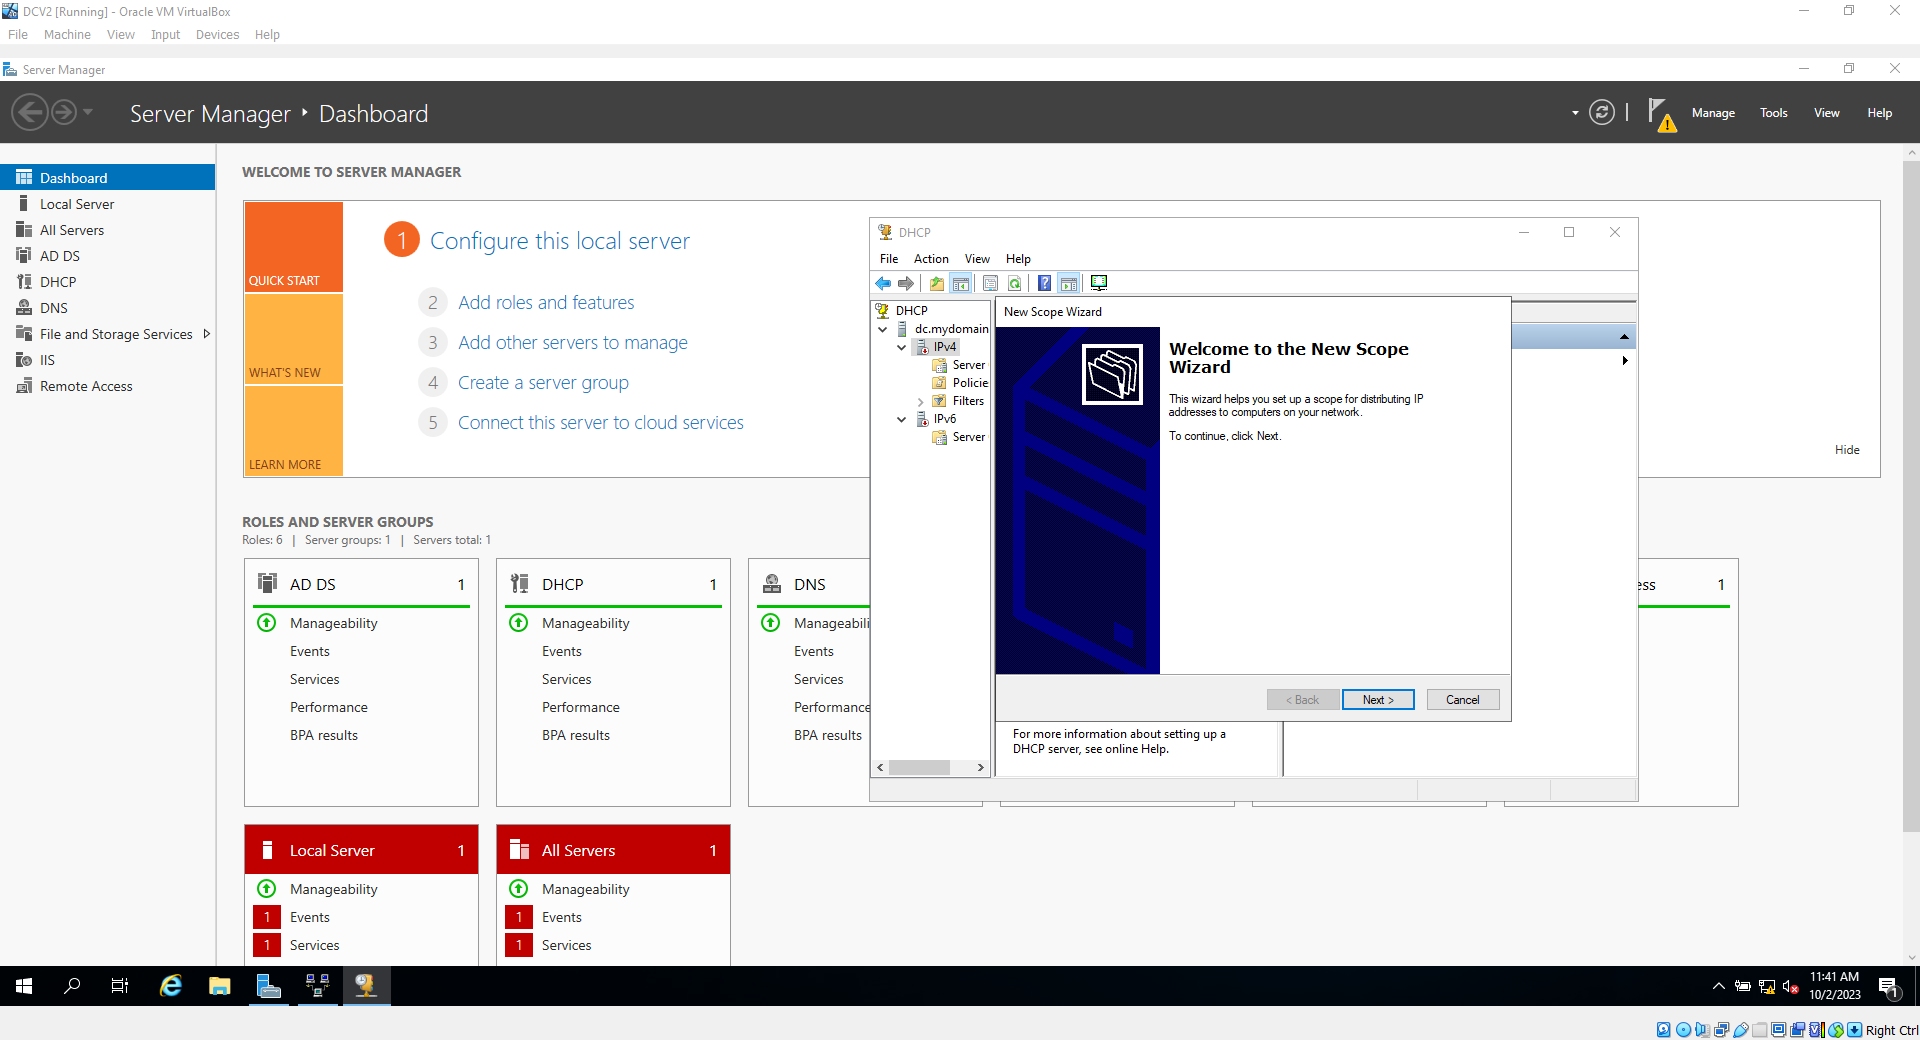
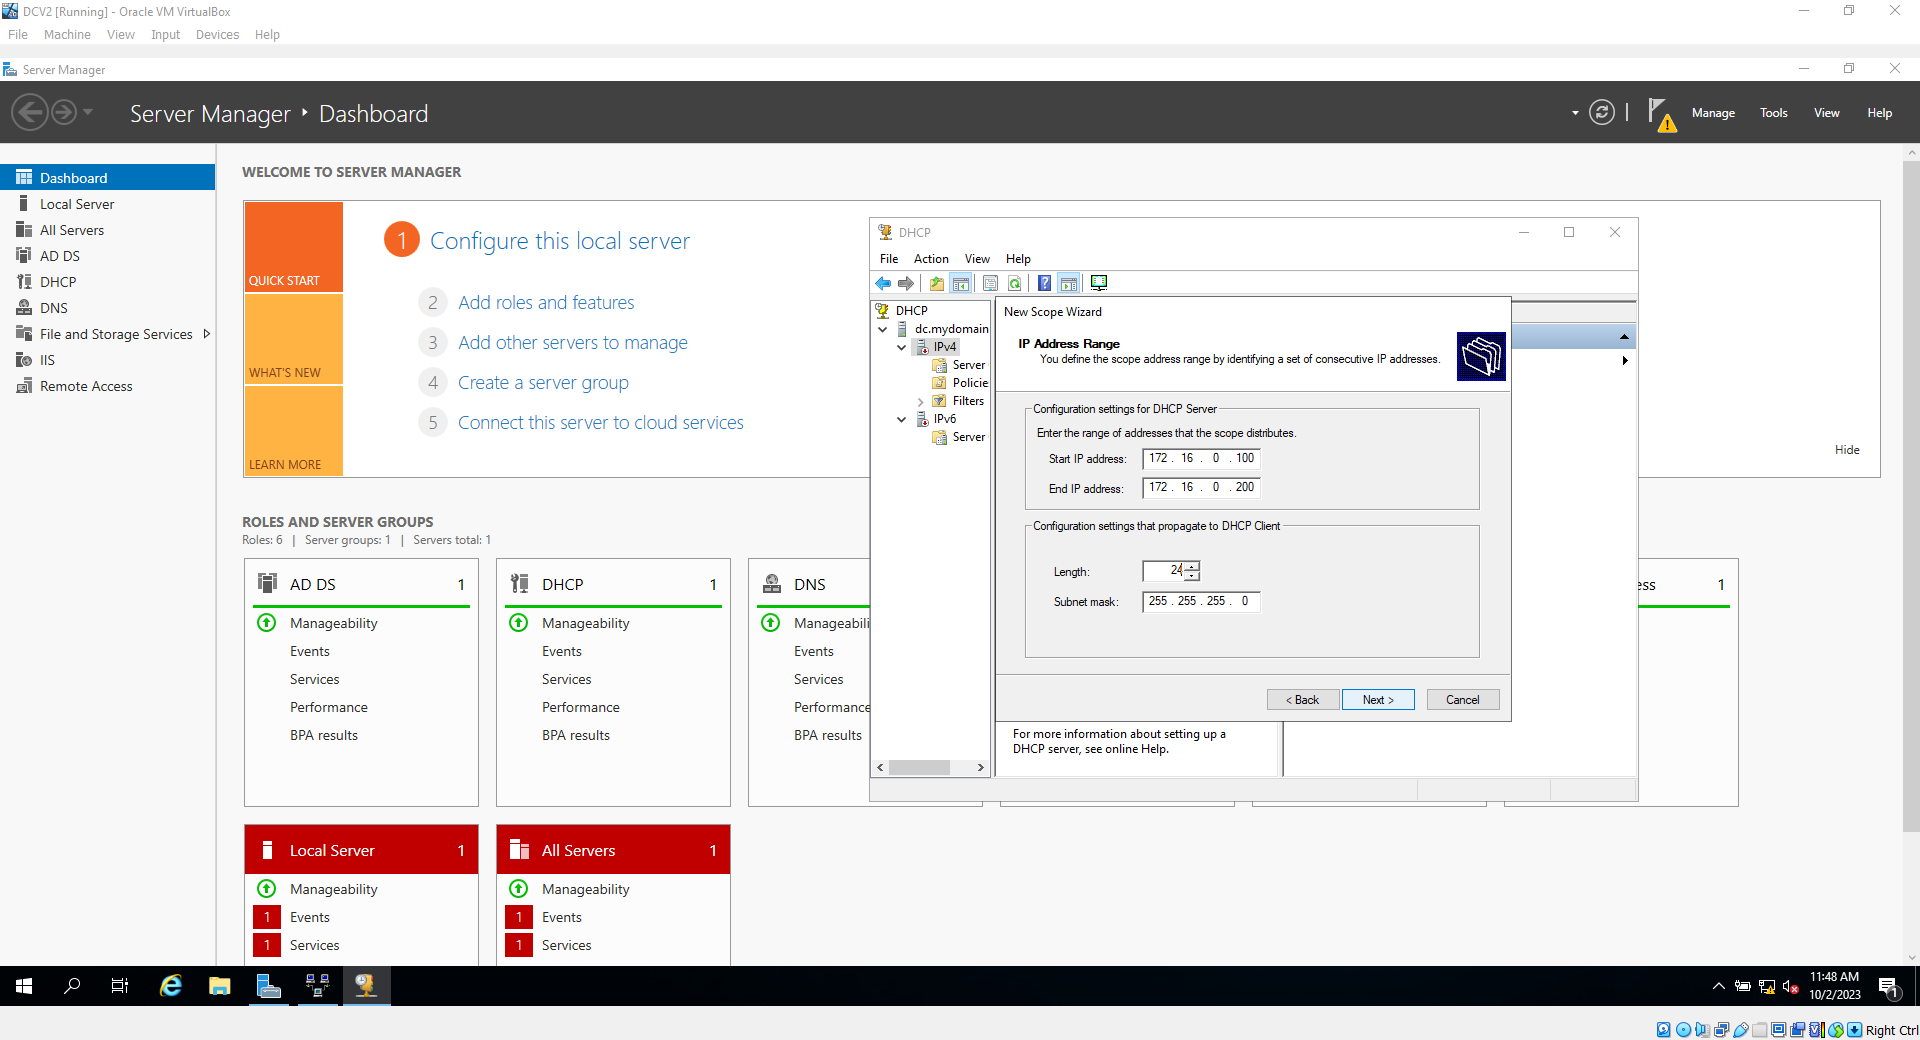
15d. Next you put in the ip range and subnet mask, as shown in the screenshot, then click next 4 times
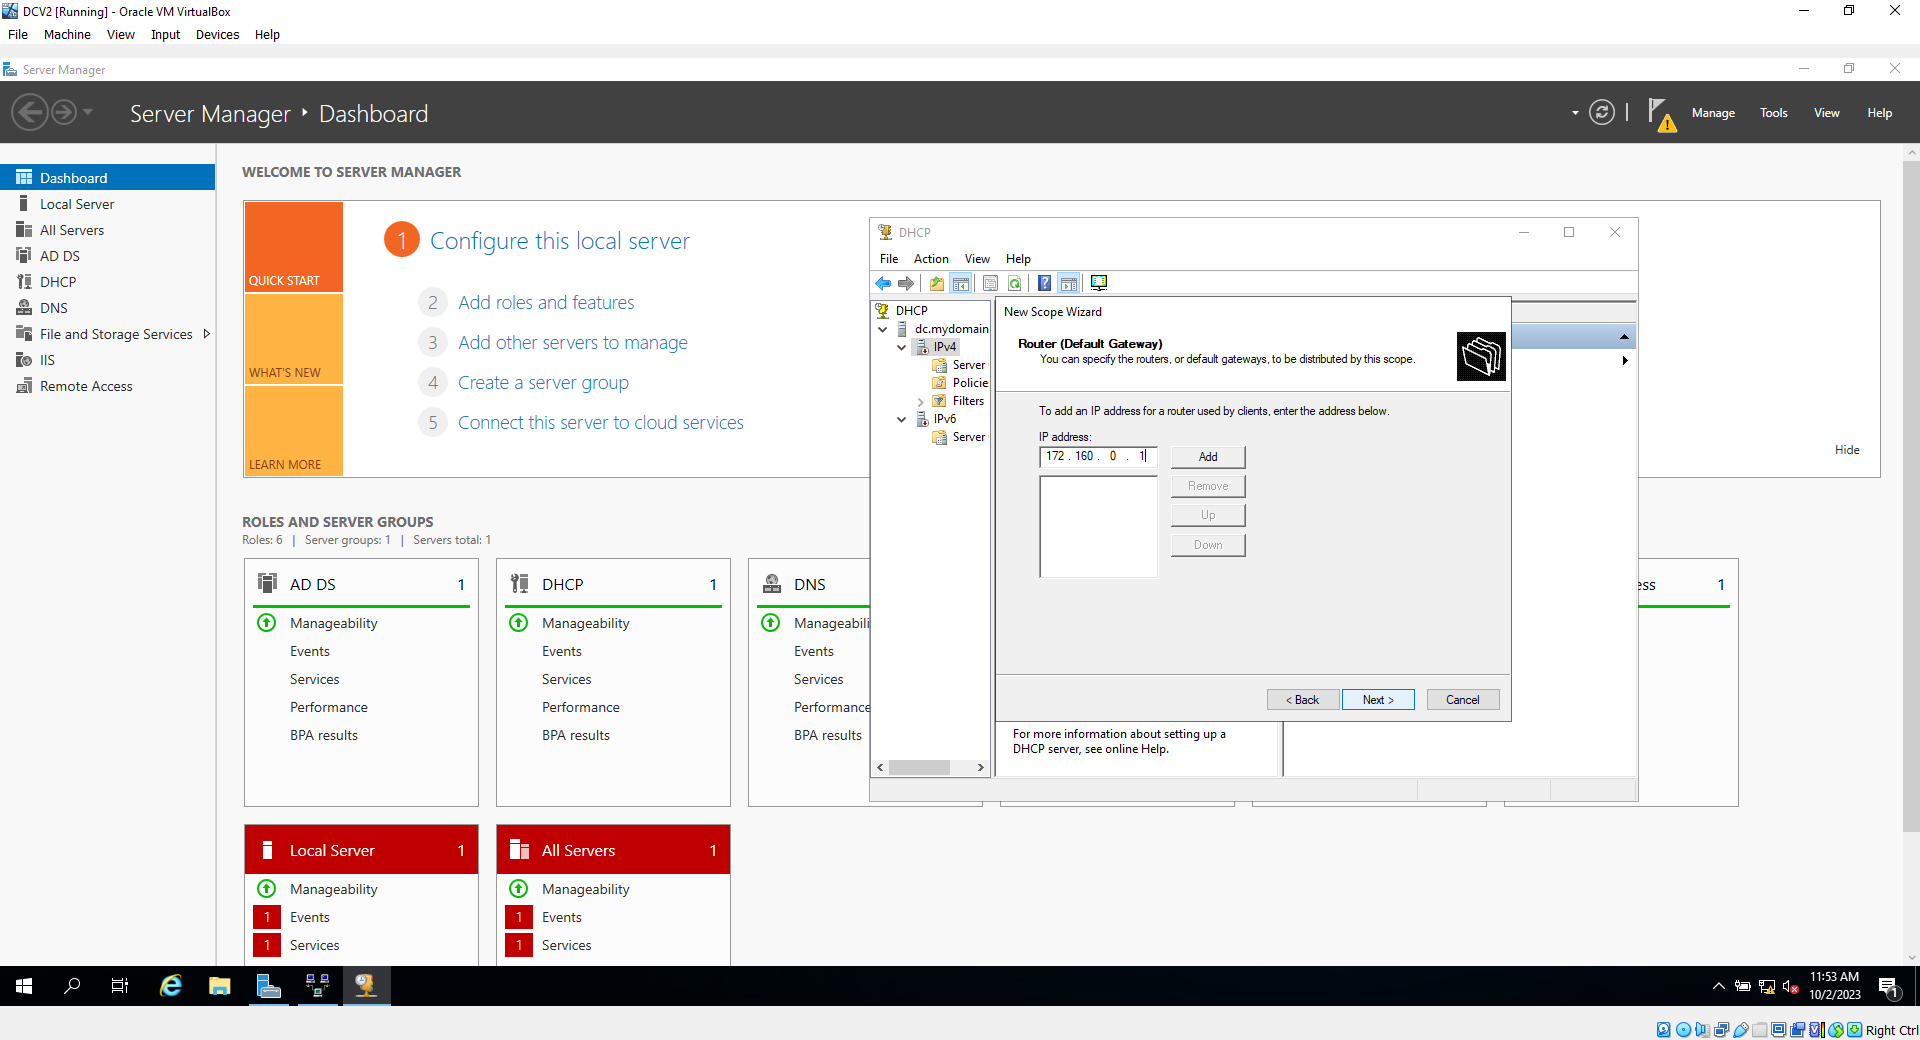
15e.Enter the Domain name server address(the internal network interface ip address), 172.16.0.1, and click "add", then next 4 times, then finish
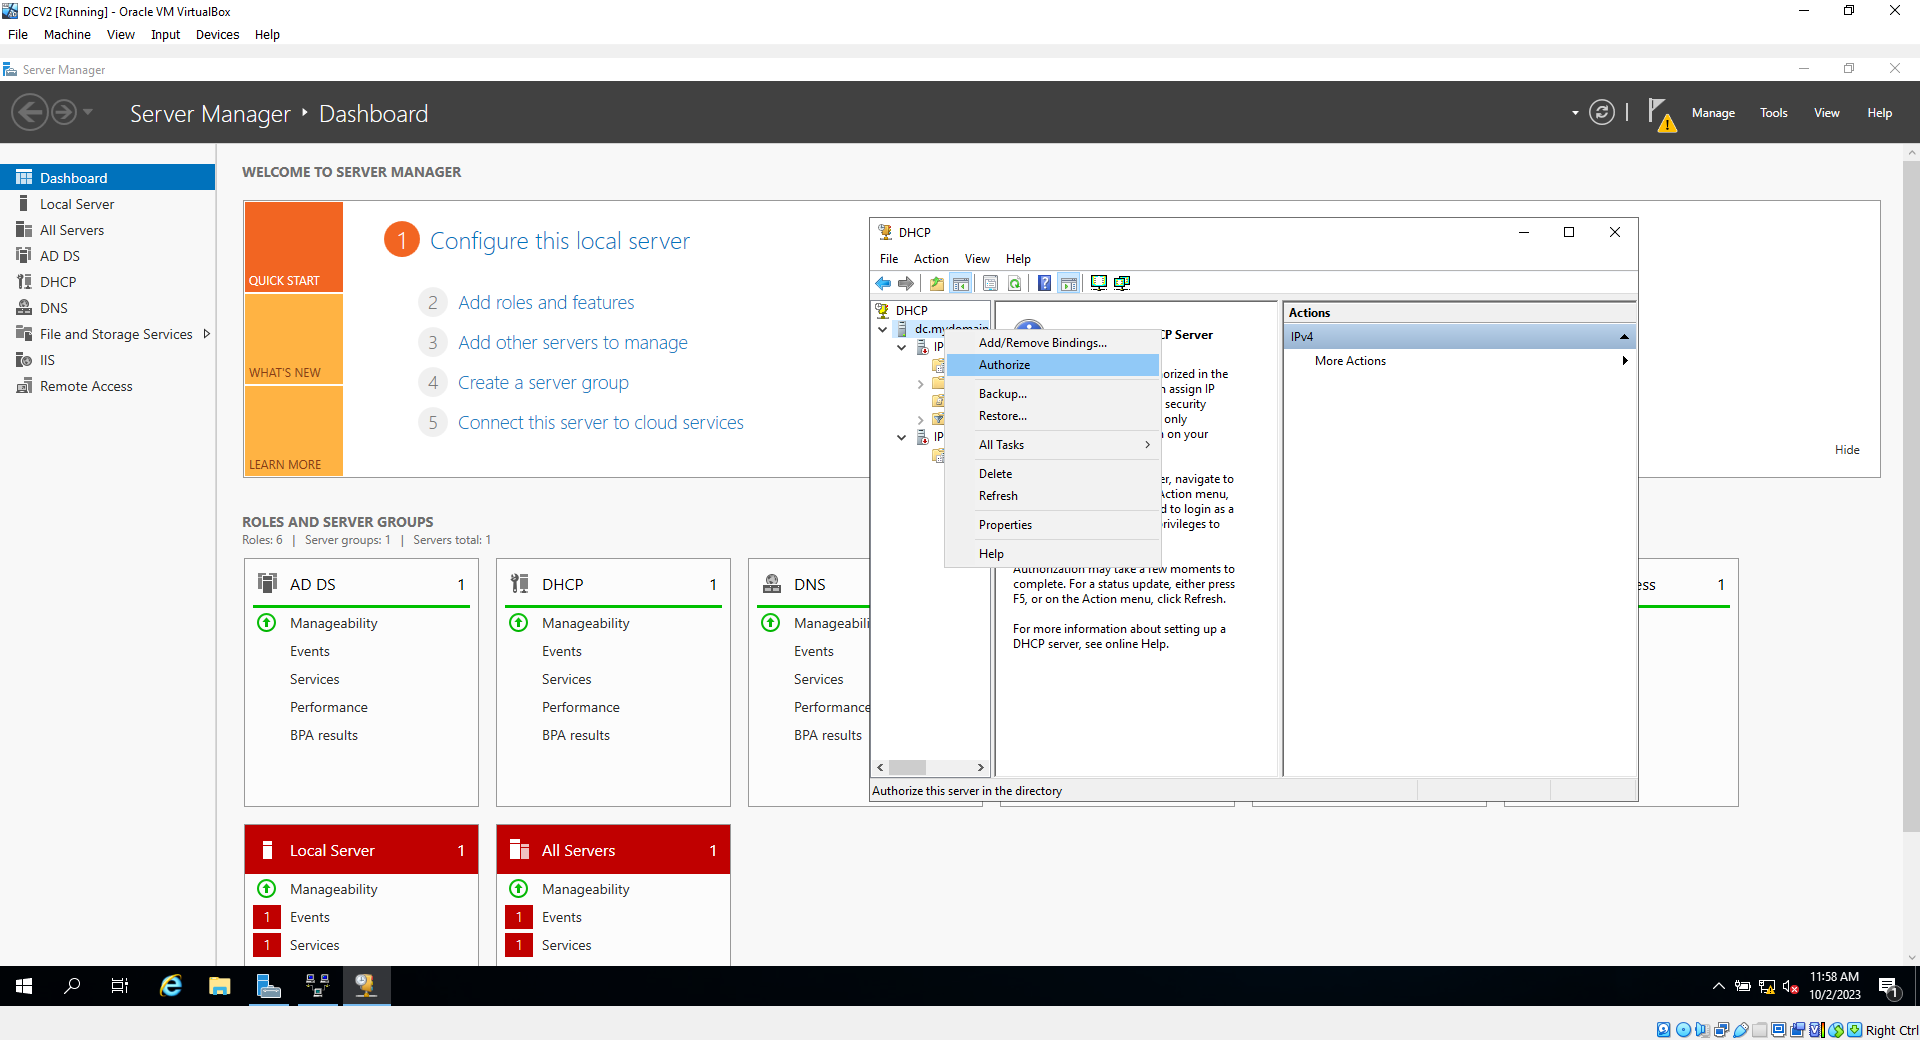
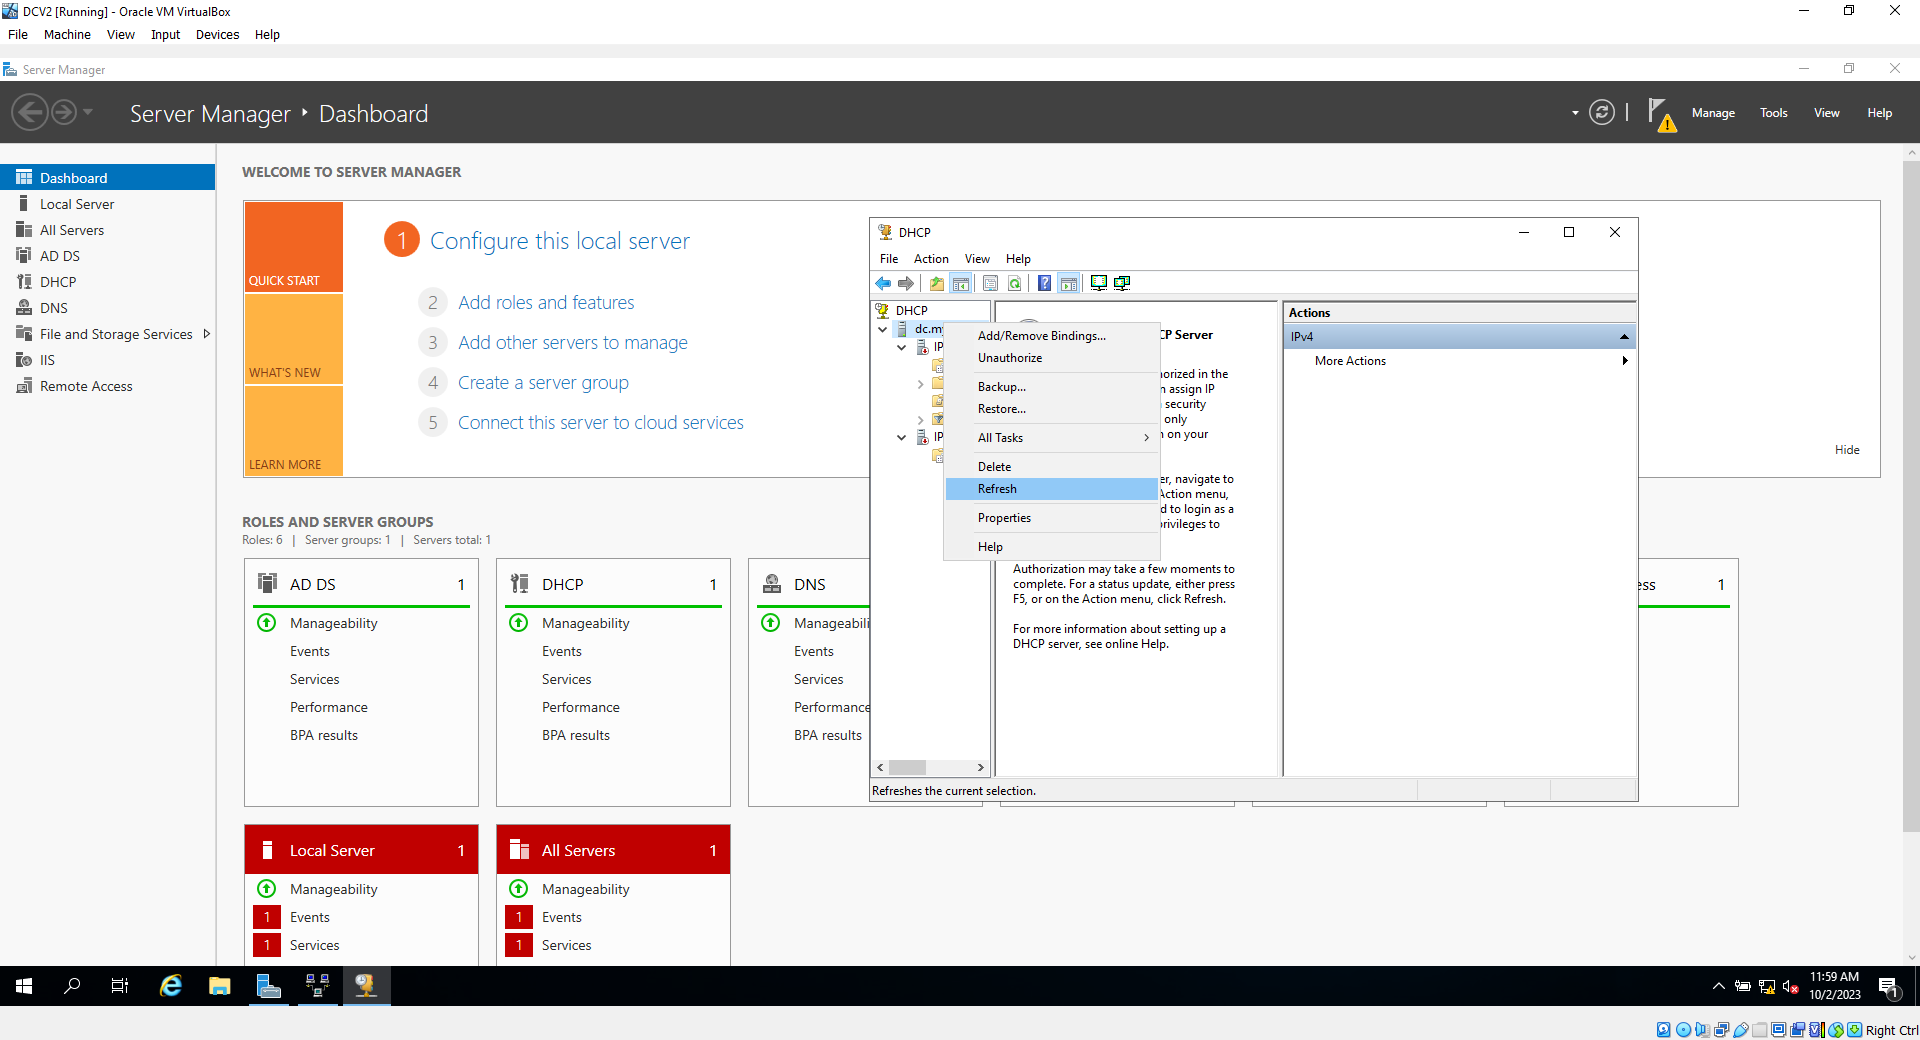
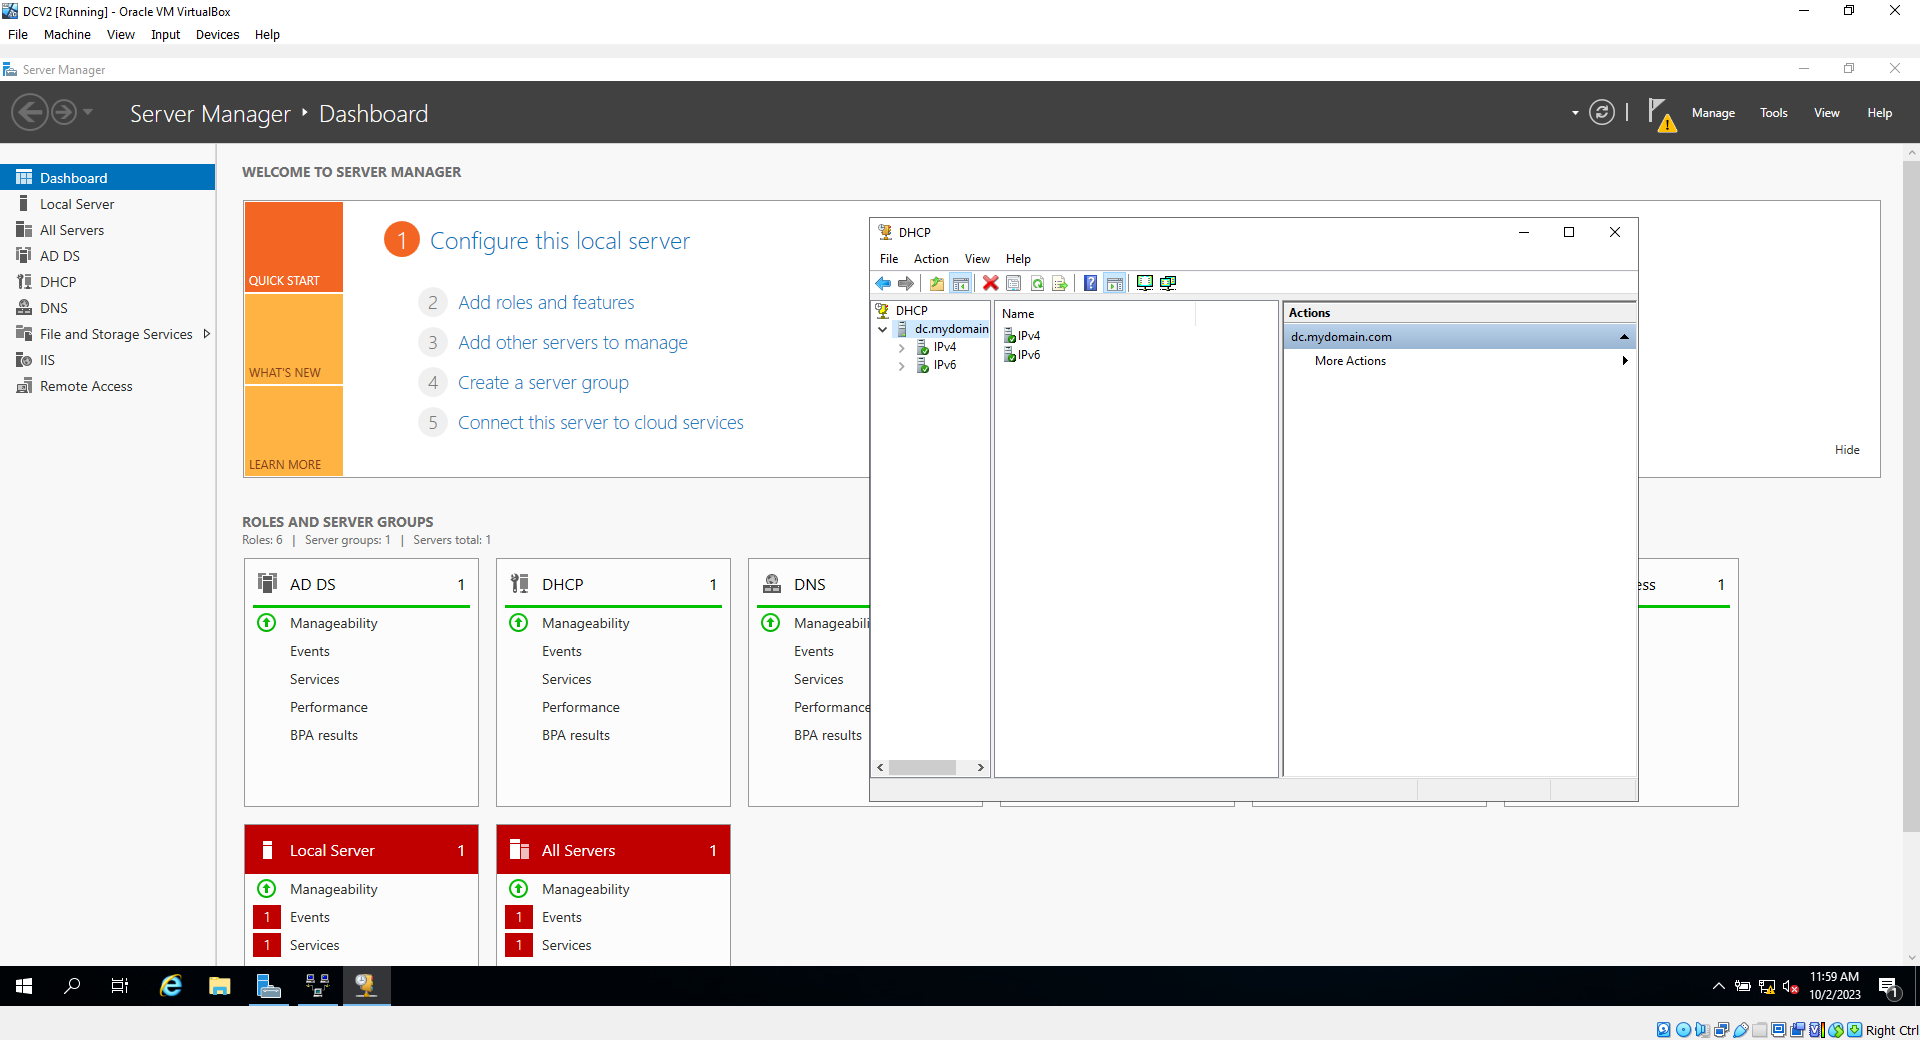
15f. Right click on your domain the the DHCP settings and click "authorize". Click refresh in the same menu to see if the setting have worked, which will be represented as two green checkmarks on IPV4 and IPV6
Bonus****Creating new users using powershell - Preping the system for running the script****
Using a powershell script we are going to add one thousand new users. You don't need to use powershell and can add however many users you want manually, but this will serve to simulate a more realistic environment.
16. **This step is only for the purpose of this lab, and should not be done in regular production environments as it hinders security, allowing anyone to download things directly to the server via web browsing***
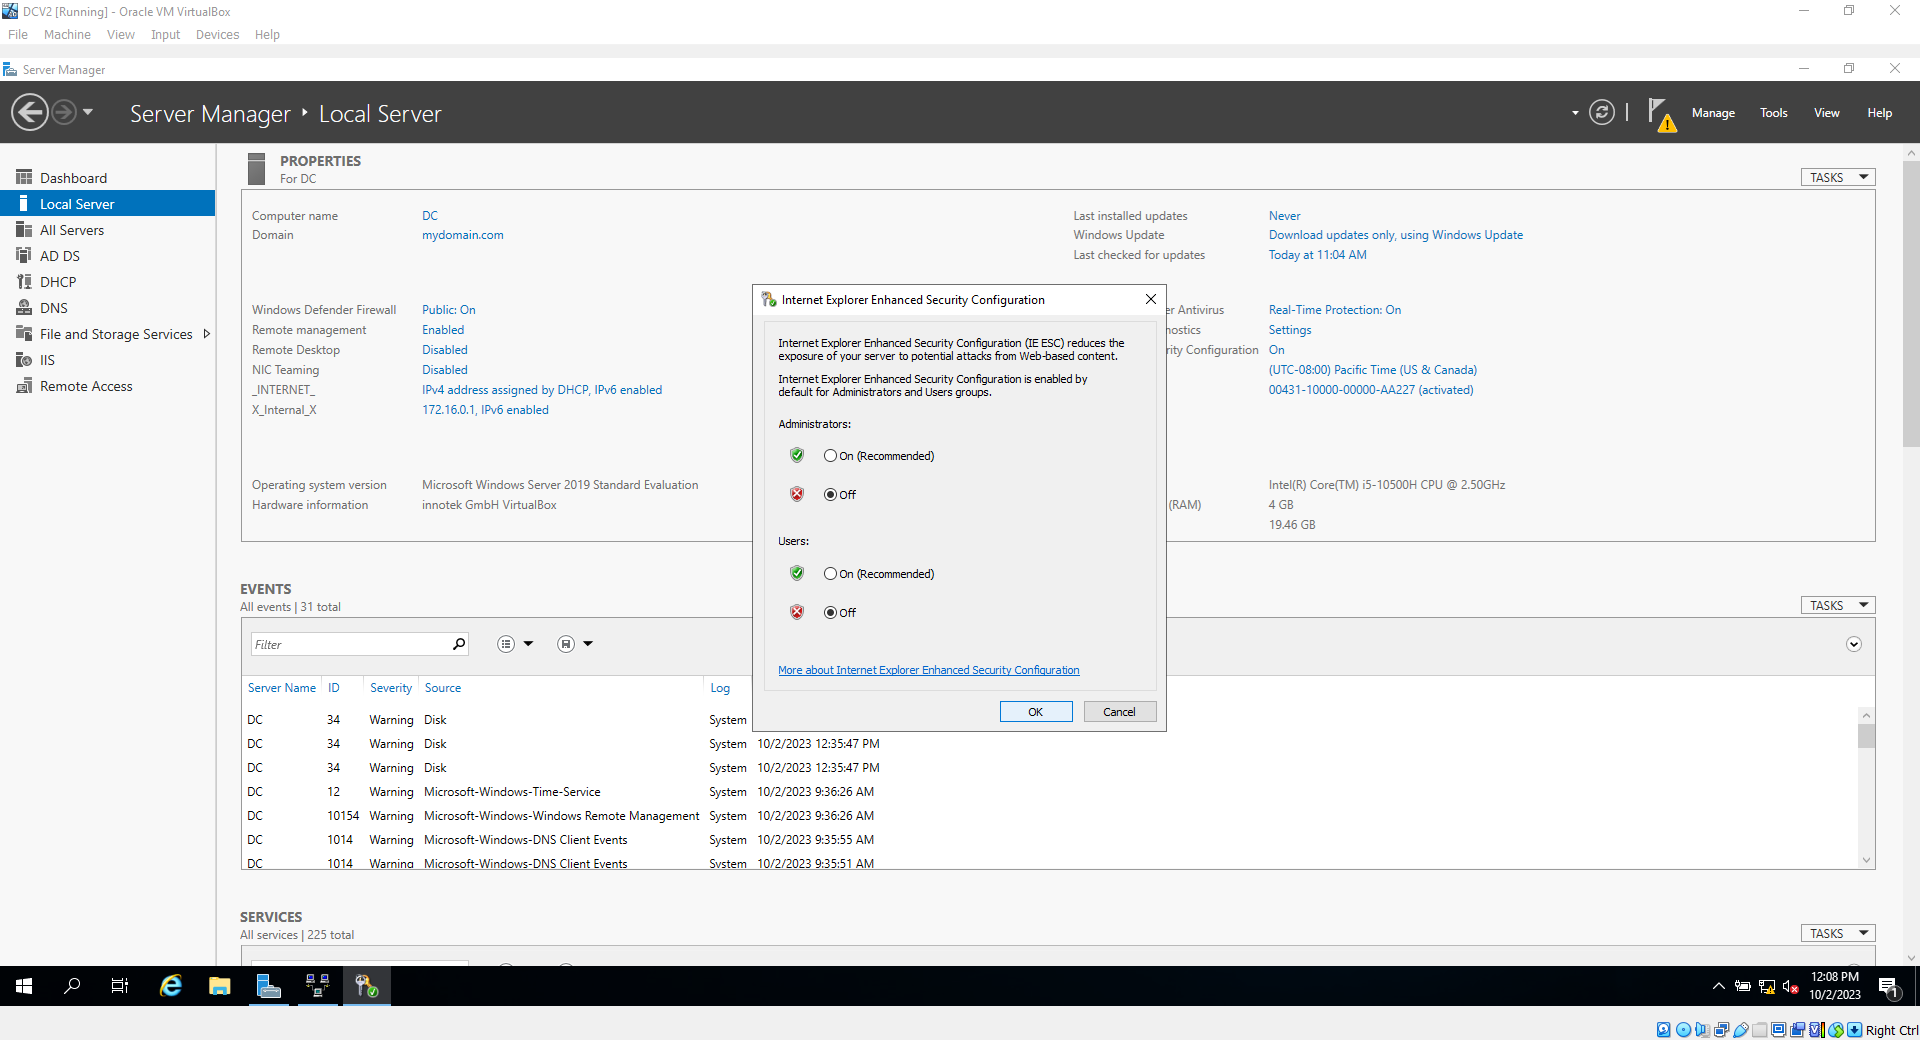
Click on "Configure this Server" then click on "IE enhanced Security Configuration"


16a. Click "off" for both settings. This will allow us to browse the internet on the server PC, as well as not annoyingly spam us with warning messages during the next few steps. Afterwards click ok
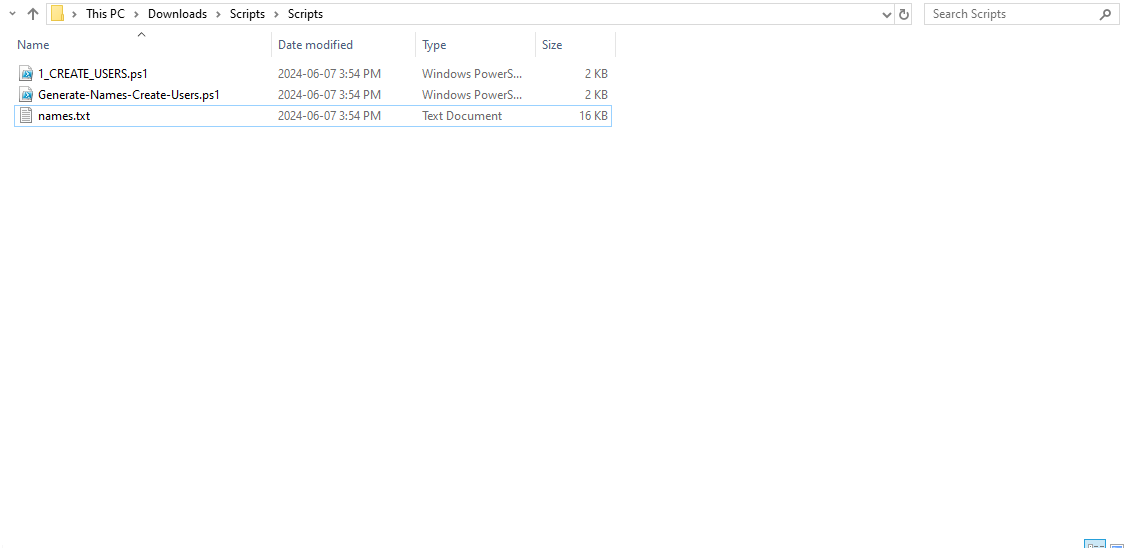
16b.To download the script, click here, then extract the folder to your desktop for ease of use
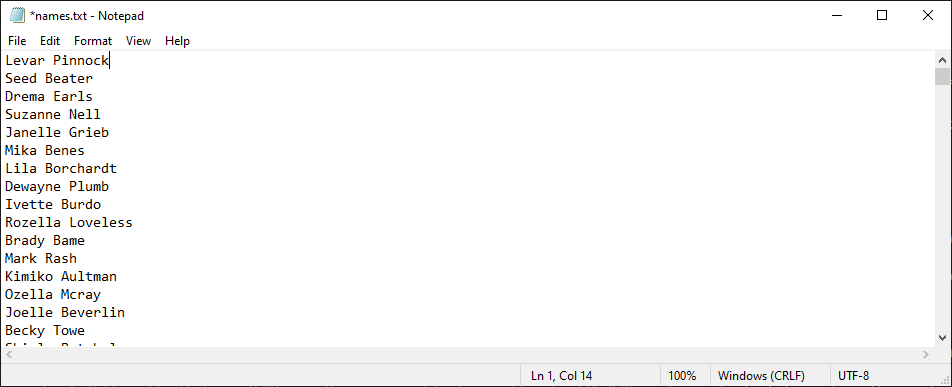
16c. Inside the extracted folder, open the .txt file, and at the top of the file add your first and last name. hit save and close the file
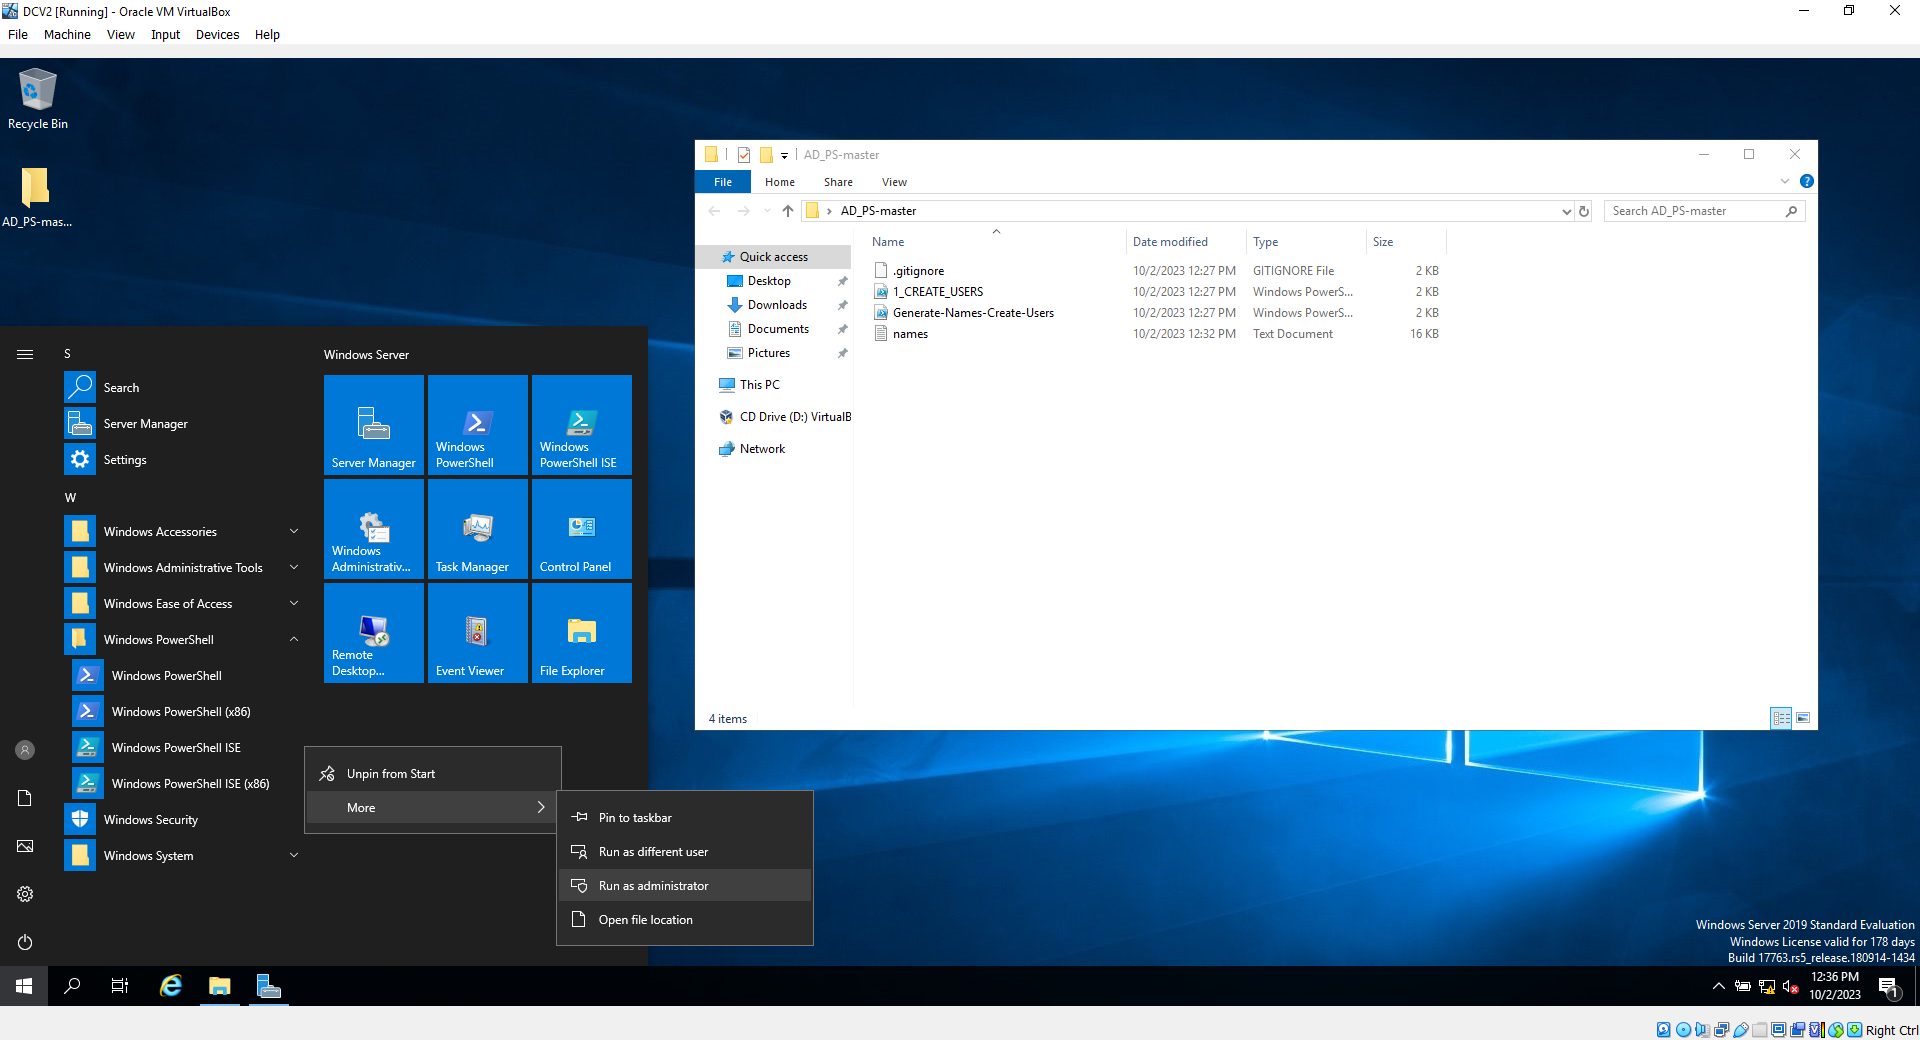
16d. Now open the start menu, go to windows powershell, right click Powershell ISE, go to more, then click run as administrator, then click yes
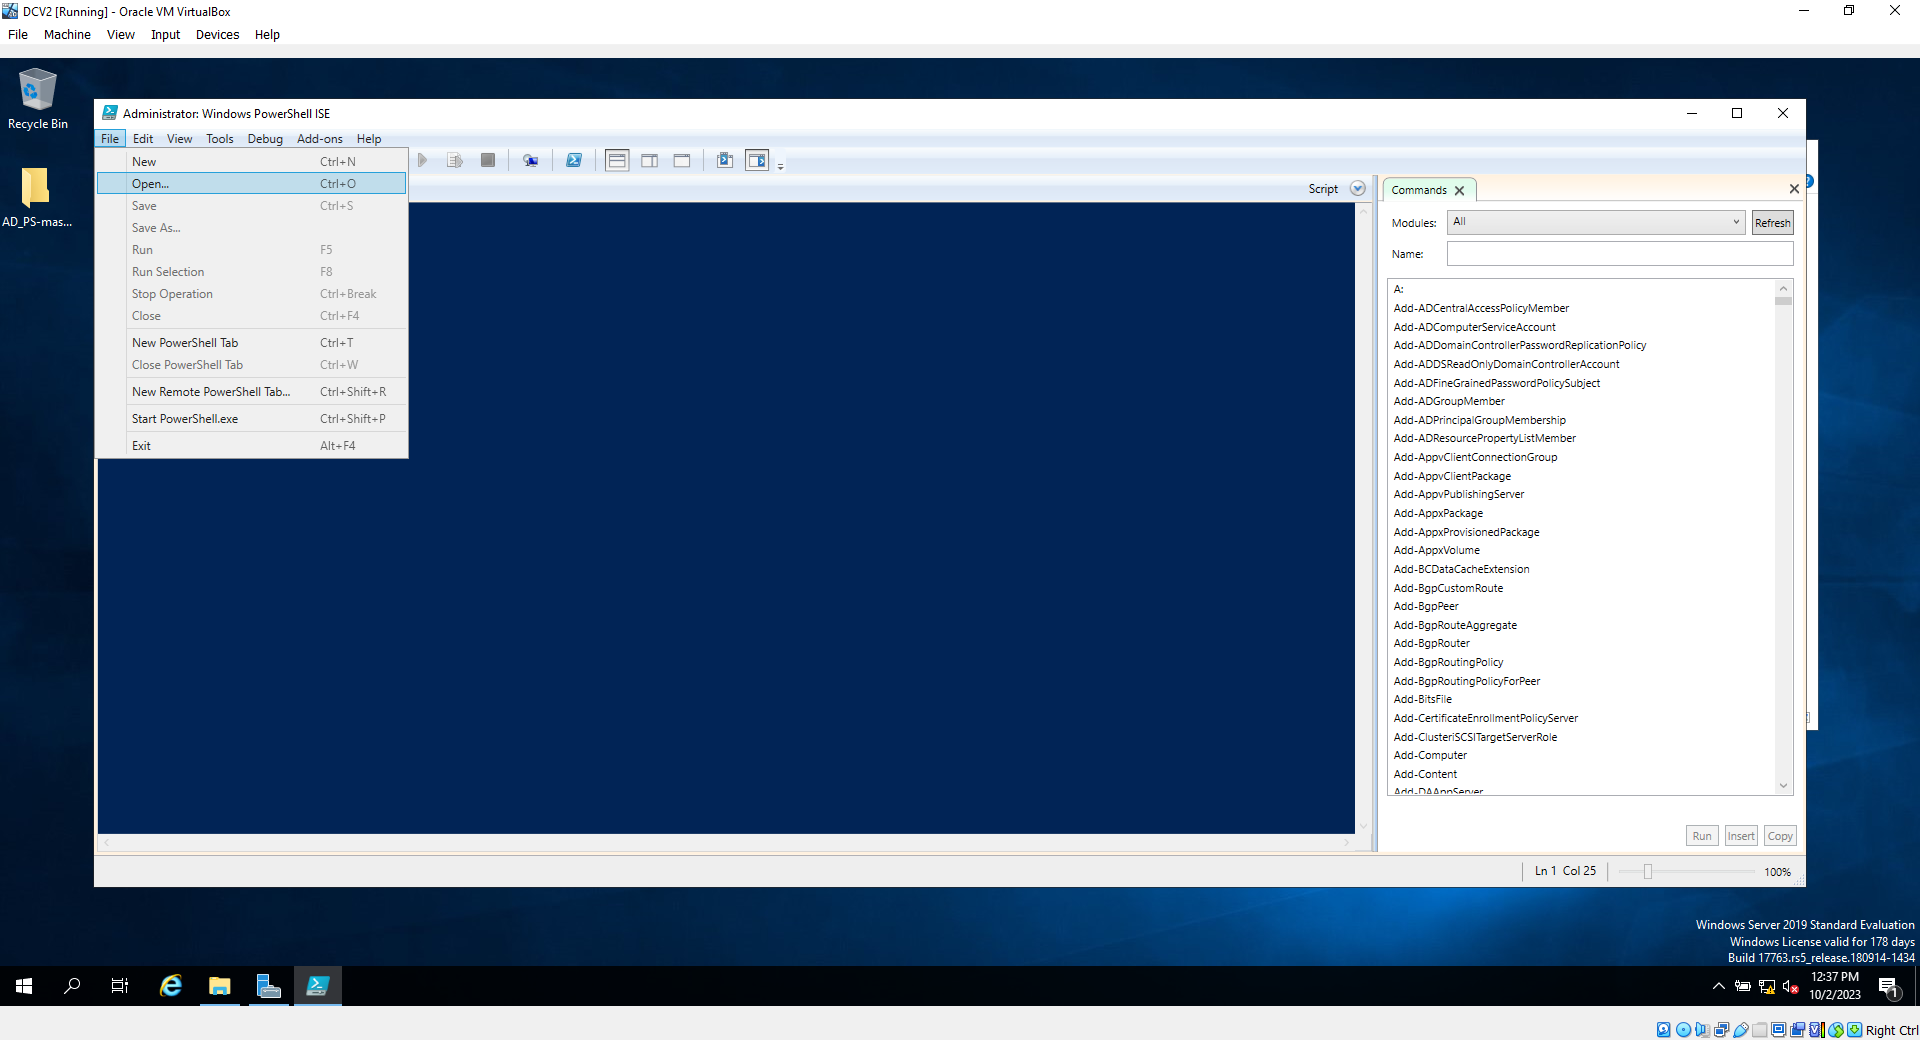
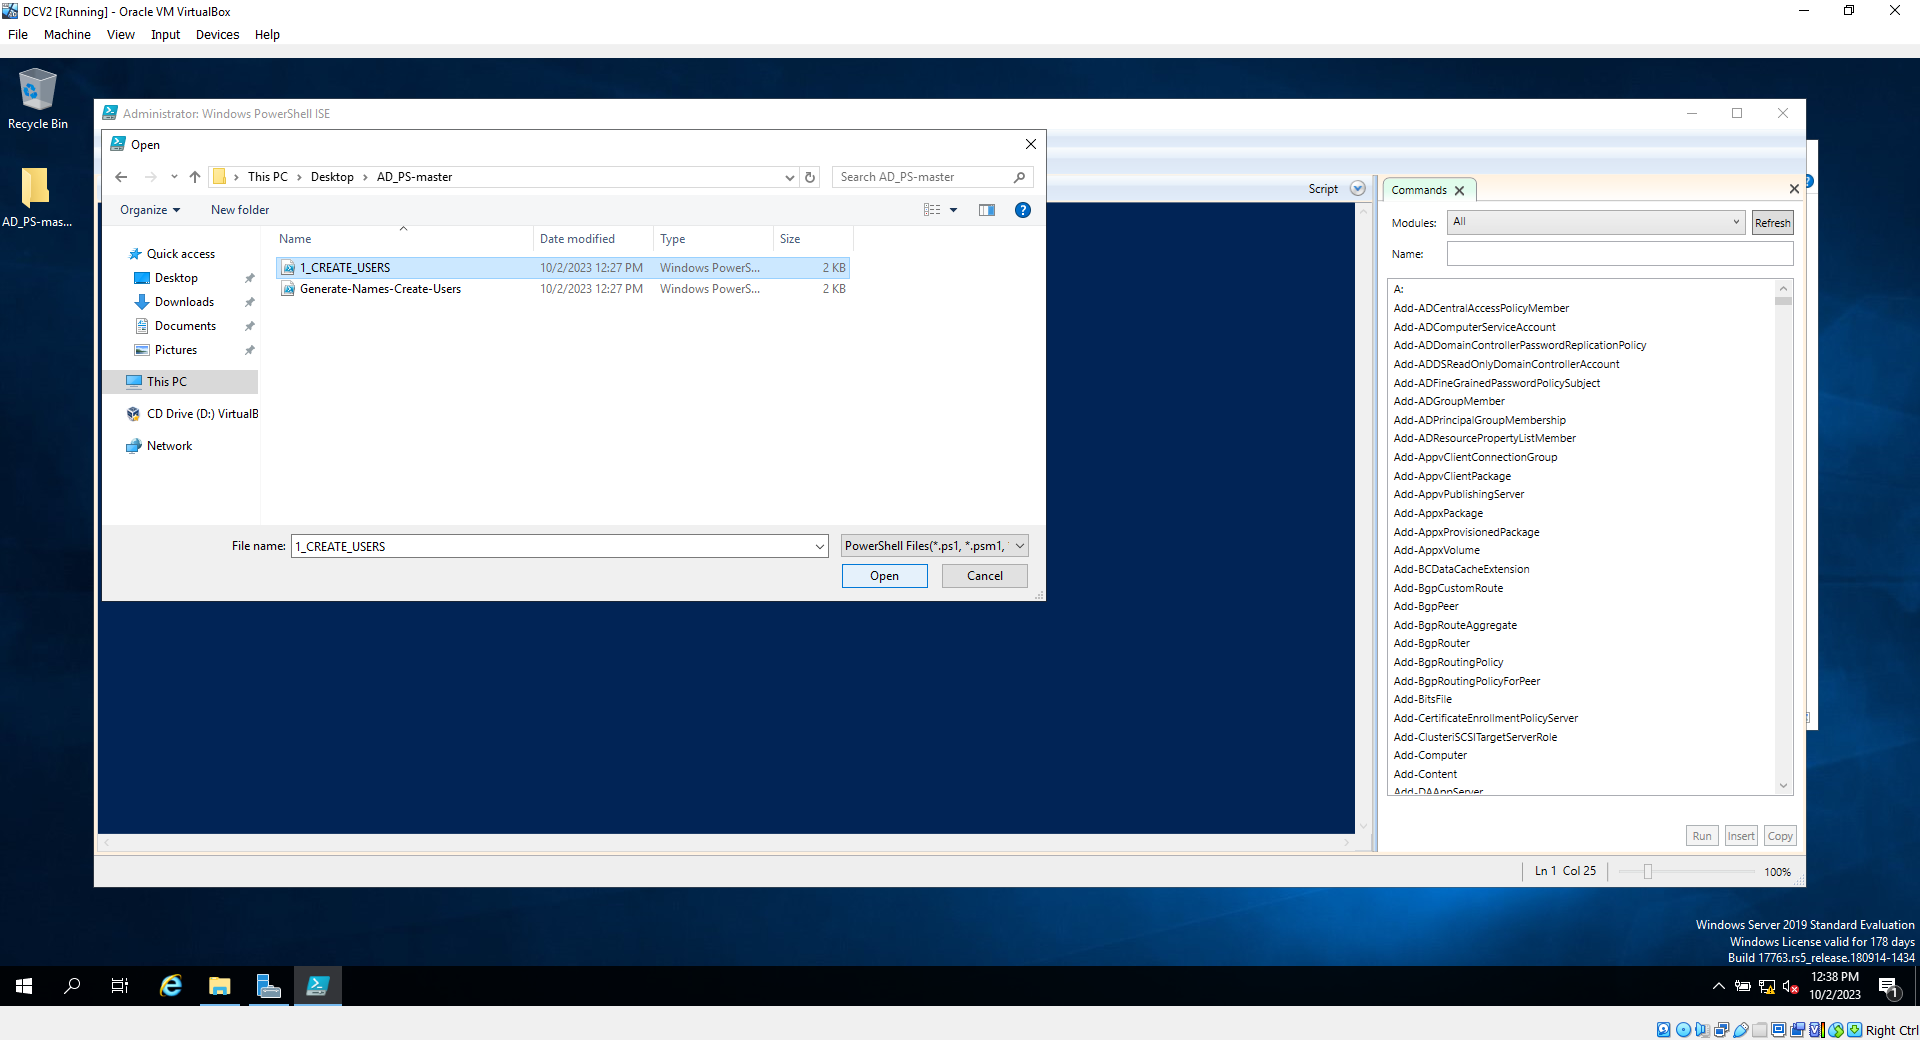
16e. Open the powershell script you downloaded earlier
**NOTE**This next step should never be done in a production environment. But for the purposes of this lab, we will be enabling the ability to run custom powershell scripts on this machine****
16f. In the console, type "Set-ExecutionPolicy Unrestricted", and hit enter, then select "yes to all"
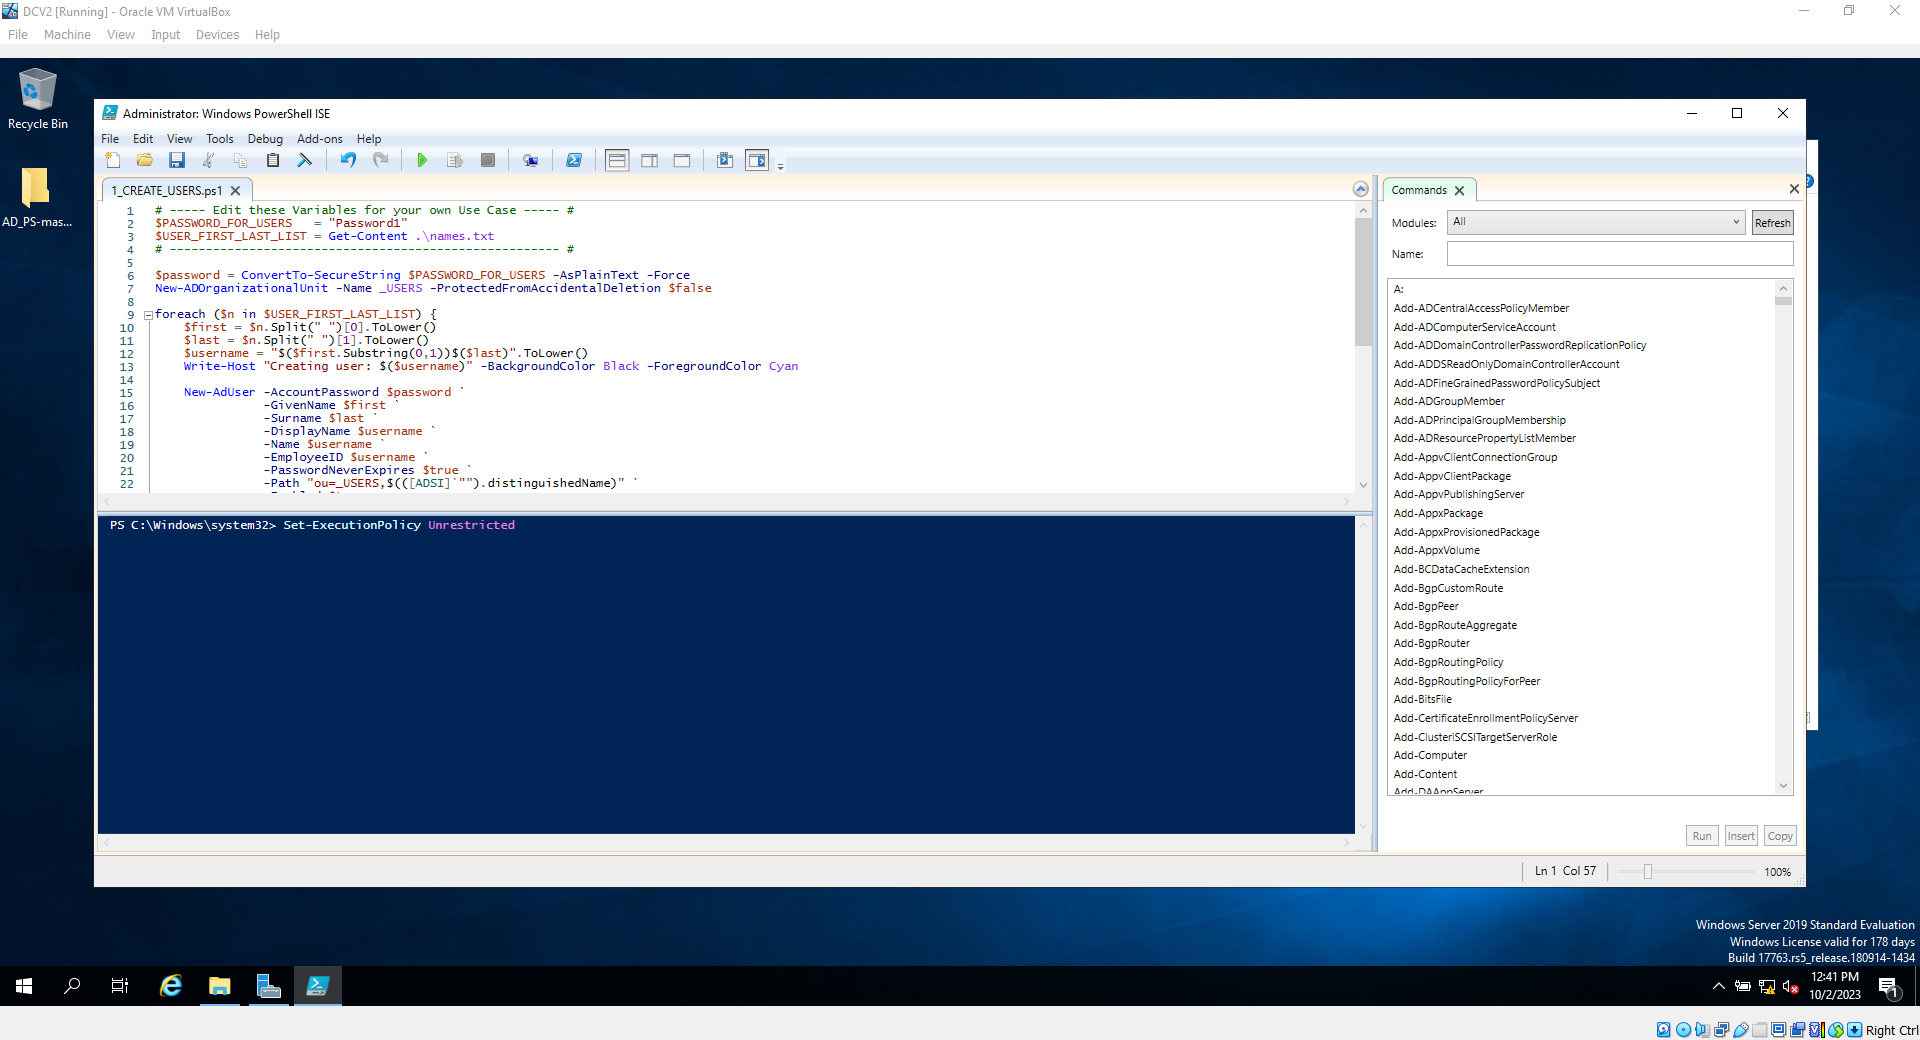
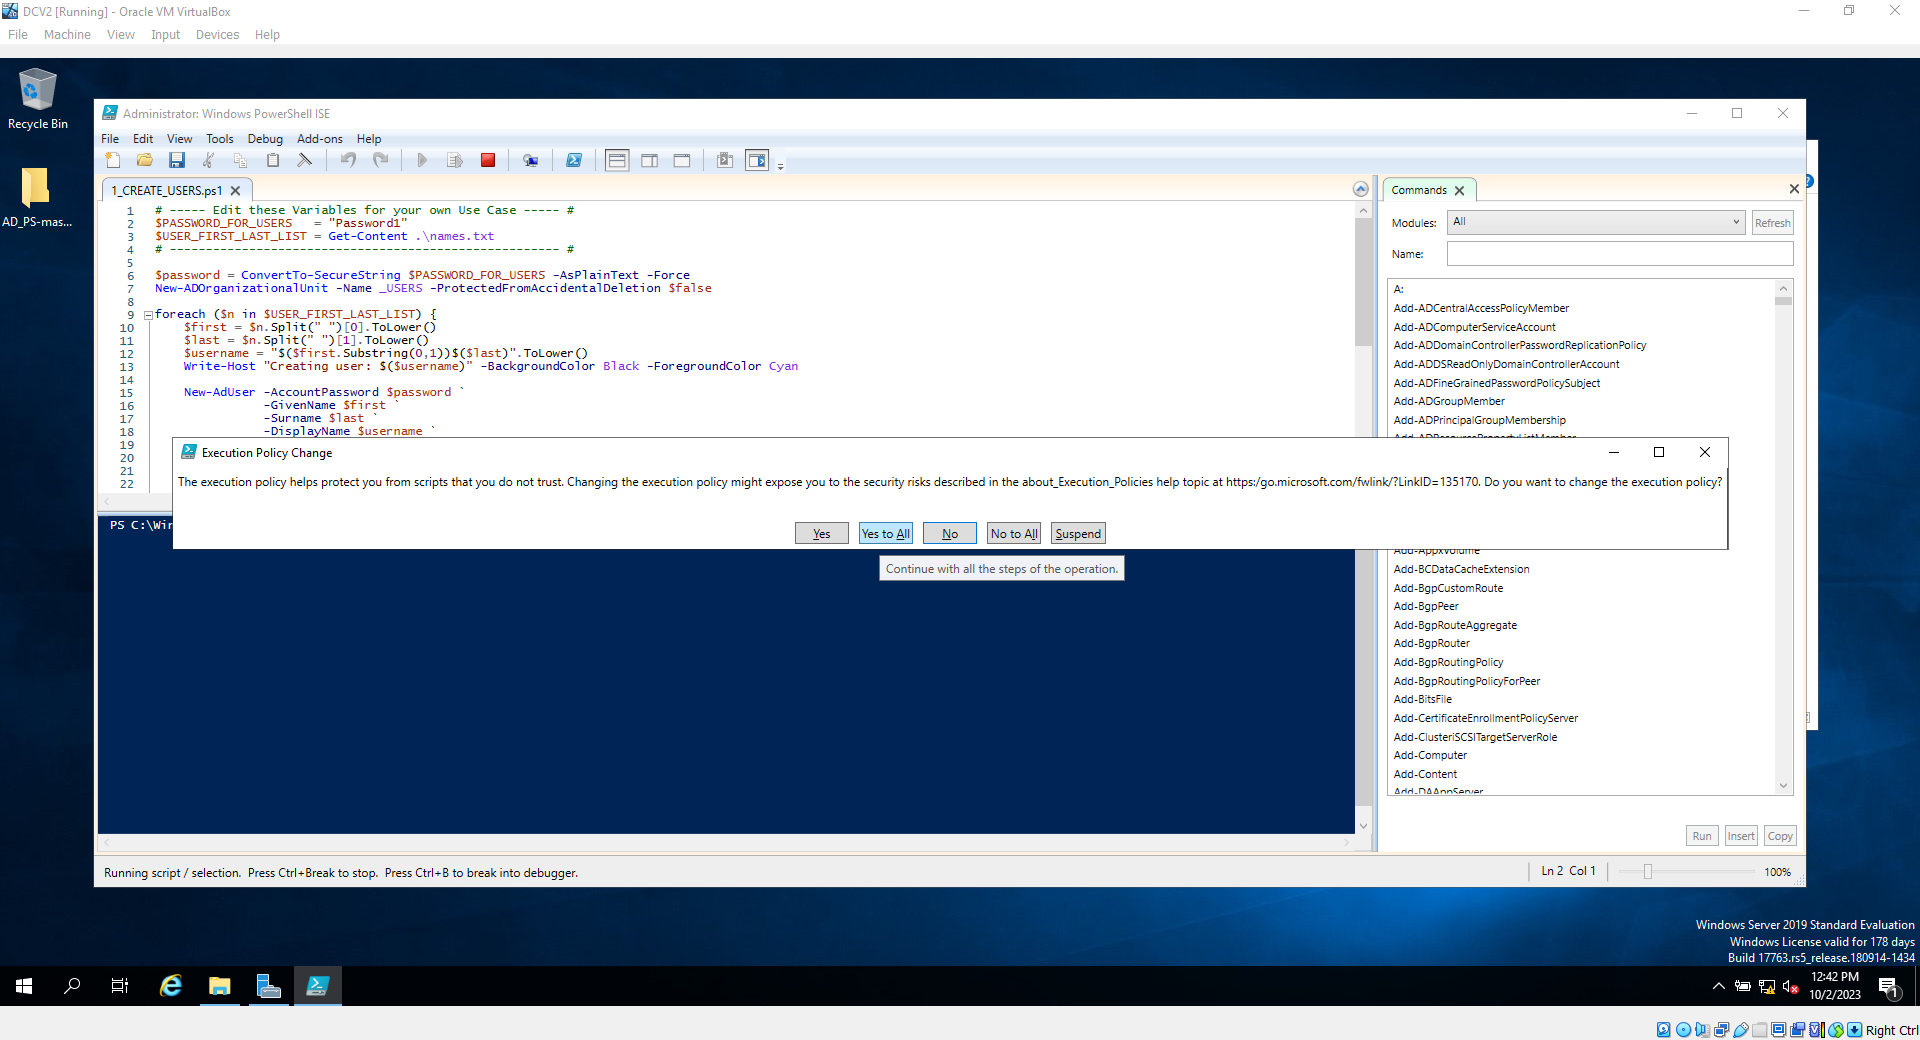
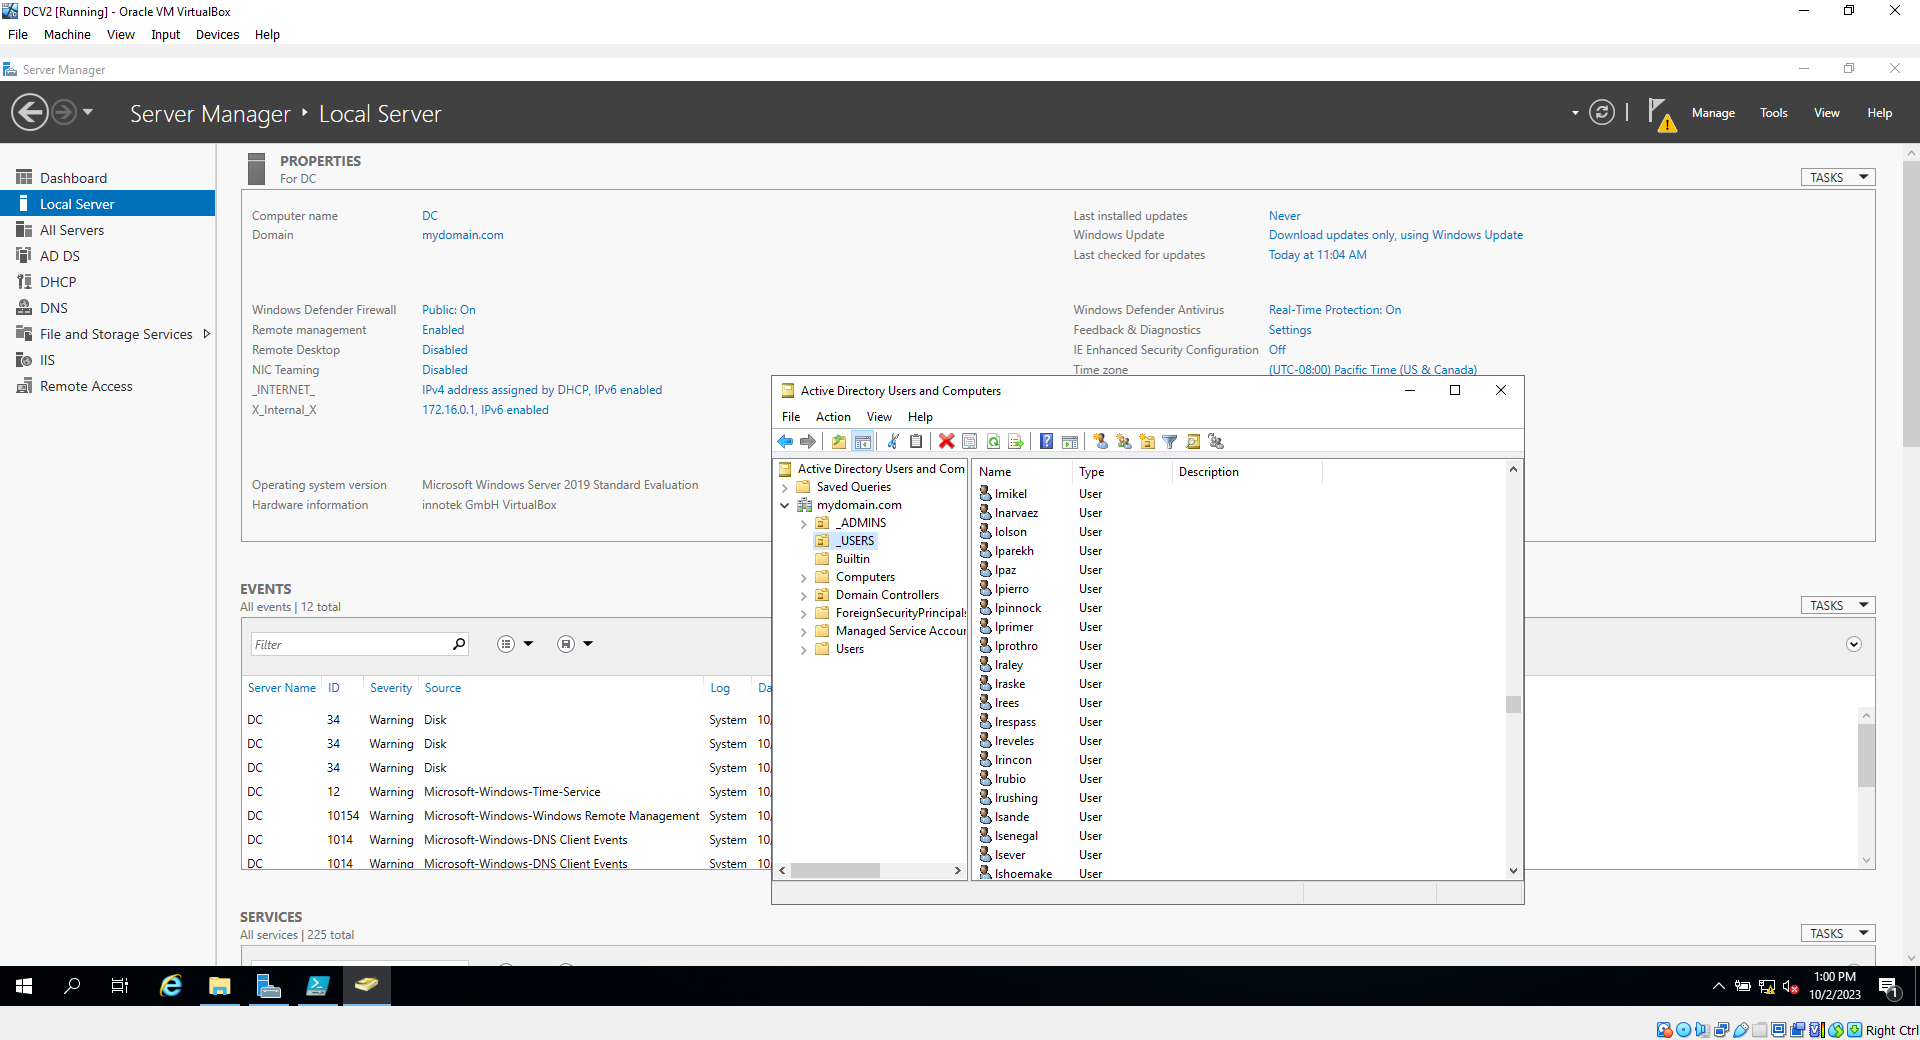
****This script will automatically create a new user org called "_USERS" then populate it with around a thousand users using the text file with random names in it. in addition to this, it will format the names into a naming convention similar to what you might normally seen in a real production environment****
*****Running the script*****
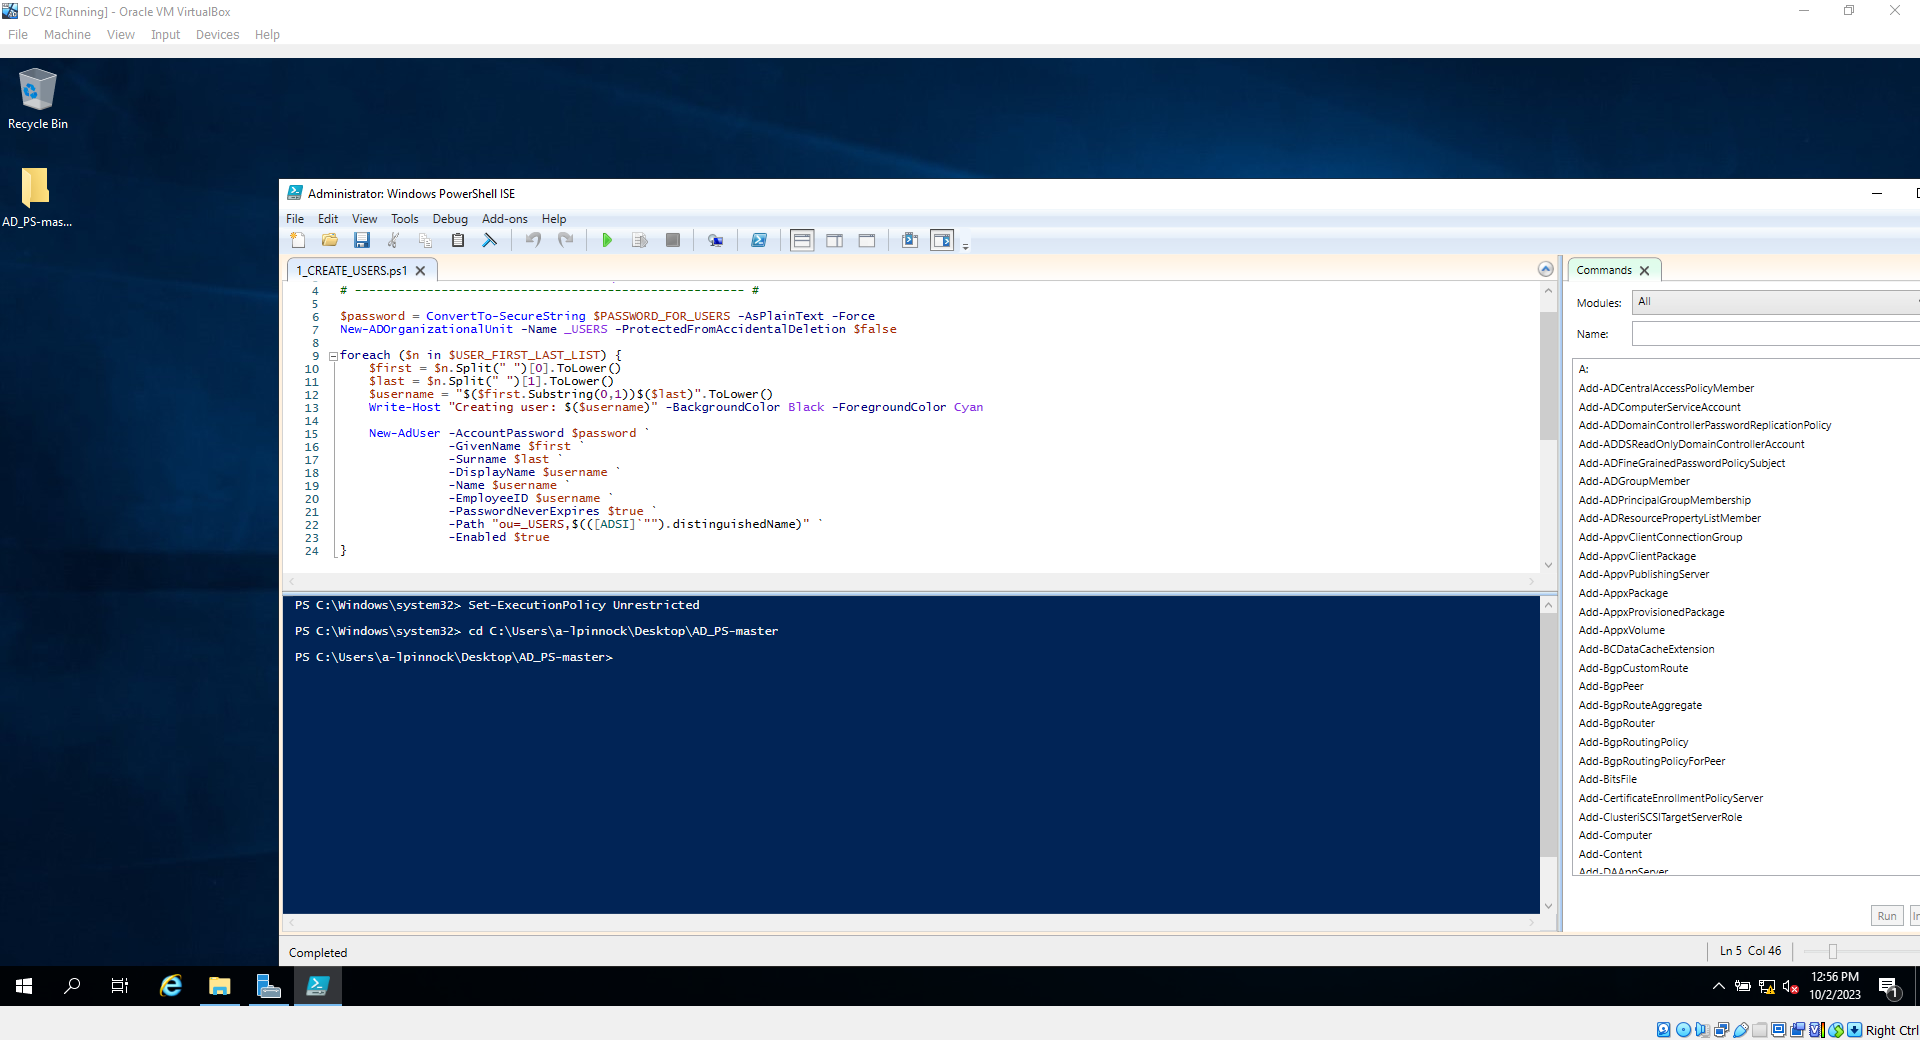
17. In powershell, browse to the directory with the script in it by typing the command "cd 'your directory here' it will be different for everyone. in my case I would be typing
"cd C:\users\a-lpinnock\desktop\AD_PS-master" followed by pressing enter. you will then see that your working directory has changed accordingly


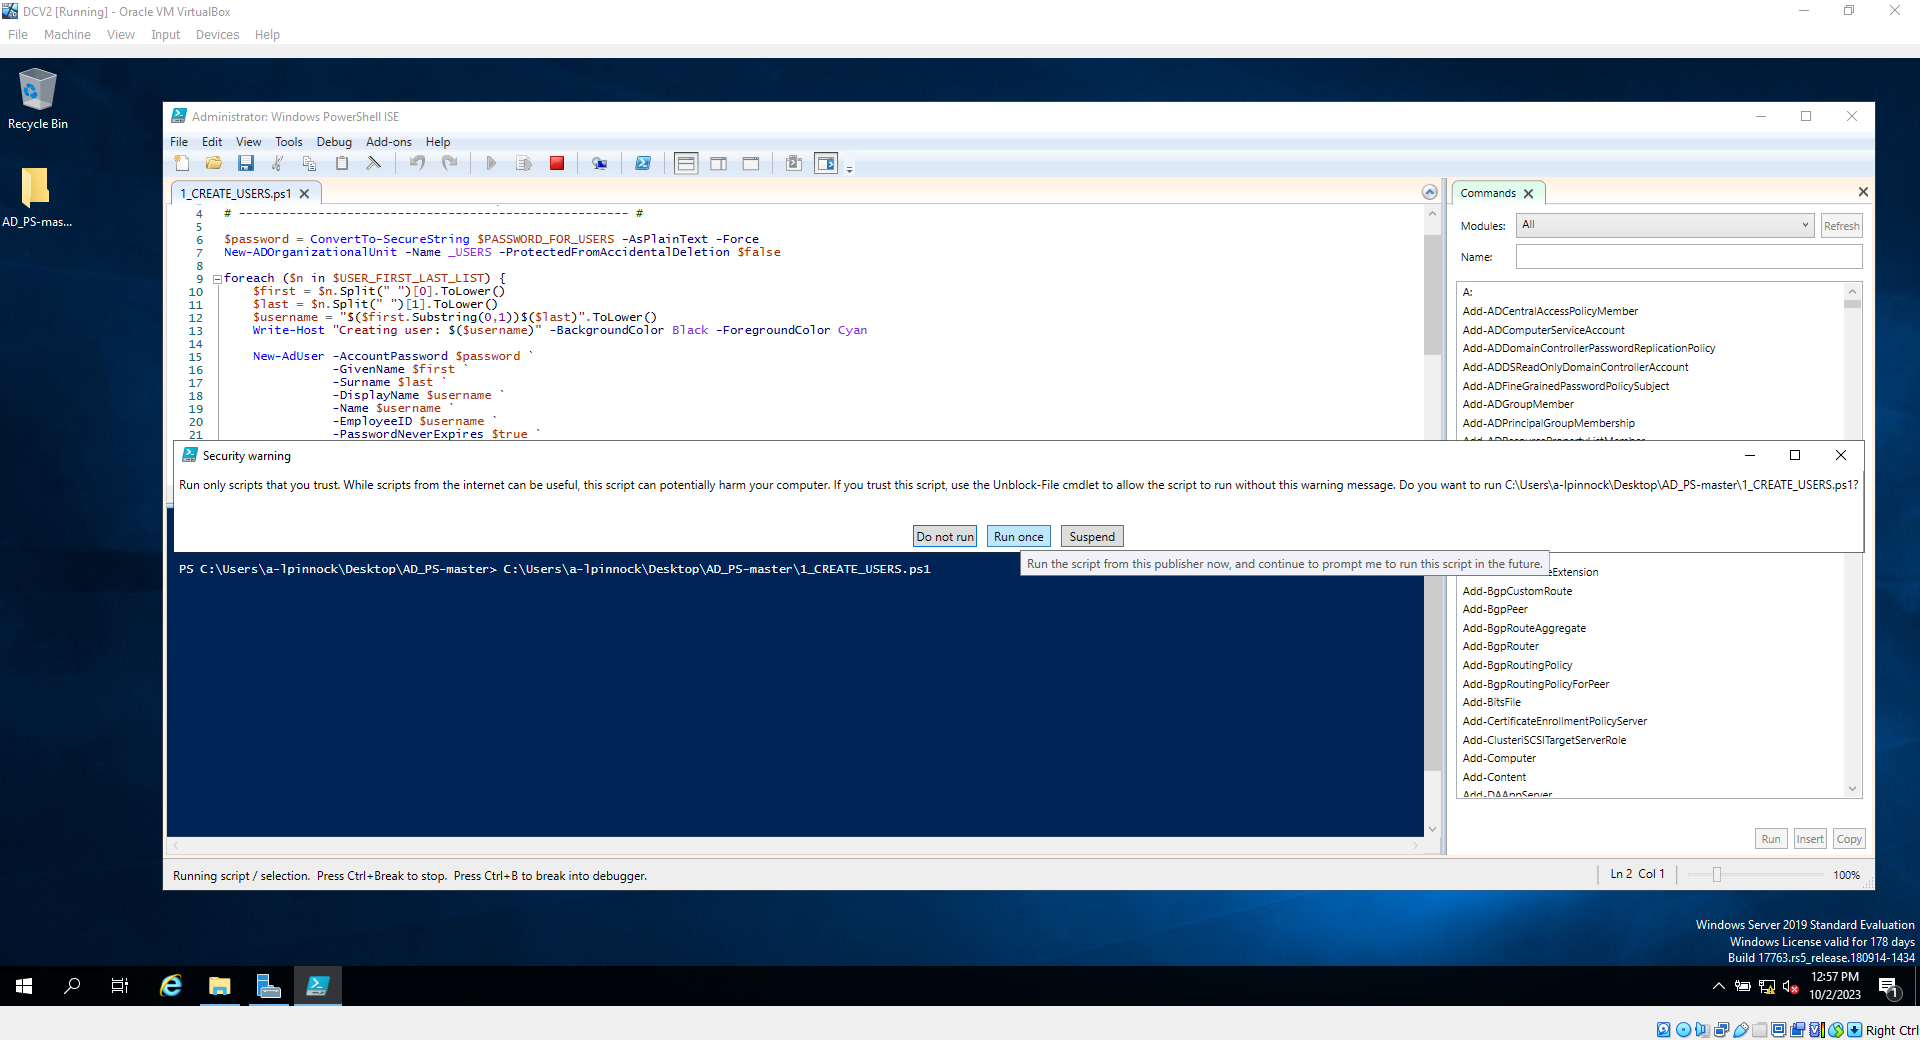
17a. Once you've confirmed you're in the right directory, simply press play and select "run once"and let the script run. It may take a minute or two. you should see the console showing the creation of new users in real time
17b. When the script is done, you should now be able to go into your server manager, and see that under your domain, you now have a new org called _USERS, and inside, all the names that were in the text file
*****Setting up windows 10 on the Virtual client PC *****
18. Go to Virtual box, and create a new machine, then enter the information as seen in the screenshot. then hit finish at the end


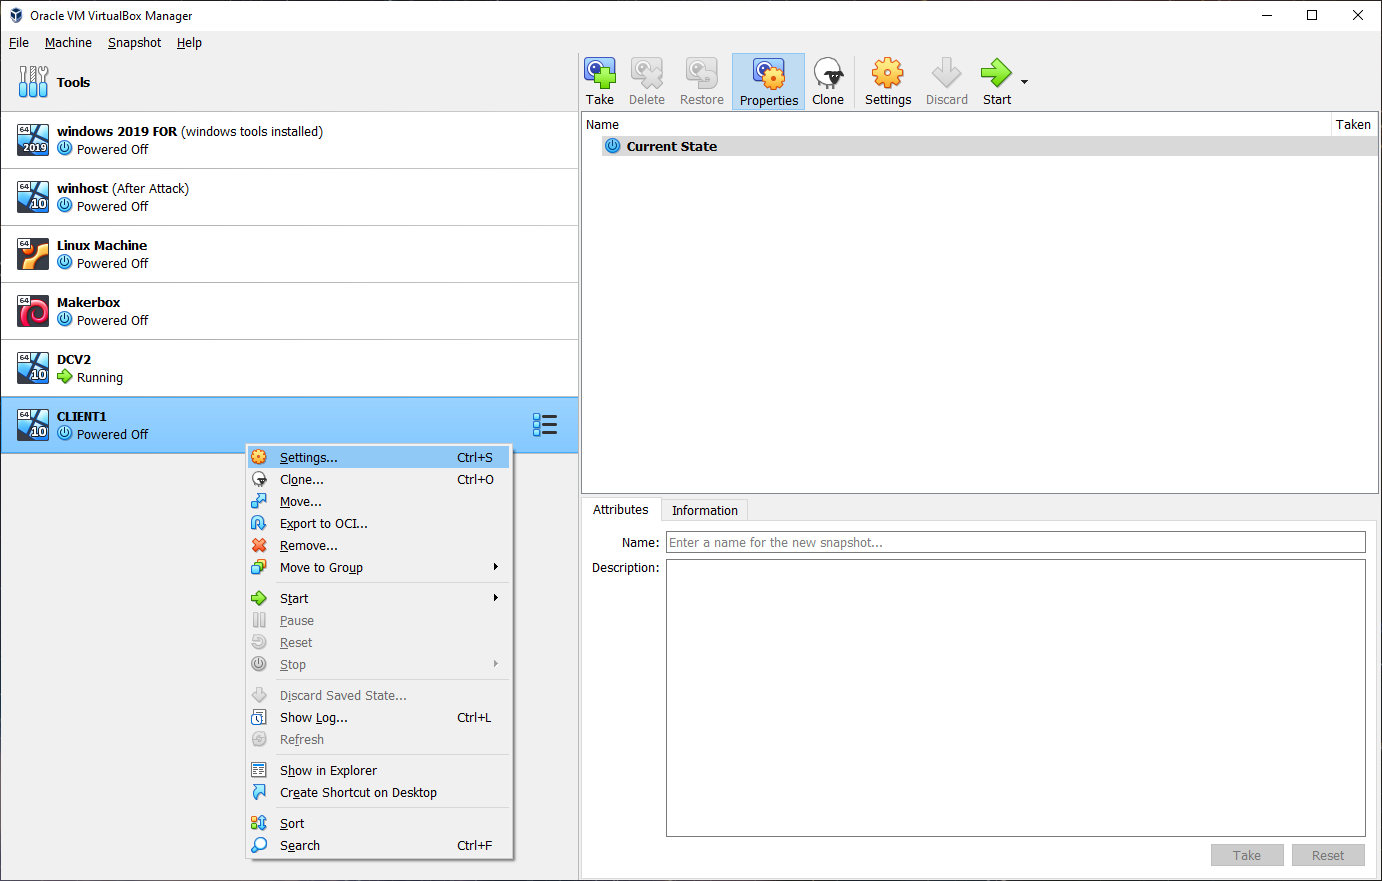
18a. Right click on the client, and click settings
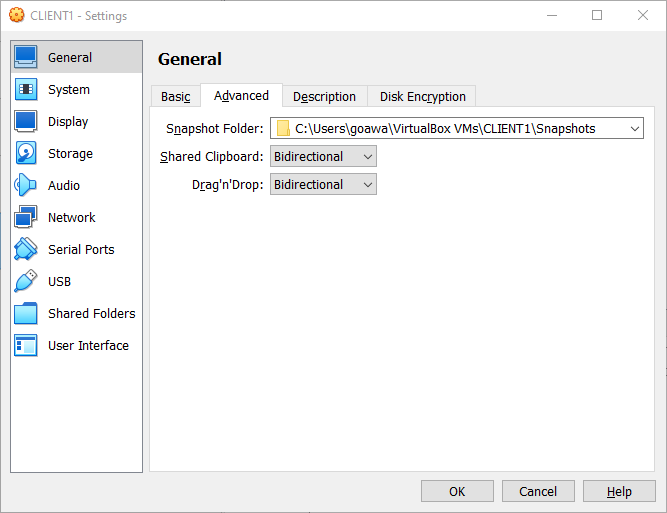
18b. Go to advanced, and choose bidirectional for shared clipboard and drag and drop
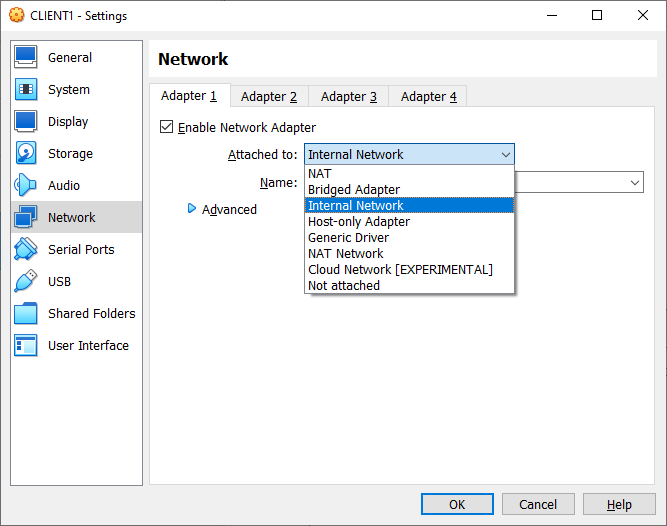
18c. Under network > adapter 1, select "Internal network" . this will allow the computer to be assigned addressing by our DHCP server set set up earlier
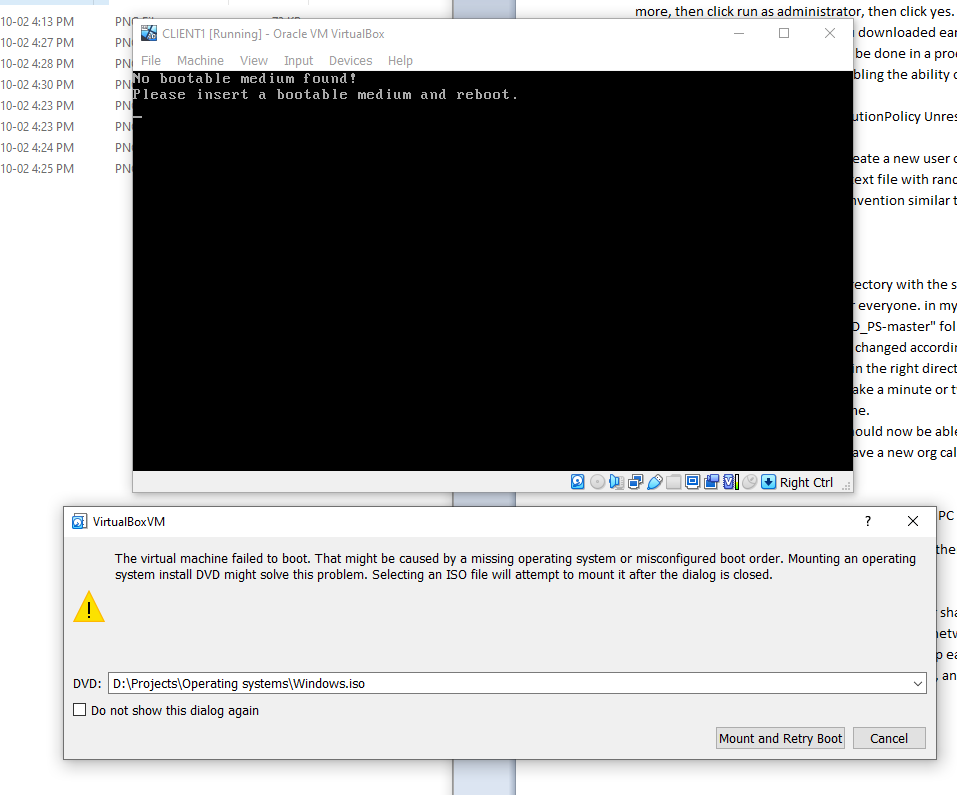
18d. Start the client machine you just configured, and when asked, mount the windows 10 iso you downloaded earlier, then click mount and retry
18e. Hit next, and install.
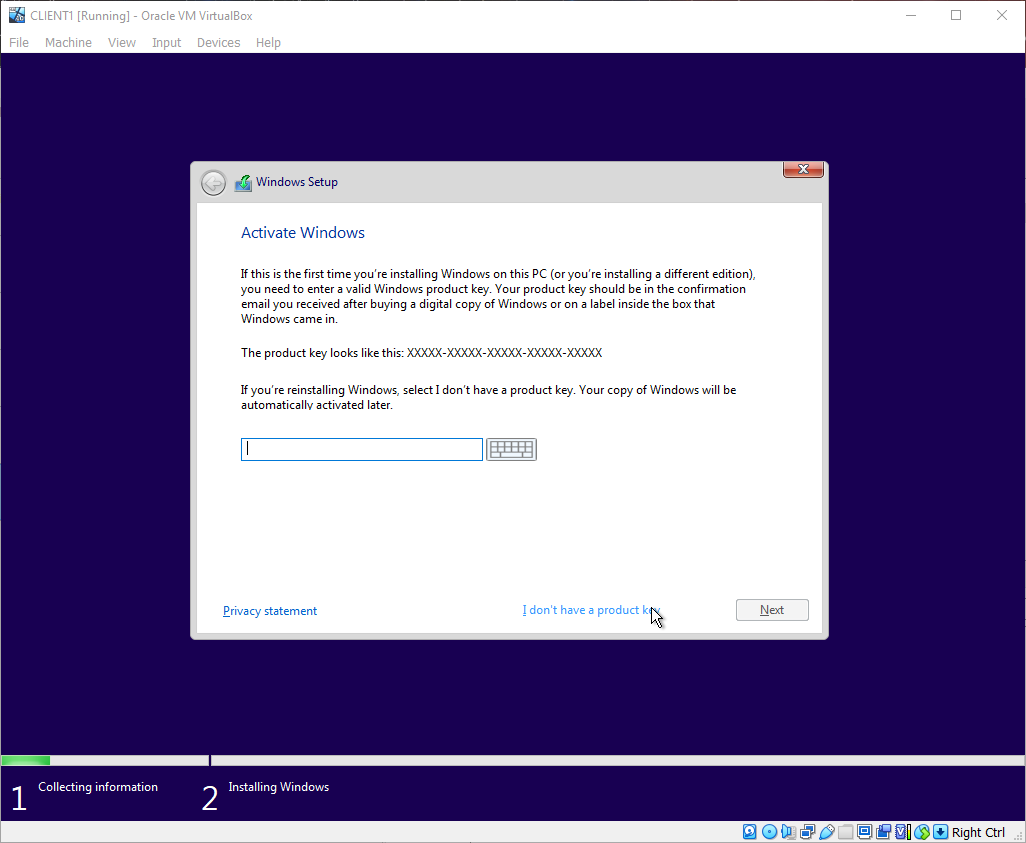
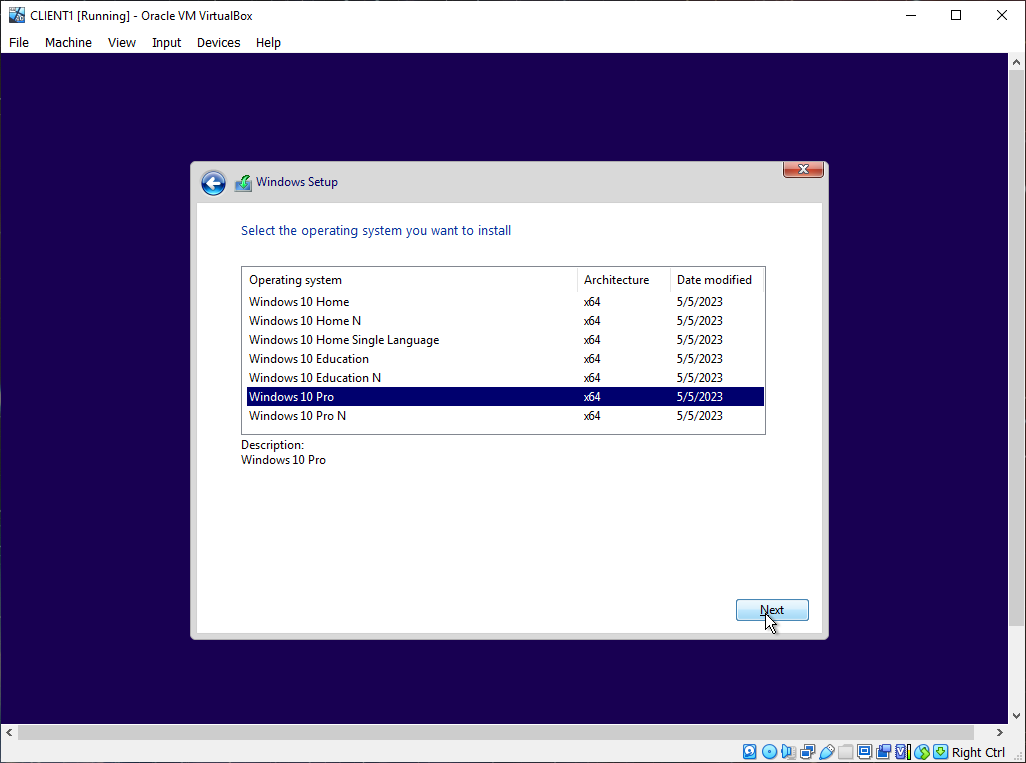
18f. Click " I don't have a Product Key", then select "Windows 10 pro". and hit next
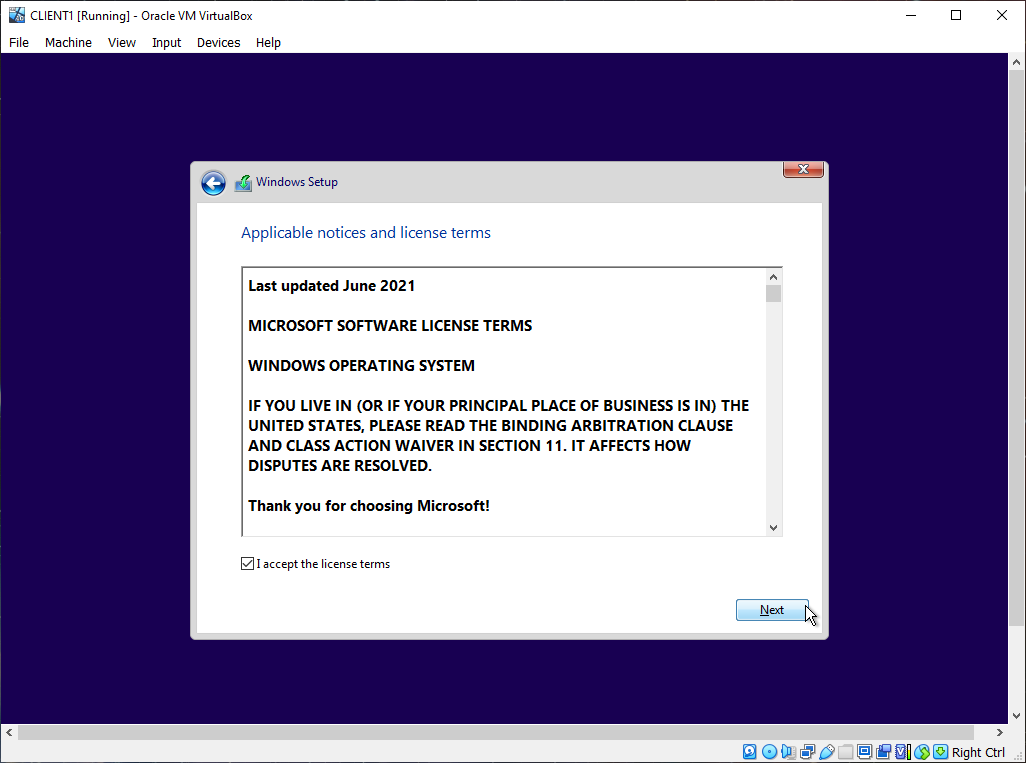
18g. Accept the license terms, hit next
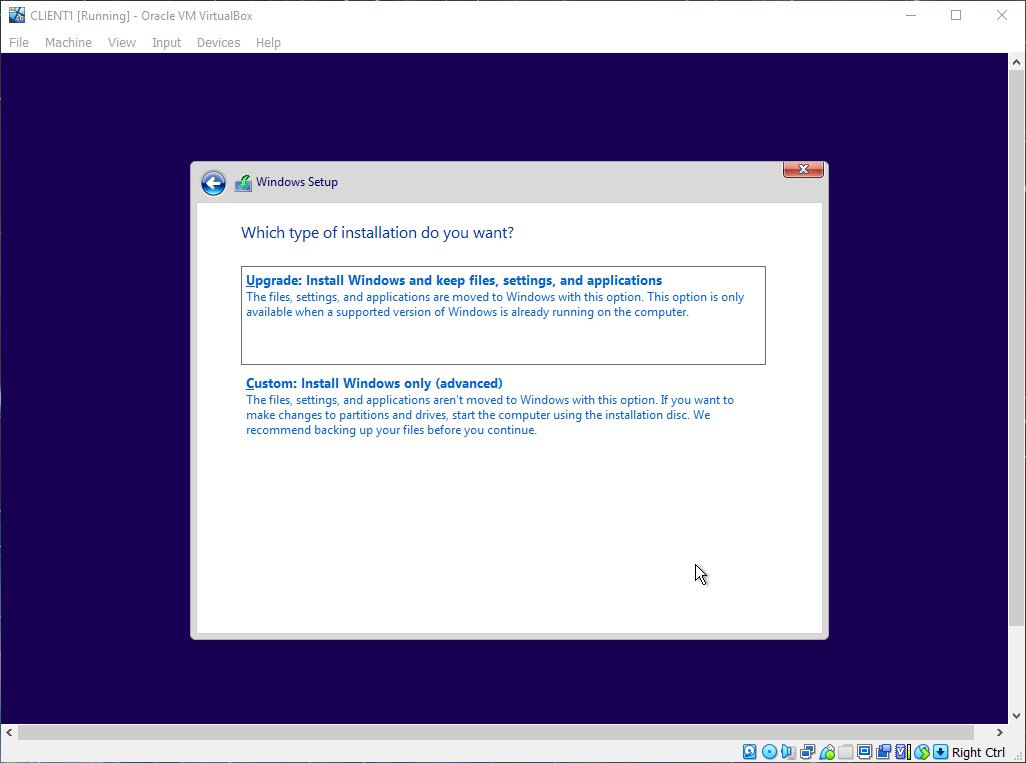
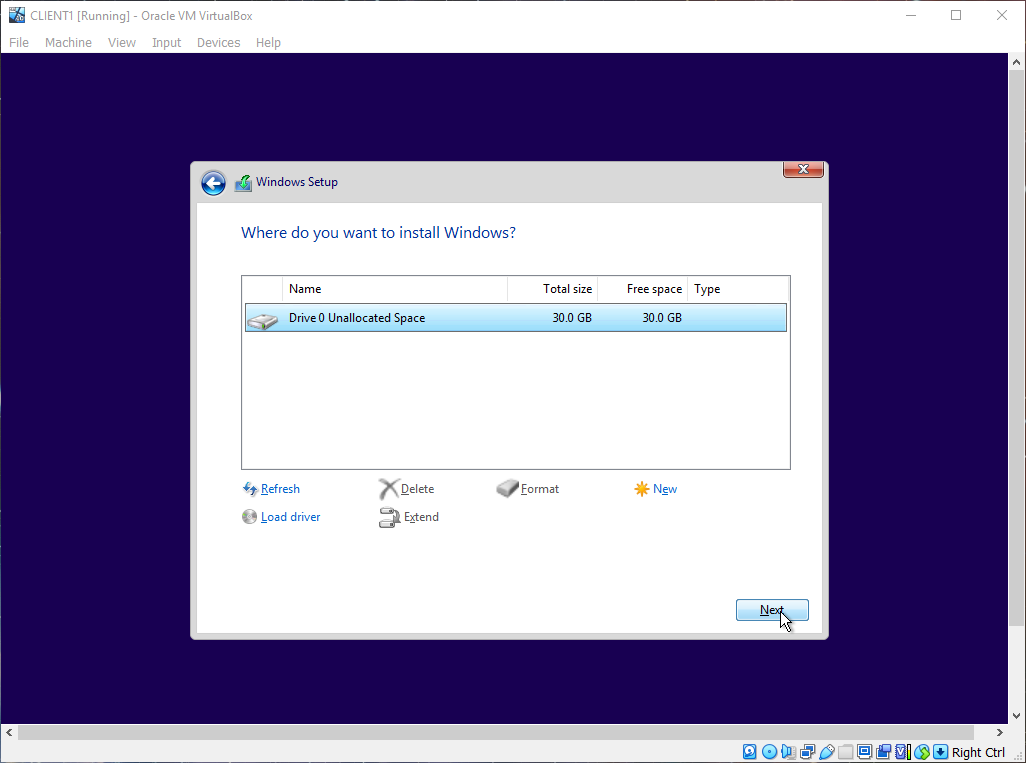
18h. Select custom Install, and then click next. Then allow the computer to complete the setup and reset on its own, until you are at the Region Select screen
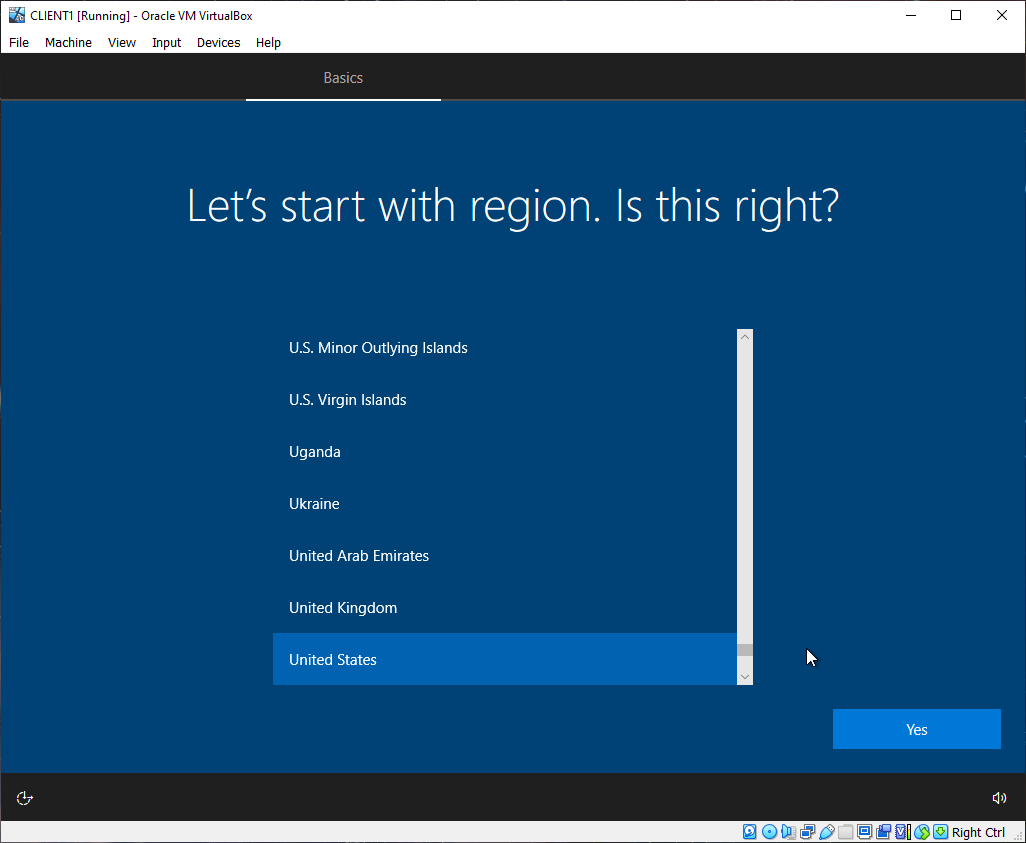
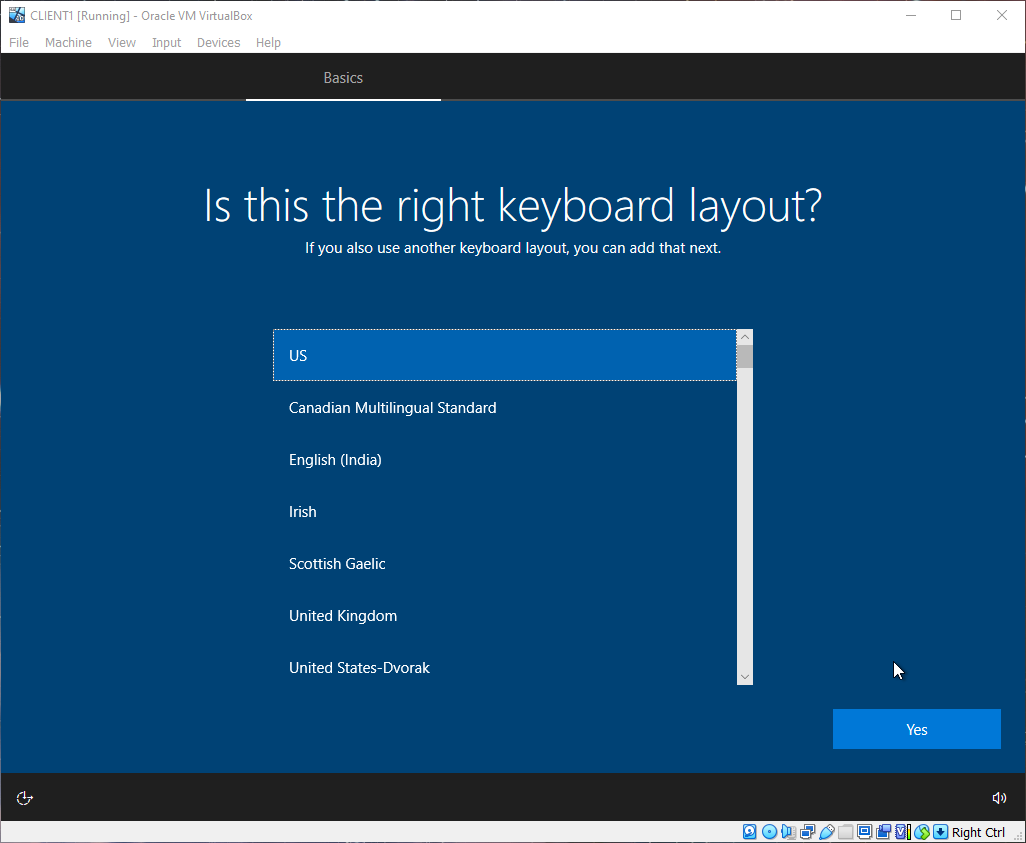
18i. Choose your region, keyboard layout, then, skip, then select "I don't have internet"
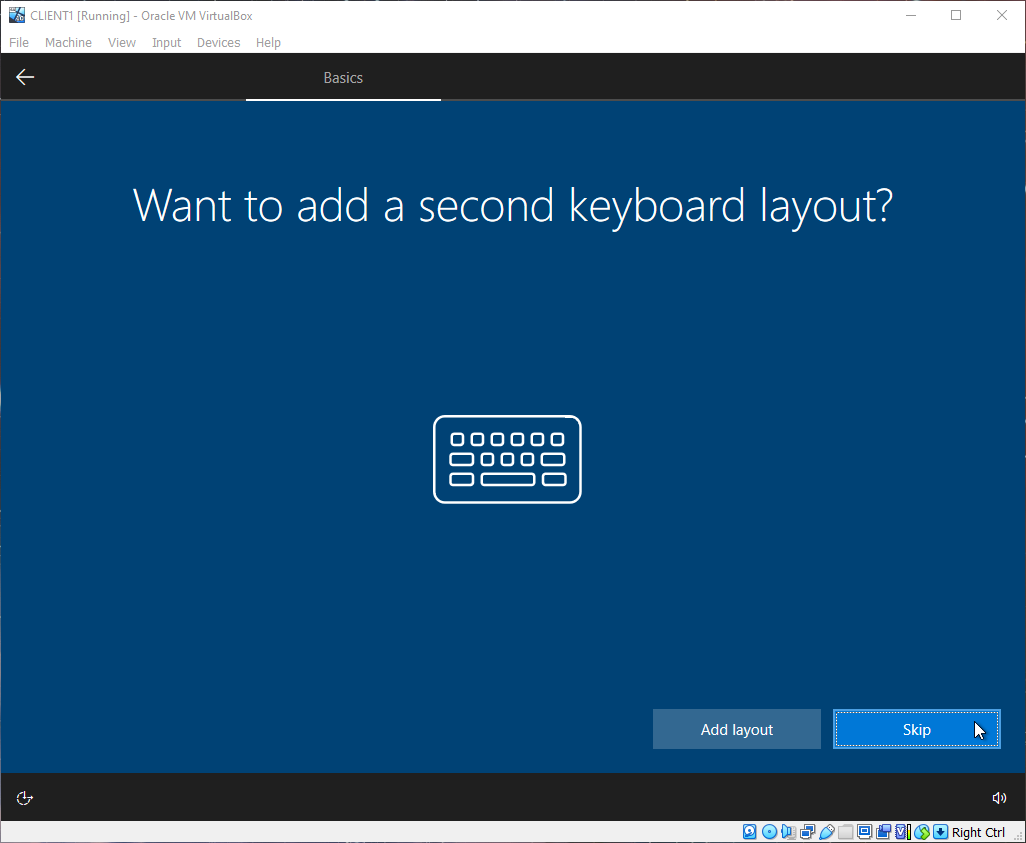
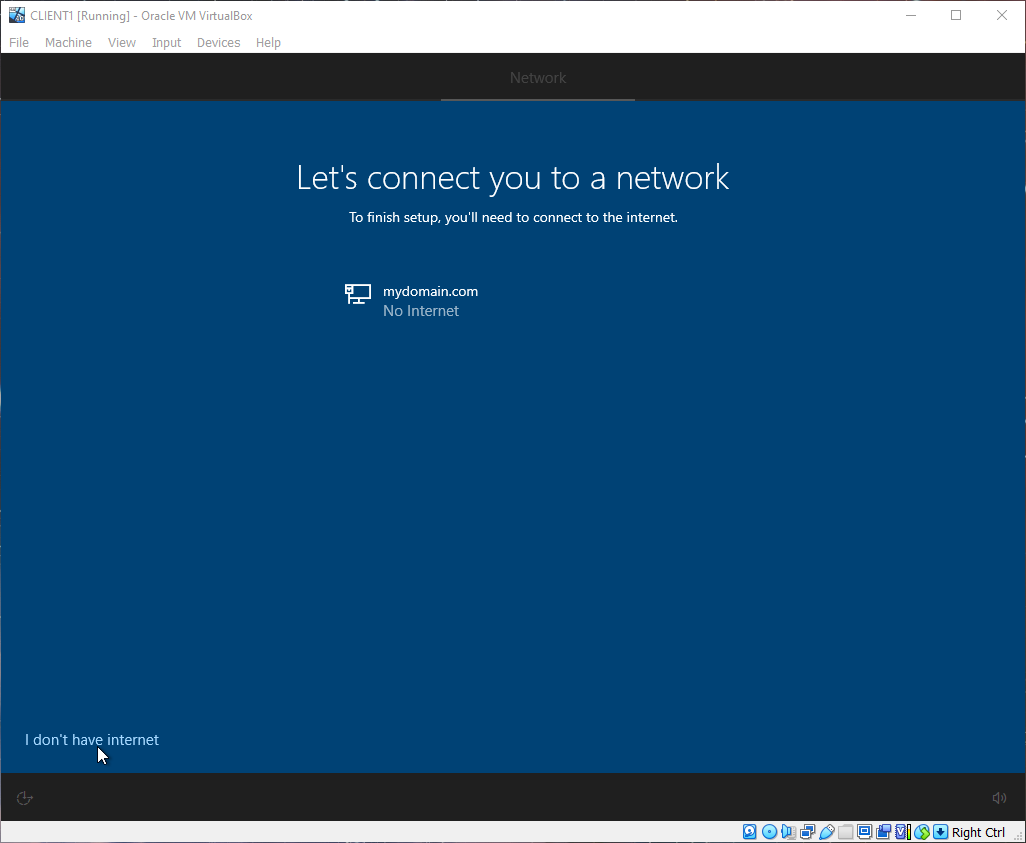
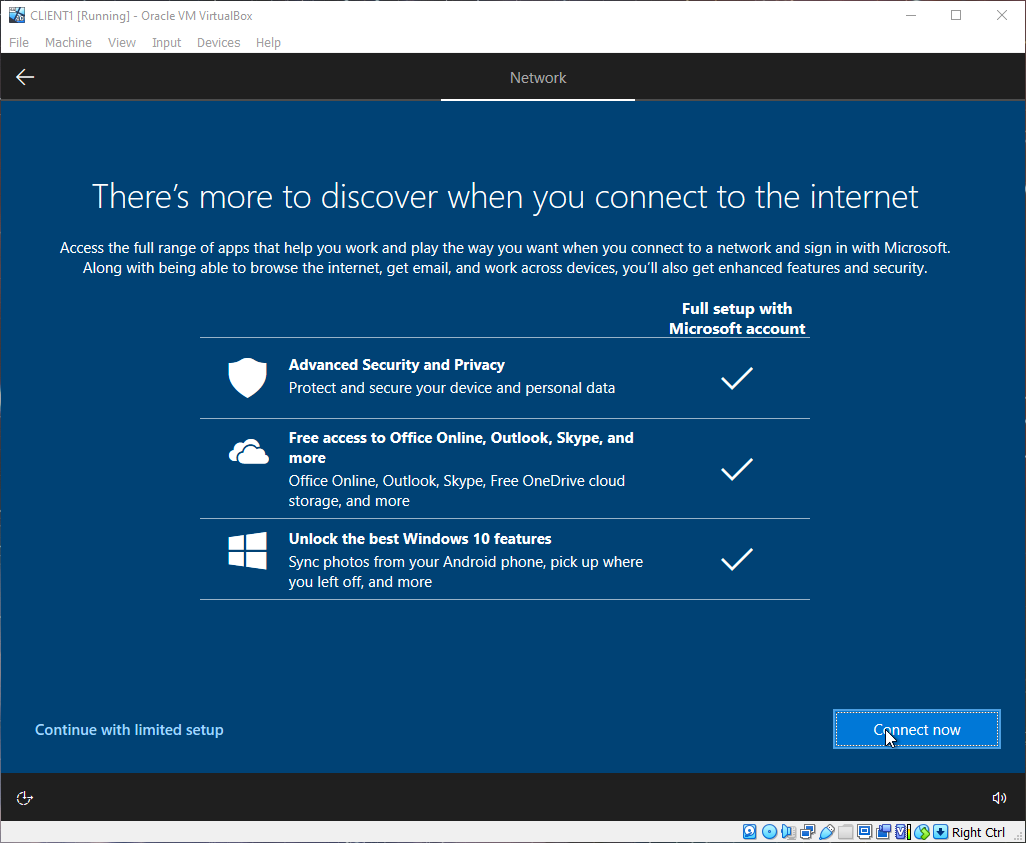
18j. Select " Continue with limited setup", then enter a user name. I will simply use the name "user". then Click next
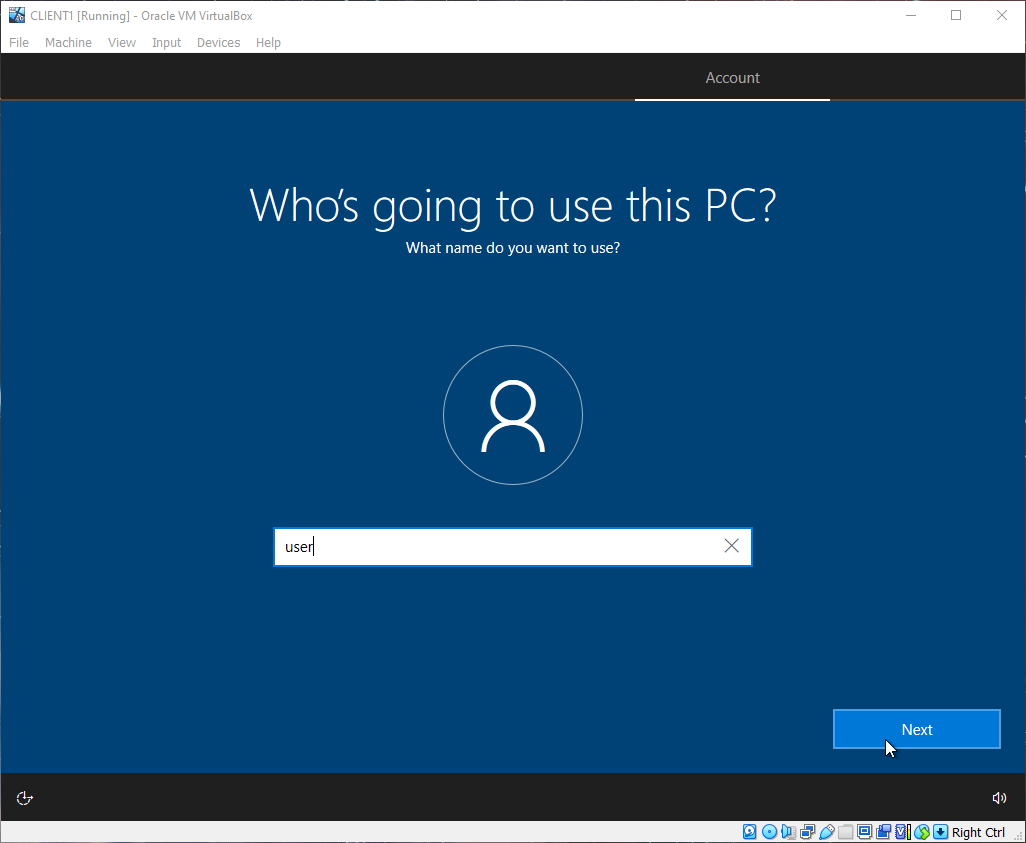
18k. Leave the password section blank, and click next
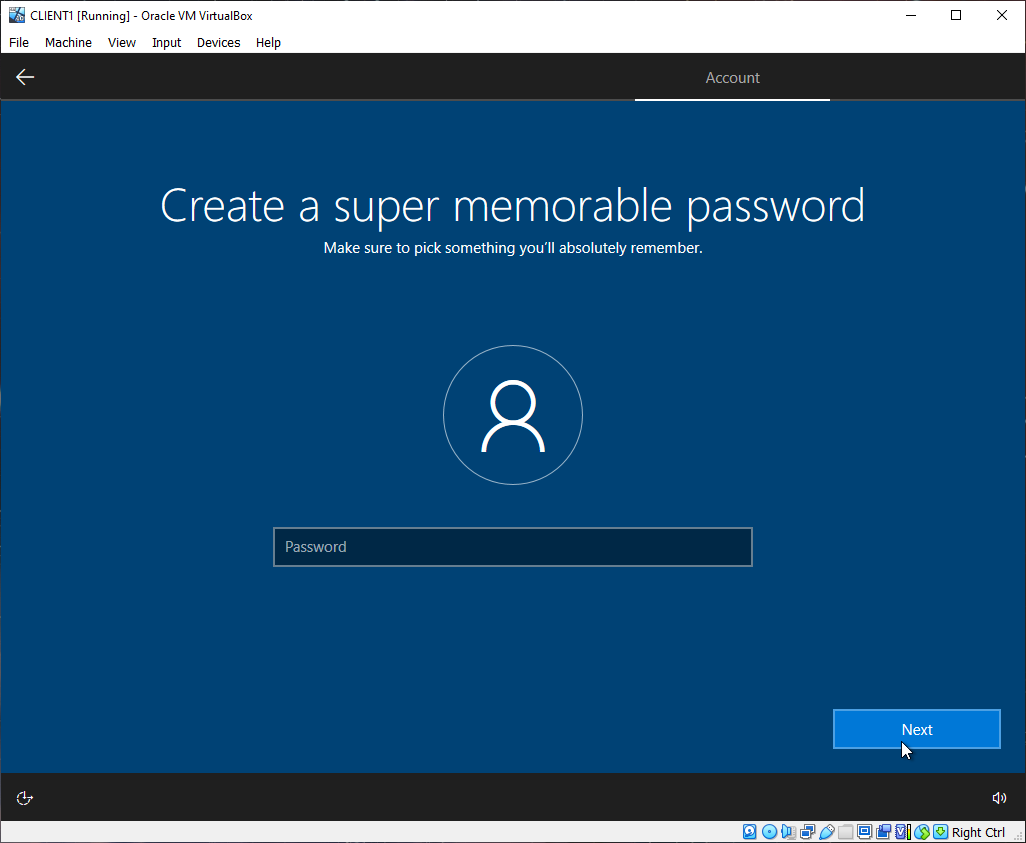
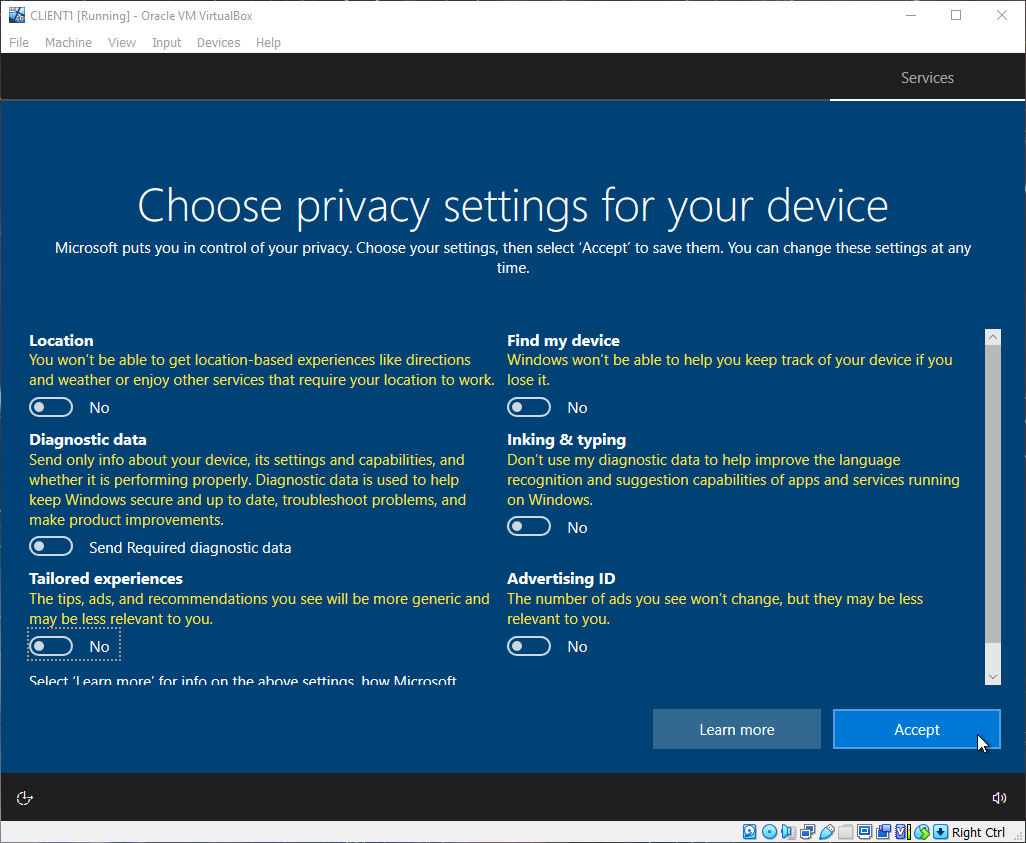
18L. Optional*** turn every option on this page off and hit accept.
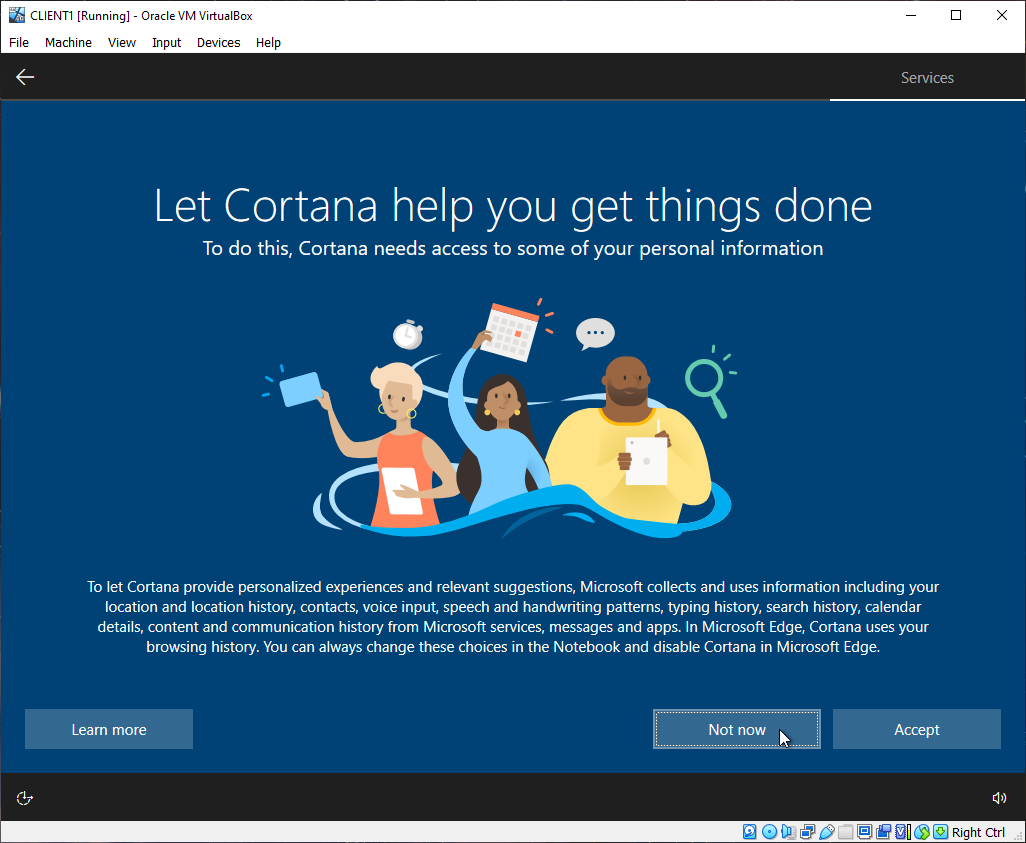
18m. Click "not now"
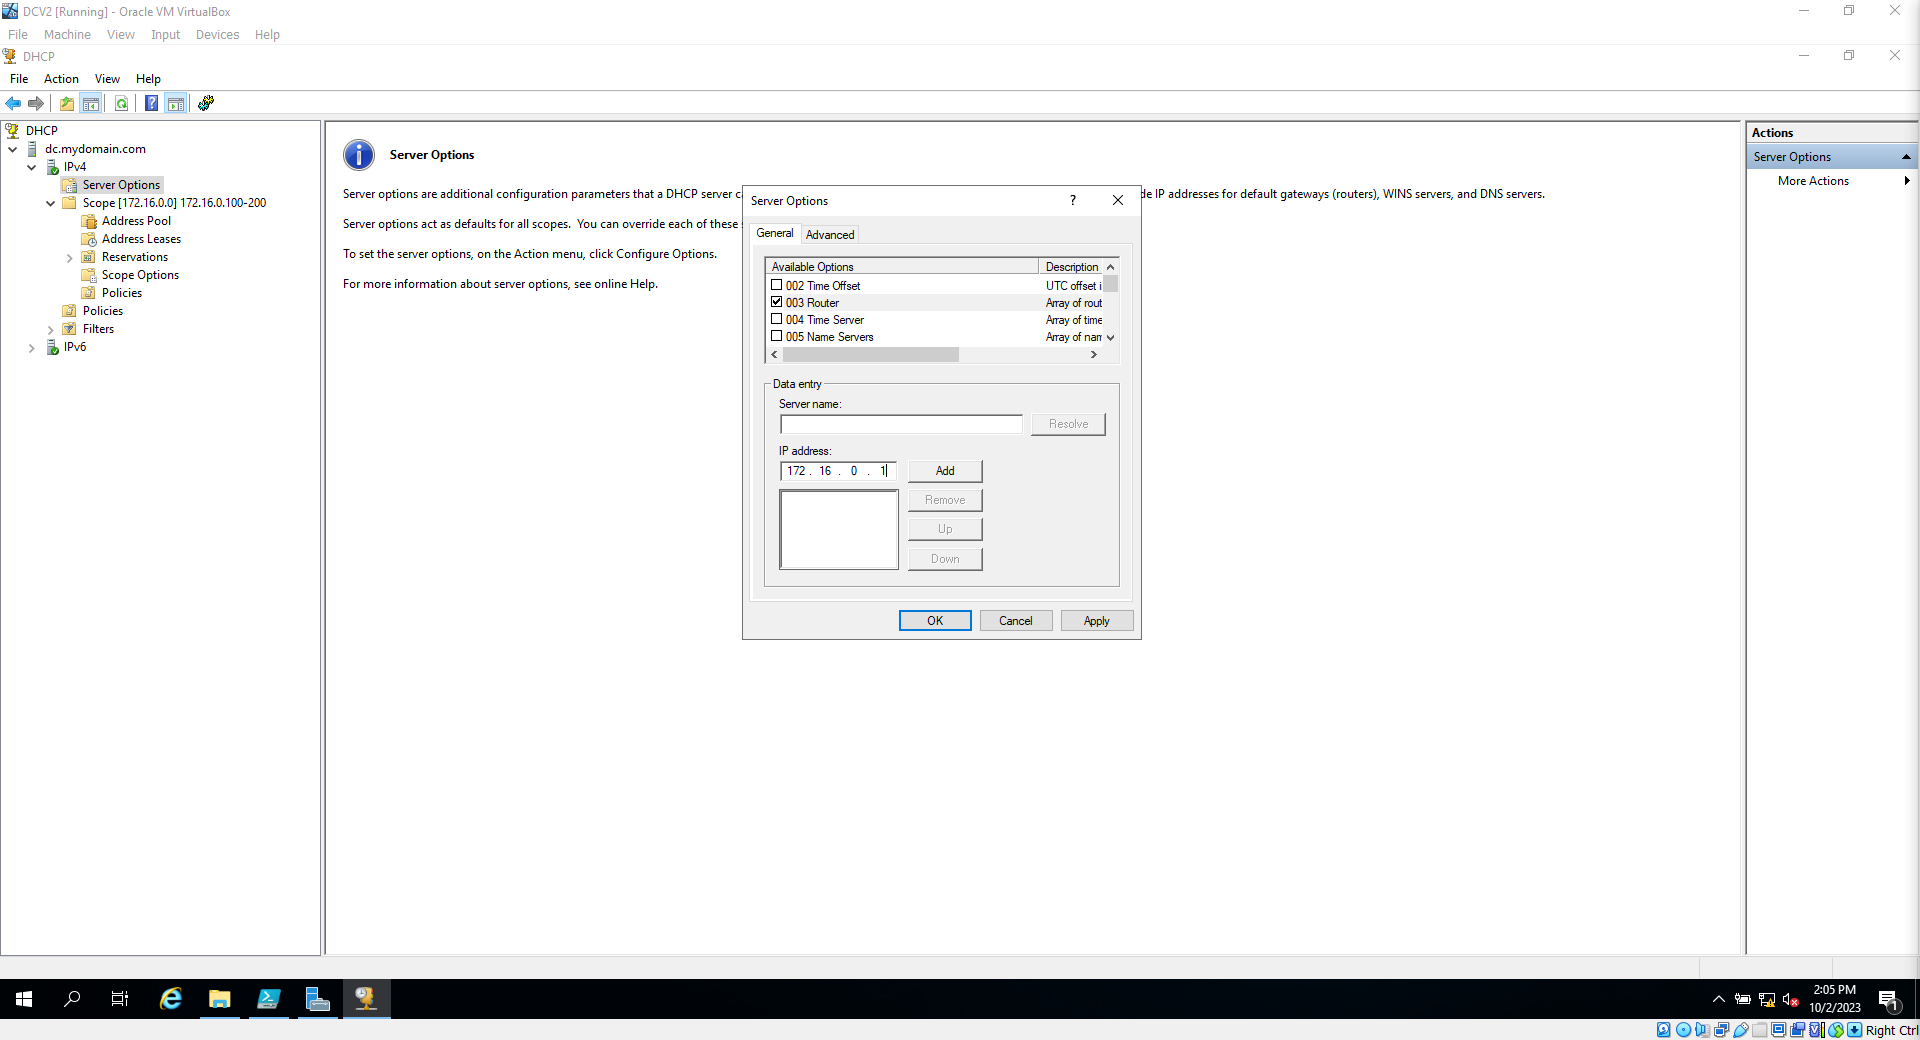
19. On the Domain Controller VM (not the client VM) Open server manager > Tools > DHCP. Then in the menu, go to IPV4. right click on " server options"

19a. Click "add router", then set the ip address to the address of the internal network interface "172.16.0.1". Click add, then click apply
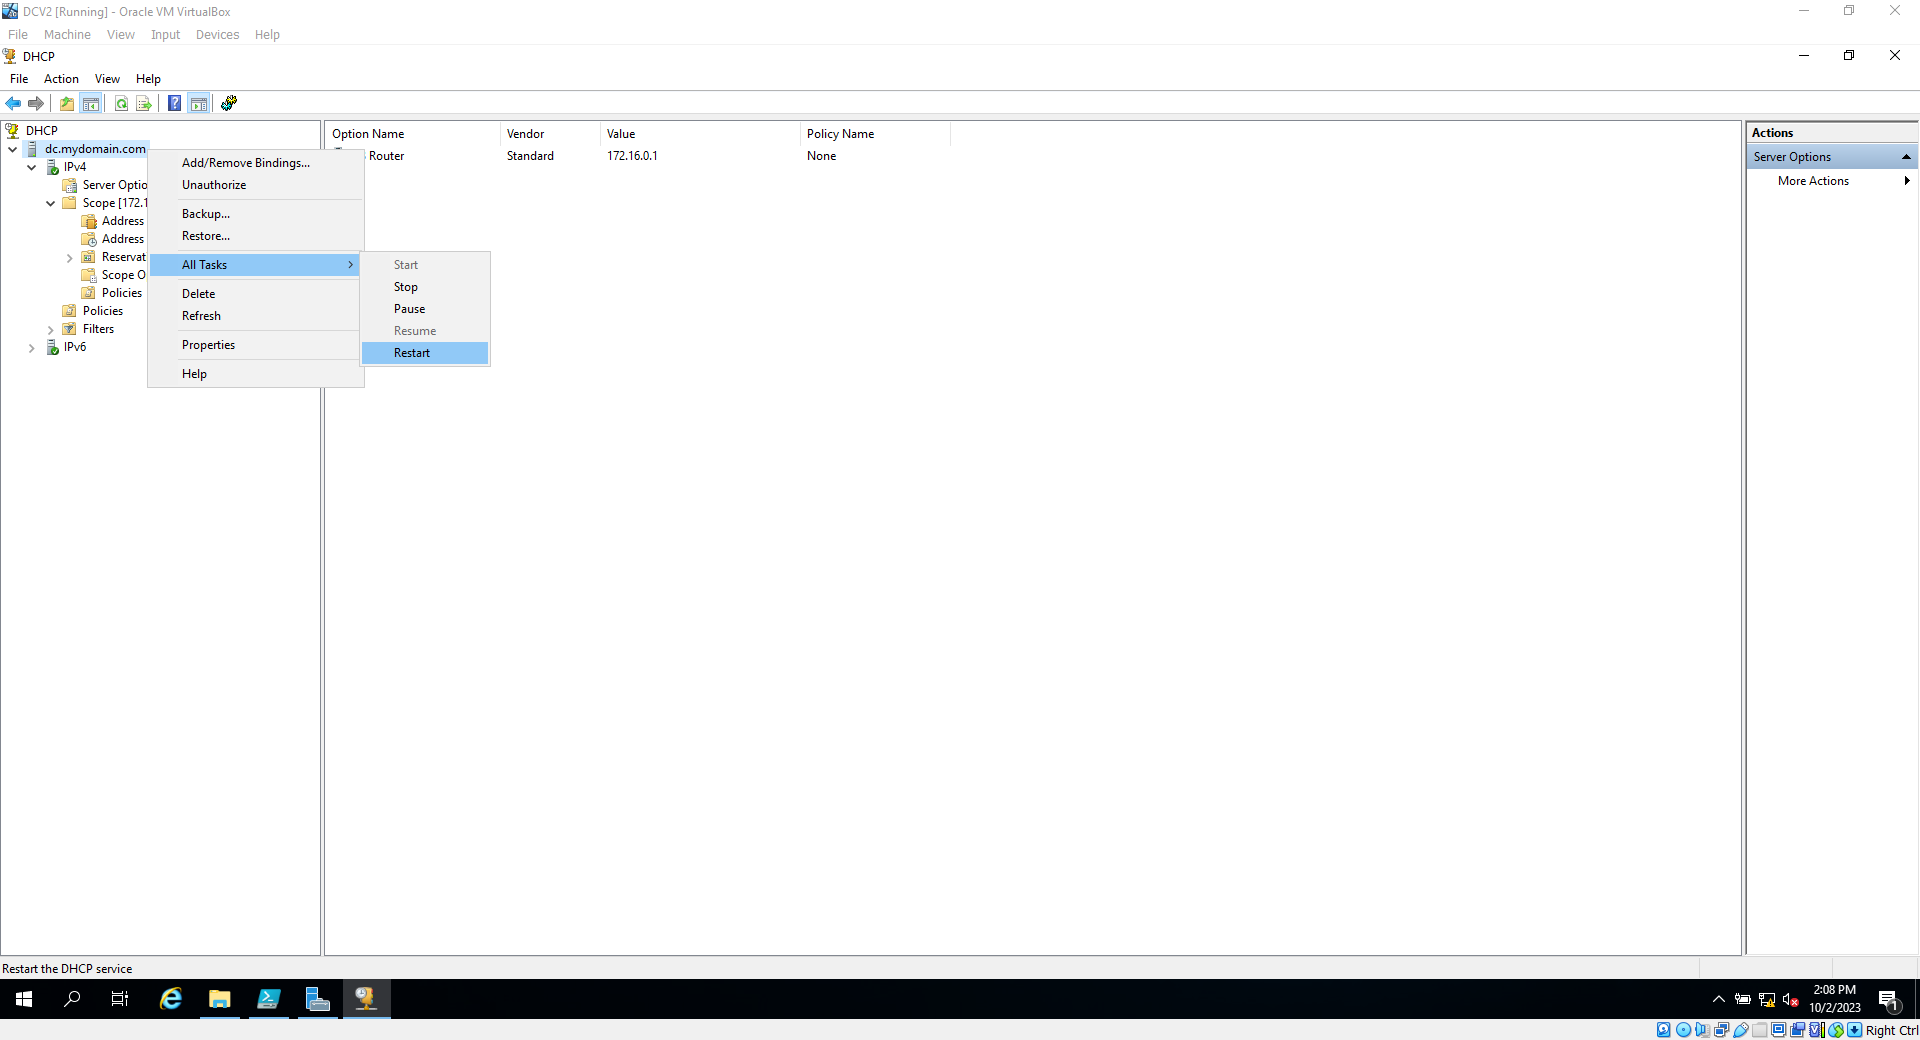
19b. Right click the server, then go to all tasks > restart. This should give the host machine internet
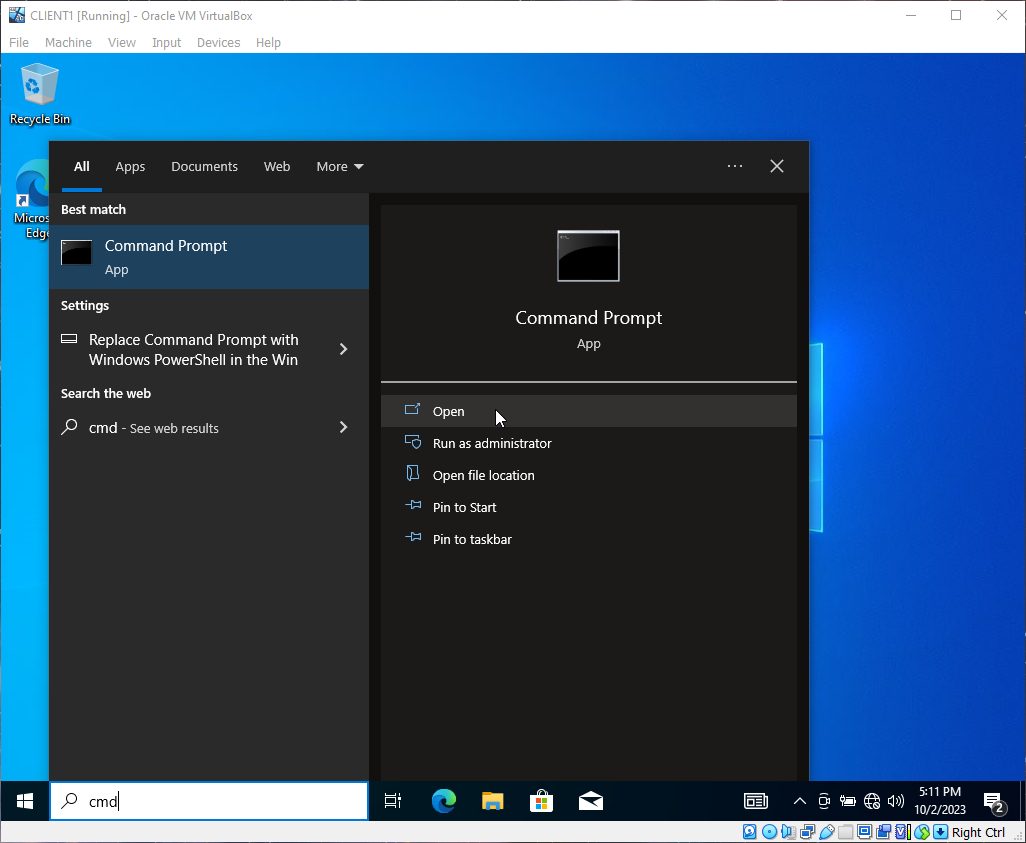
19c. On the client machine open a command Prompt by searching "cmd" and clicking the app
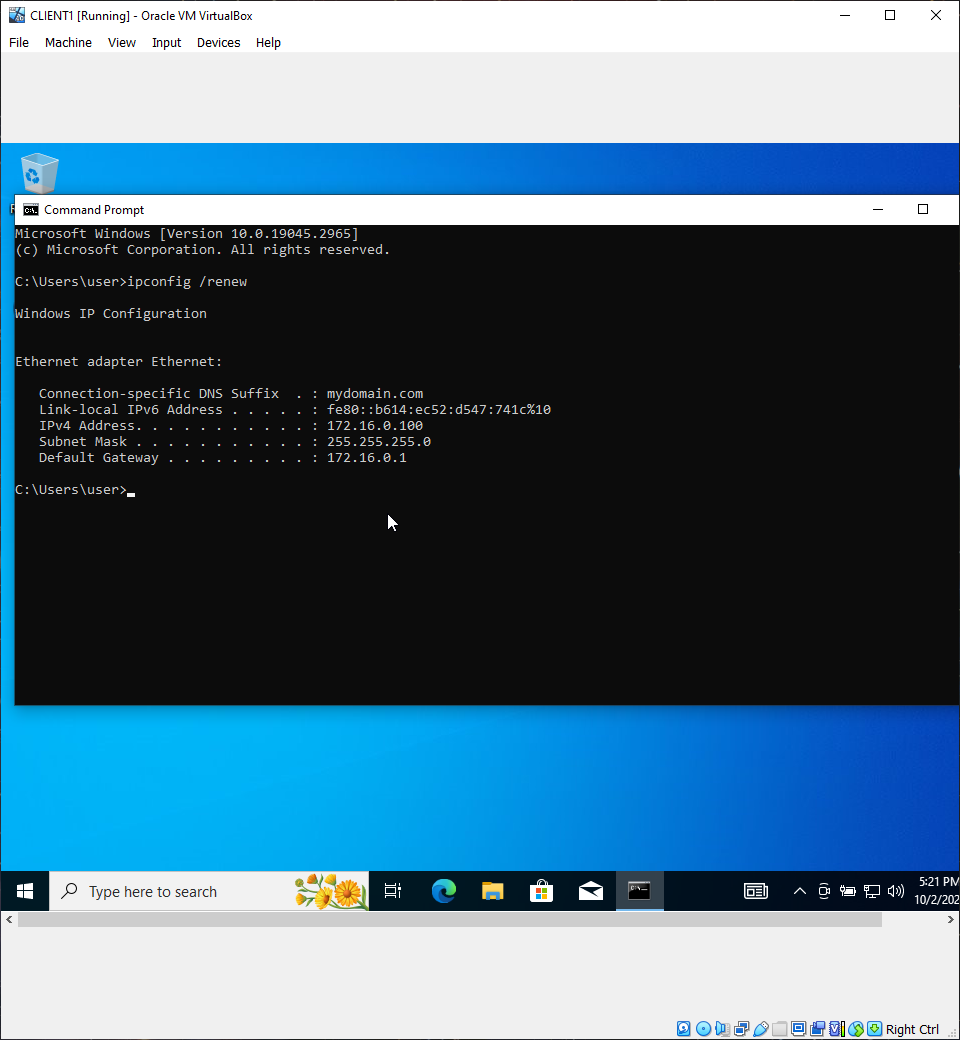
19d. Type "ipconfig /renew" and hit enter. If everything was configured correctly, you should now have internet access on the client pc!
****joining the Client to the Domain + changing the host name****
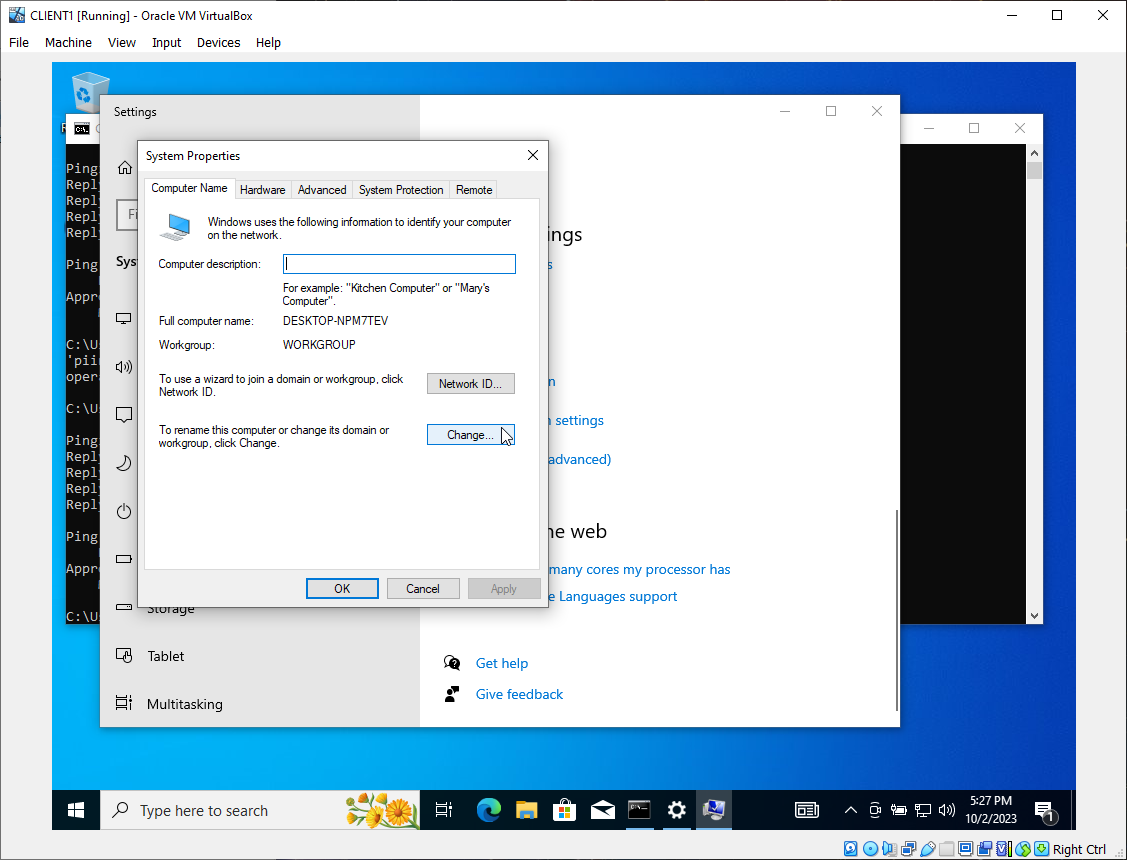
20.On the client VM, right click the start menu and go to system. Then scroll all the way down to Rename this PC (advanced)


20a. Click change, then name it CLIENT1, and in the domain group, put in the domain you created. In this case, mydomain.com, then click ok
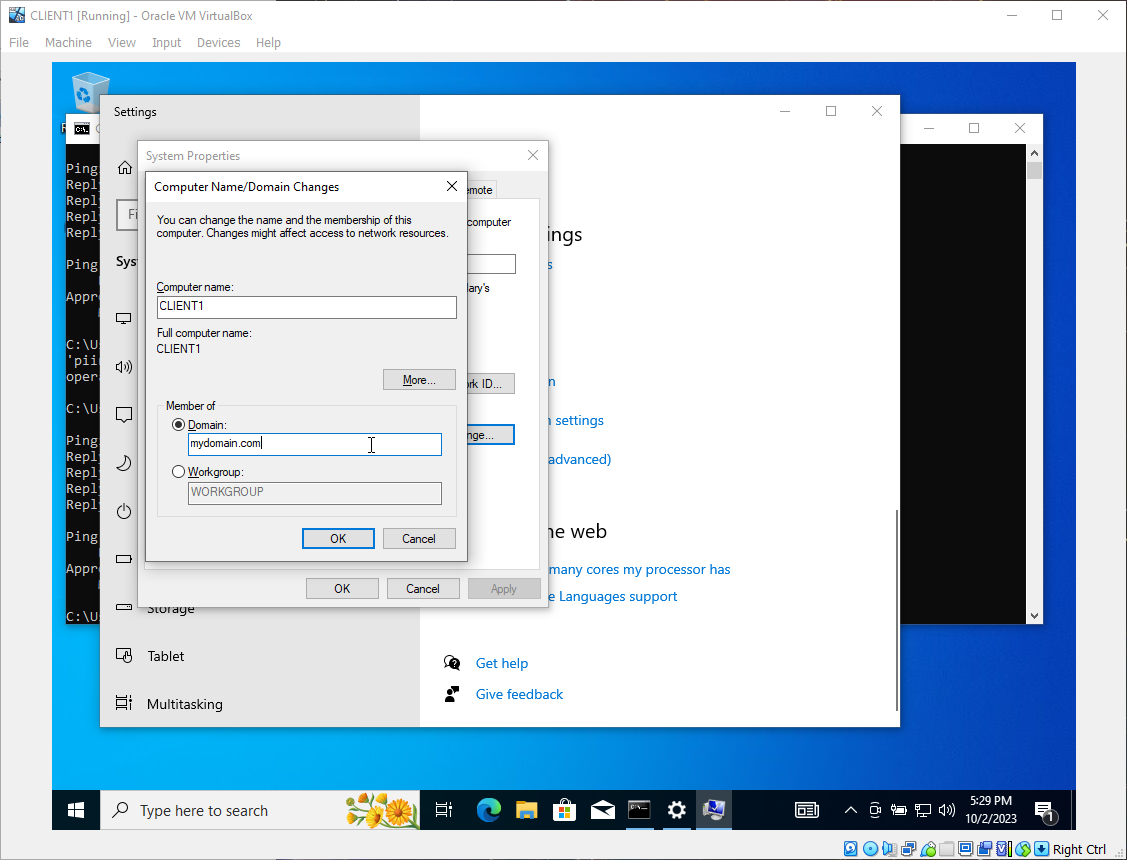
20b. Now, enter the username and password you created earlier. Essentially, any account you created on this domain should work, including your admin account, or regular access accounts generated from the shell script
20c. Allow the PC to restart when asked to
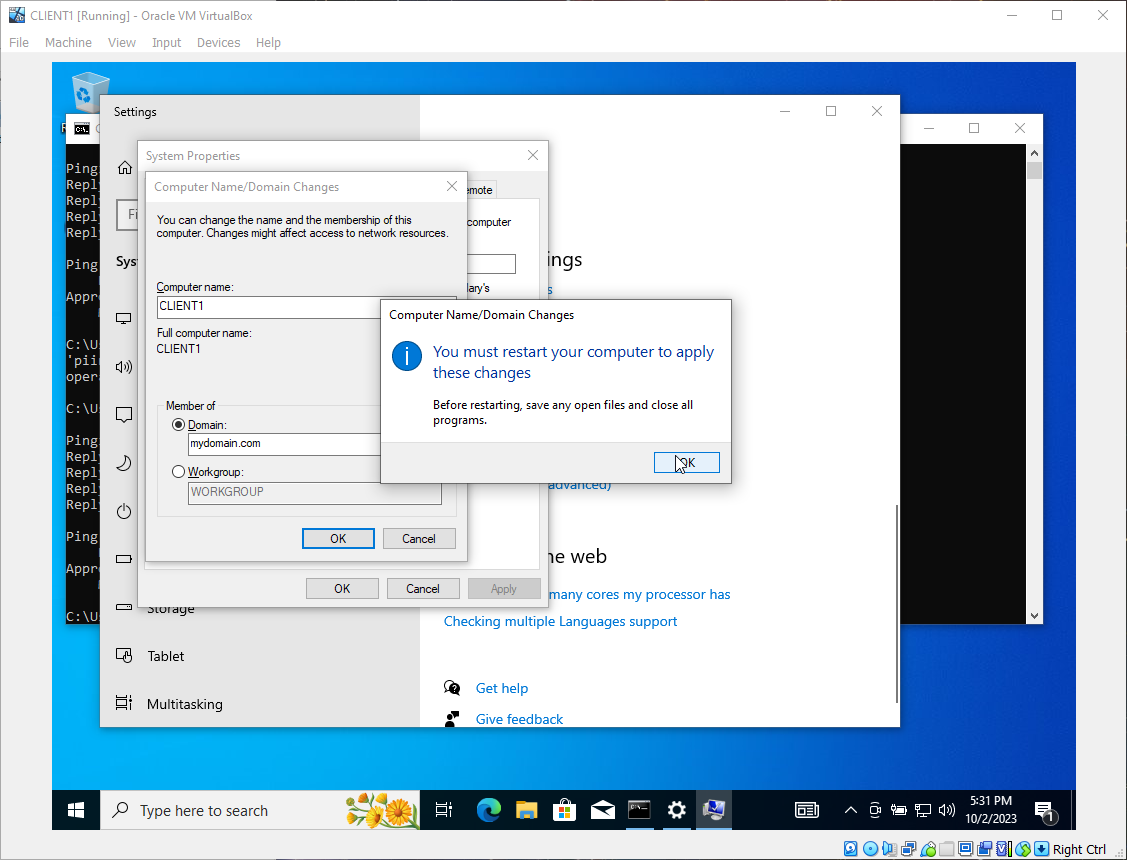
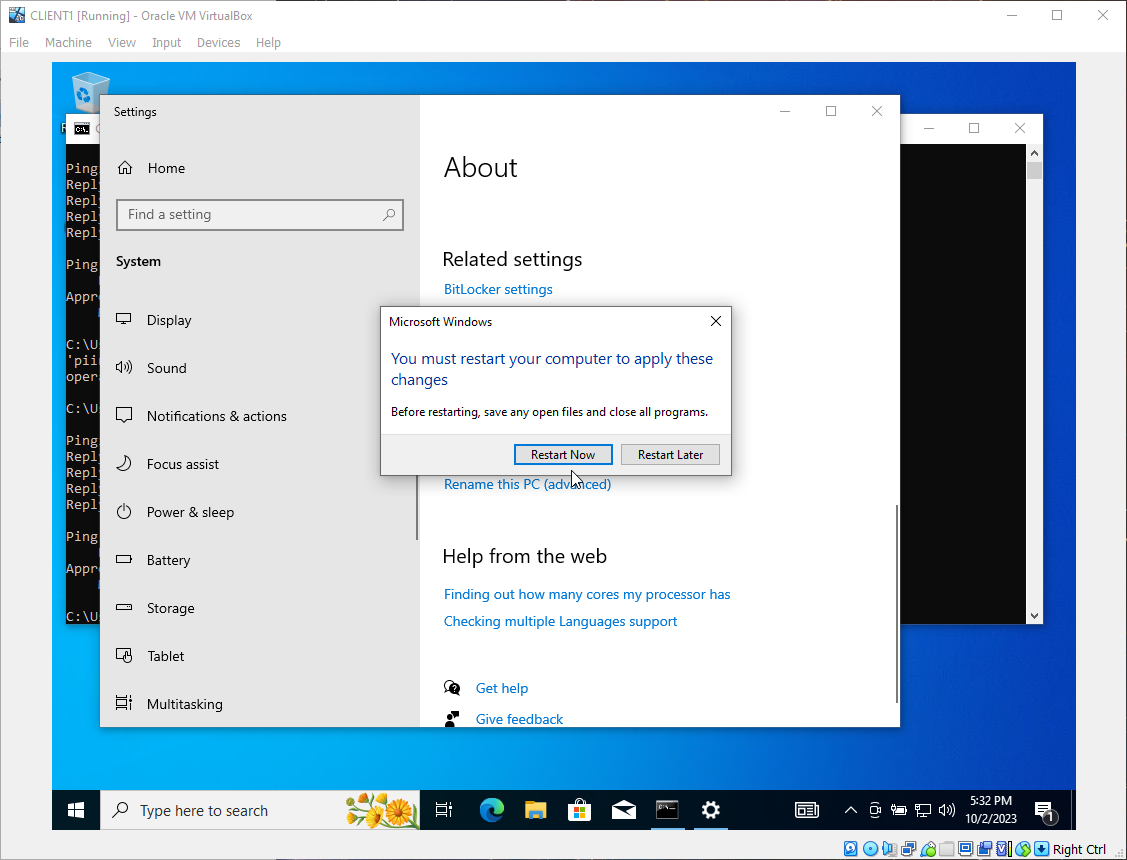
20d. To confirm it all works, go back to your Server VM, open Server manager > Tools, DHCP, and under leases, you should see the Client PC we setup should have a created lease on the server
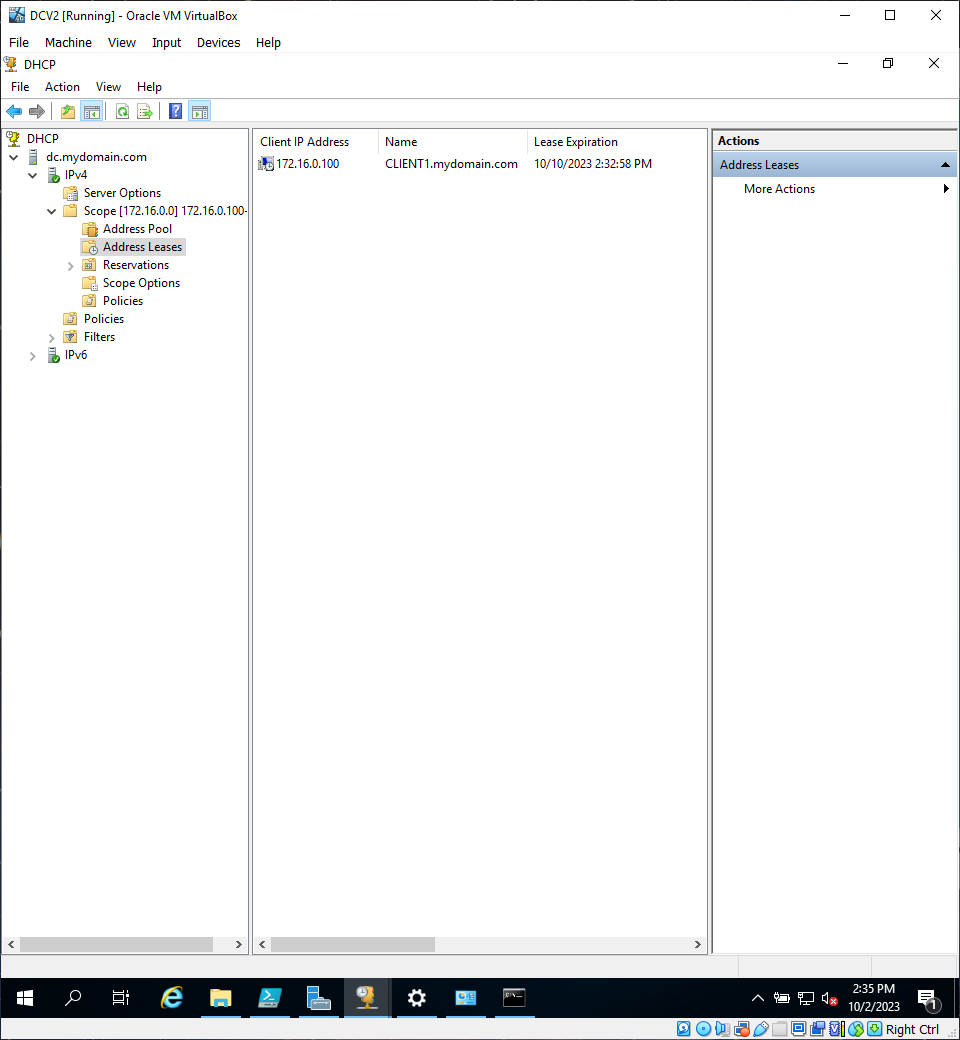
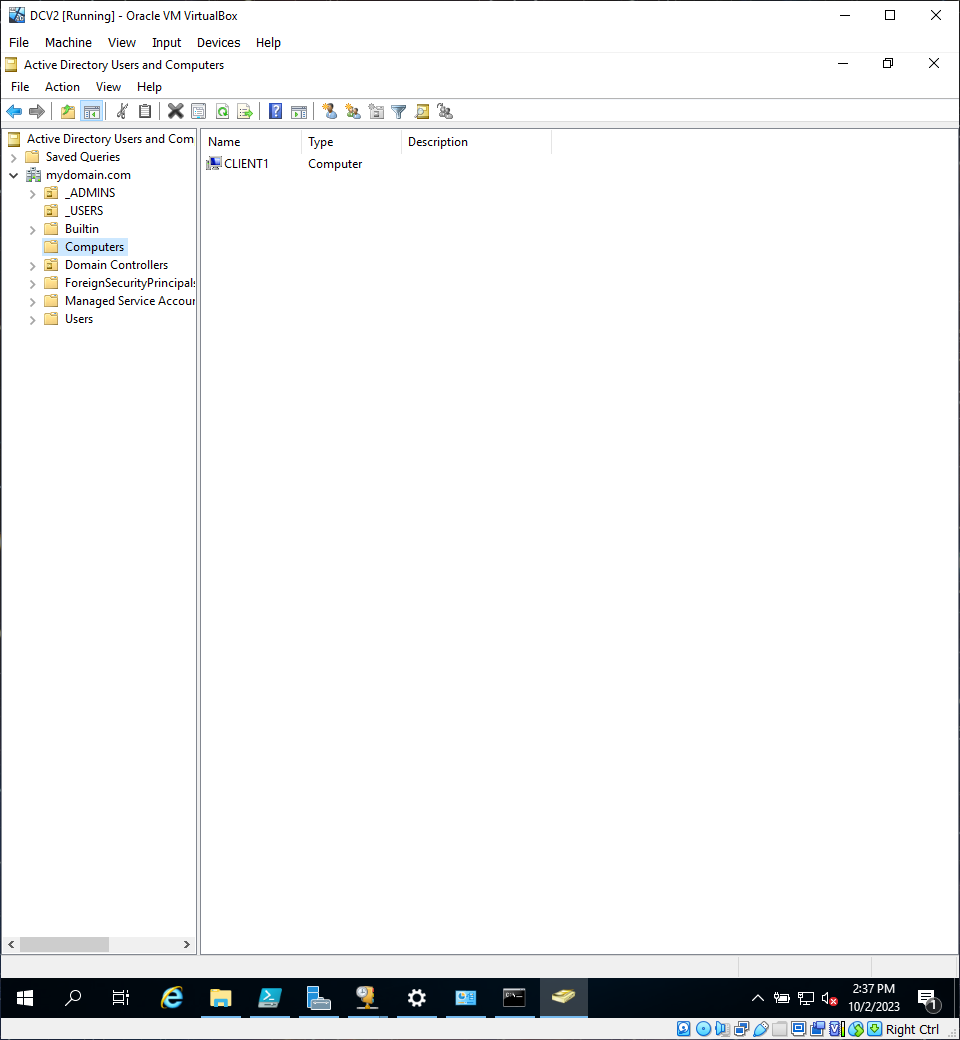
you can also see that under administrative tools > active directory users and computers, under the computer section, you should see the Client machine that we just configured
Congratulations, you've created an Active Directory Server!!